Layout & editing, Editing embroidery patterns – Brother PE-DESIGN Ver.6 User Manual
Page 186
178
Layout & Editing
Editing Embroidery Patterns
Piping stitch
Stitches run parallel through the length of adjacent blocks.
Available only for manual punching patterns.
Manual punch
Notes on programmable fill stitches and
stamps
When setting the sew type and pattern directions of
a programmable fill stitch or a stamp, lines will not
be sewn if the sew type and pattern direction
settings cause a stitch to be sewn in the same
direction as a line in the stitch pattern.
Use the Preview function to view exactly how the
stitch pattern will be sewn, and then set the stitch
direction and pattern direction according to the
selected sew type or to the effect that you want to
produce. To get an even better view, make test
samples of different settings.
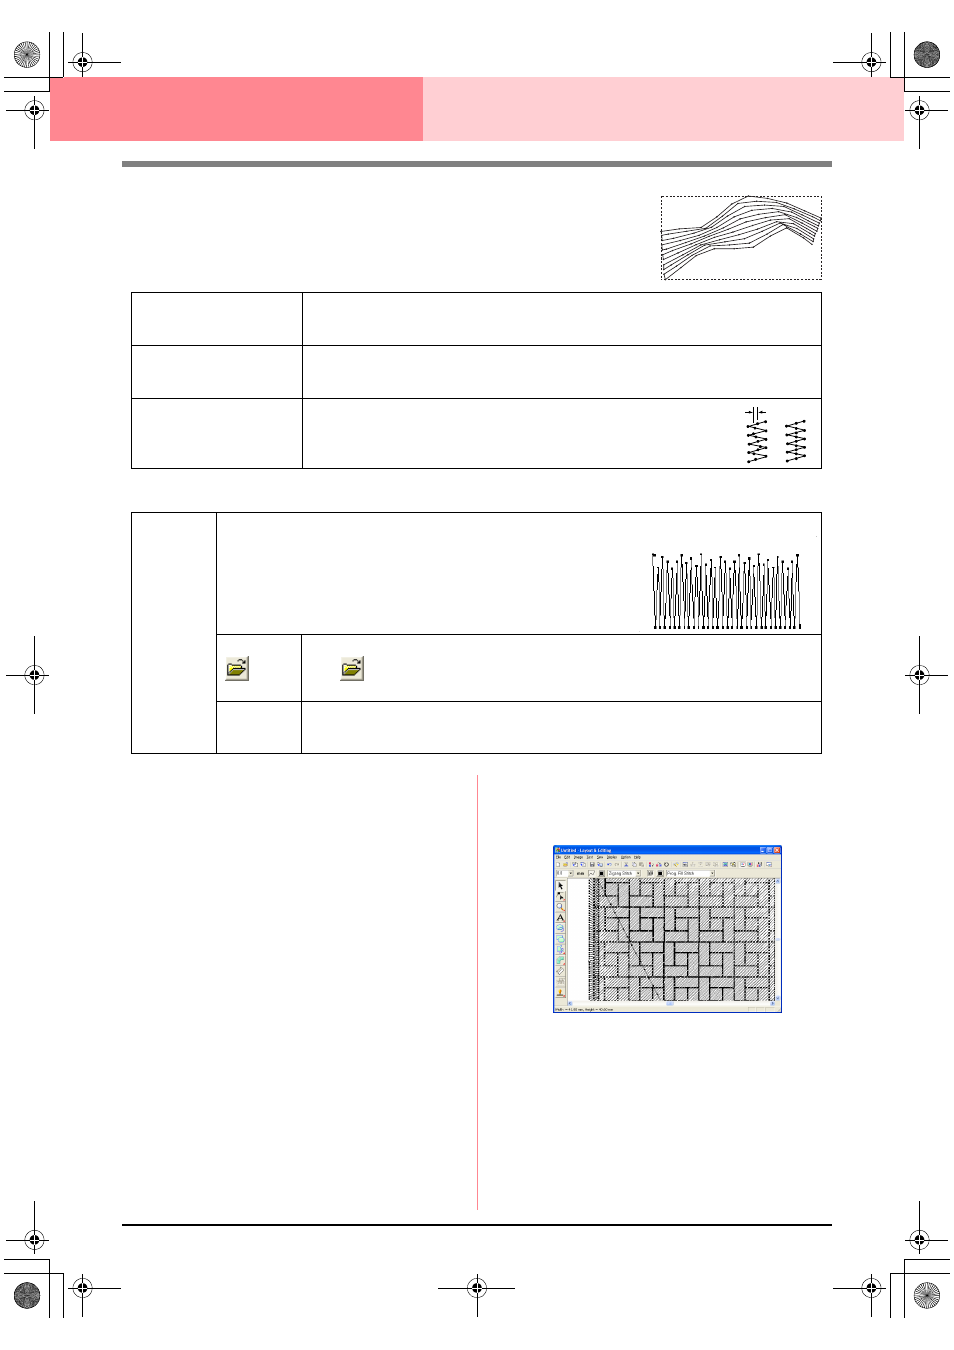
Examples of programmable fill stitching:
Density
Sets the number of lines per millimeter.
Range: 0.5–7.0 lines per mm (13–178 lines per inch)
Default: 2.0 lines per mm (51 lines per inch)
Run pitch
Sets the pitch of the line sewing.
Range: 1–10.0 mm (0.04–0.39 inch)
Default: 4.0 mm (0.16 inch)
Frequency
Sets the spacial frequency steps.
Range: 0–99%
Default: 30%
0%
30%
Feathered
edge
Sets which edge of the stitching that the feathered edge is applied to.
Top: Feathered edge is sewn on the top edge.
Bottom: Feathered edge is sewn on the bottom edge.
When creating data with a Manual Punch tool, the top edge is the side
containing the first and third points, and the bottom edge is the side con-
taining the second and fourth points.
Select a pattern for the feathered edge.
Click
, and then, in the Browse dialog box that appeared, double-click the desired pat-
tern, or select it, and then click OK.
Length
Sets the length of the feathered edge.
Range: 0.2–100 mm (0.01–3.94 inches)
Default: 3 mm (0.12 inch)
Feather edge applied to the top:
Example 1
Stitch direction: 45° (default)
PeDesignV6Eng.book Page 178 Thursday, July 8, 2004 11:59 AM