Editing a stitch pattern in fill/stamp mode, Selecting patterns, Moving patterns – Brother PE-DESIGN Ver.6 User Manual
Page 221: Programmable stitch creator
Advanced Opreation
Programmable
Stitch Creator
213
Programmable Stitch Creator
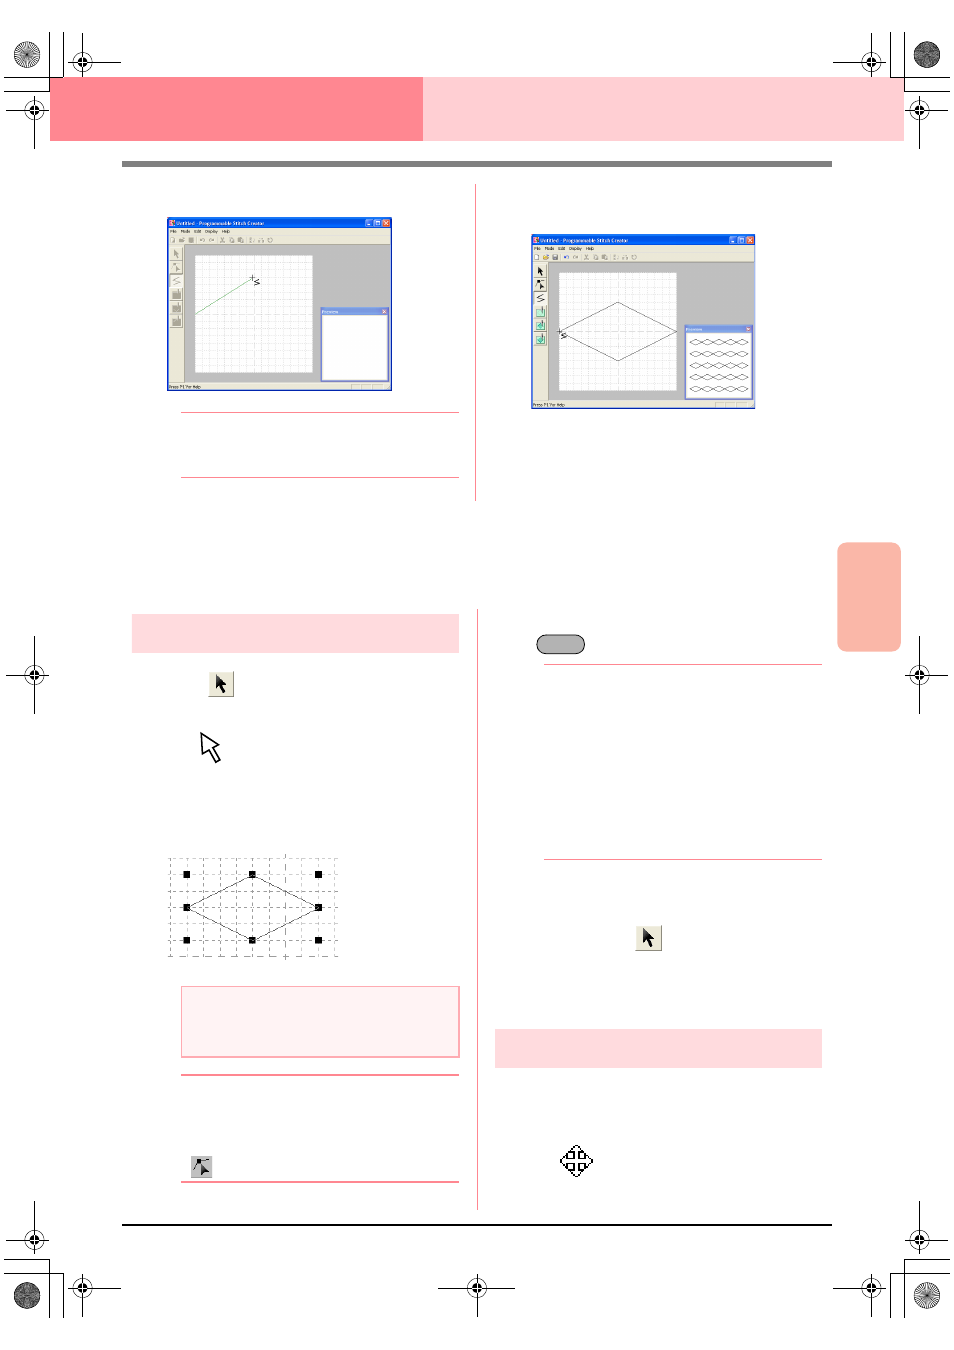
3.
Click in the work area to specify the next point.
b
Memo:
To remove the last point that was entered,
click the right mouse button.
4.
Continue clicking to specify every point, and
then double-click the last point.
5.
Repeat the entire procedure until the fill/stamp
stitch pattern is completed.
Editing a Stitch Pattern in Fill/Stamp
Mode
Selecting patterns
1.
Click
on the Tool Box.
→ The shape of the pointer changes to
.
2.
Click the pattern that you want to select.
→ Handles appear around the pattern to show
that it is selected.
b
Memo:
To deselect the pattern, select a different
one, click a blank area of the work area, or
click a button in the Tool Box other than
.
3.
To select an additional pattern, hold down the
key and click the other pattern.
b
Memo:
• You can also select patterns by dragging
the pointer across the pattern that you
want to select. As you drag the pointer, a
selection frame is drawn. All patterns that
are contained in that selection frame are
selected when the mouse button is
released.
• If you selected patterns that you did not
want, click a blank area of the work area to
deselect all patterns, and start again.
■
Selecting all patterns
1.
Make sure that
on the Tool Box is
selected.
2.
Click Edit, then Select All.
Moving patterns
1.
Move the pointer over a selected pattern or
group of selected patterns.
→ The shape of the pointer changes to
.
a
Note:
A pattern will not be selected if you do not
click one of its lines.
Ctrl
PeDesignV6Eng.book Page 213 Thursday, July 8, 2004 11:59 AM