Display menu, Layout & editing – Brother PE-DESIGN Ver.6 User Manual
Page 255
Reference
Layout & Editing
247
Layout & Editing
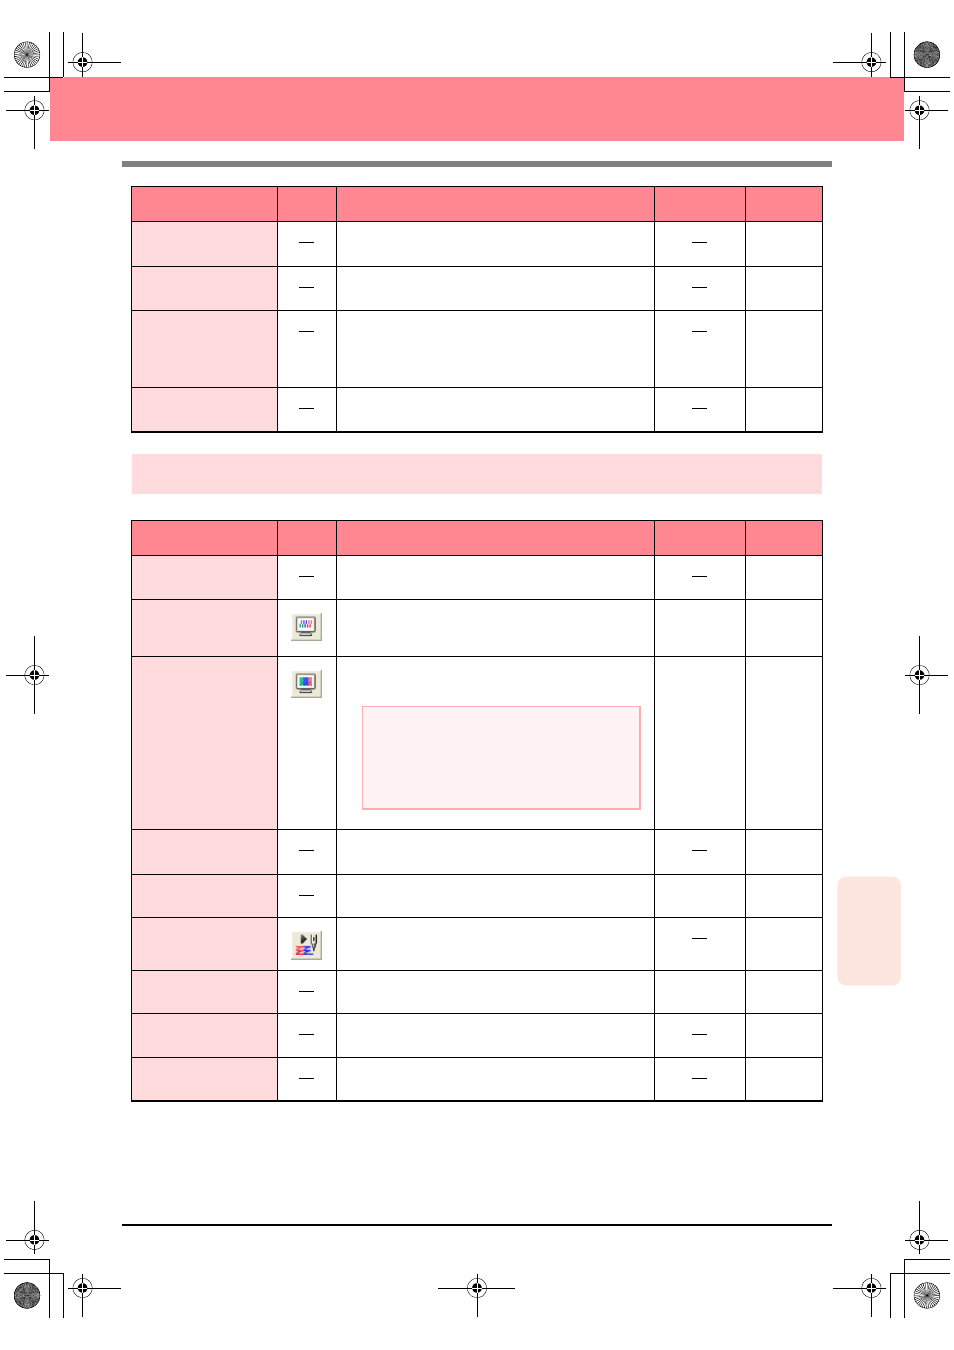
Display menu
The Display menu contains commands for modifying the appearance of the screen.
Applique Wizard
Provides step-by-step instructions for easily creating
appliqués.
p. 181
Select Sewing Area
Sets the sewing area.
p. 183
Optimize hoop
change
Optimizes the sewing order of patterns in a Design
Page for multi-position embroidery frames (100 × 172
mm, 172 × 100 mm, 130 × 300 mm, or 300 × 130
mm).
p. 204
Optimize Entry/
Exit points
Optimizes the positions of the entry points and the exit
points for the sewing data.
p. 139
Menu
Toolbar
Purpose
Shortcut key
See page
Grid Setup
Controls the display and characteristics of the grid.
p. 202
Preview
Specifies whether the patterns appear as stitches or
in the normal view.
F9
p. 187
Realistic Preview
Displays a realistic image of how either selected patterns
or all patterns will look after being embroidered.
Shift + F9
p. 187
Realistic Preview
Attribute Setting
Sets the preview attributes for the Realistic Preview
function.
p. 187
Refresh Window
Updates the screen.
Ctrl + R
Stitch Simulator
Displays a simulation of the machine stitching.
p. 188
Reference Window
Hides/displays the Reference window.
F11
p. 193
Toolbar
Hides/displays the Toolbar.
p. 107
Status Bar
Hides/displays the status bar.
p. 107
Menu
Toolbar
Purpose
Shortcut key
See page
a
Note:
The Realistic Preview function cannot display a
clean preview of the pattern if the monitor is set
to 256 colors or less. The monitor should be set
to at least 16-bit High Color (65536 colors).
PeDesignV6Eng.book Page 247 Thursday, July 8, 2004 11:59 AM