Selecting a pattern to be created, Opening an image in the background, Programmable stitch creator b – Brother PE-DESIGN Ver.6 User Manual
Page 218
210
Programmable Stitch Creator
b
Memo:
The mode will automatically change to match
that of the selected pattern (Fill/Stamp for
.pas files or Motif for .pmf files).
→ If the current work area has not been
saved, you will be asked whether you
want to save the changes.
b
Memo:
• To save the work area, click Yes.
• To abandon the work area, click No.
• To return to the work area, for example, to
modify it or save it with another file name,
click Cancel.
c
“Creating a new pattern” on page 209,
“Overwriting” on page 221 and “Saving
with a new name” on page 221
Opening an image in the
background
You can open a background image that can be used
as a guide to draw a new fill/stamp and motif stitch
pattern. The file name extension must be one of the
following: Windows bitmap (.bmp), Exif (.tif, .jpg),
ZsoftPCX (.pcx), Windows Meta File (.wmf),
Portable Network Graphics (.png), Encapsulated
PostScript (.eps), Kodak PhotoCD (.pcd), FlashPix
(.fpx), JPEG2000 (.j2k).
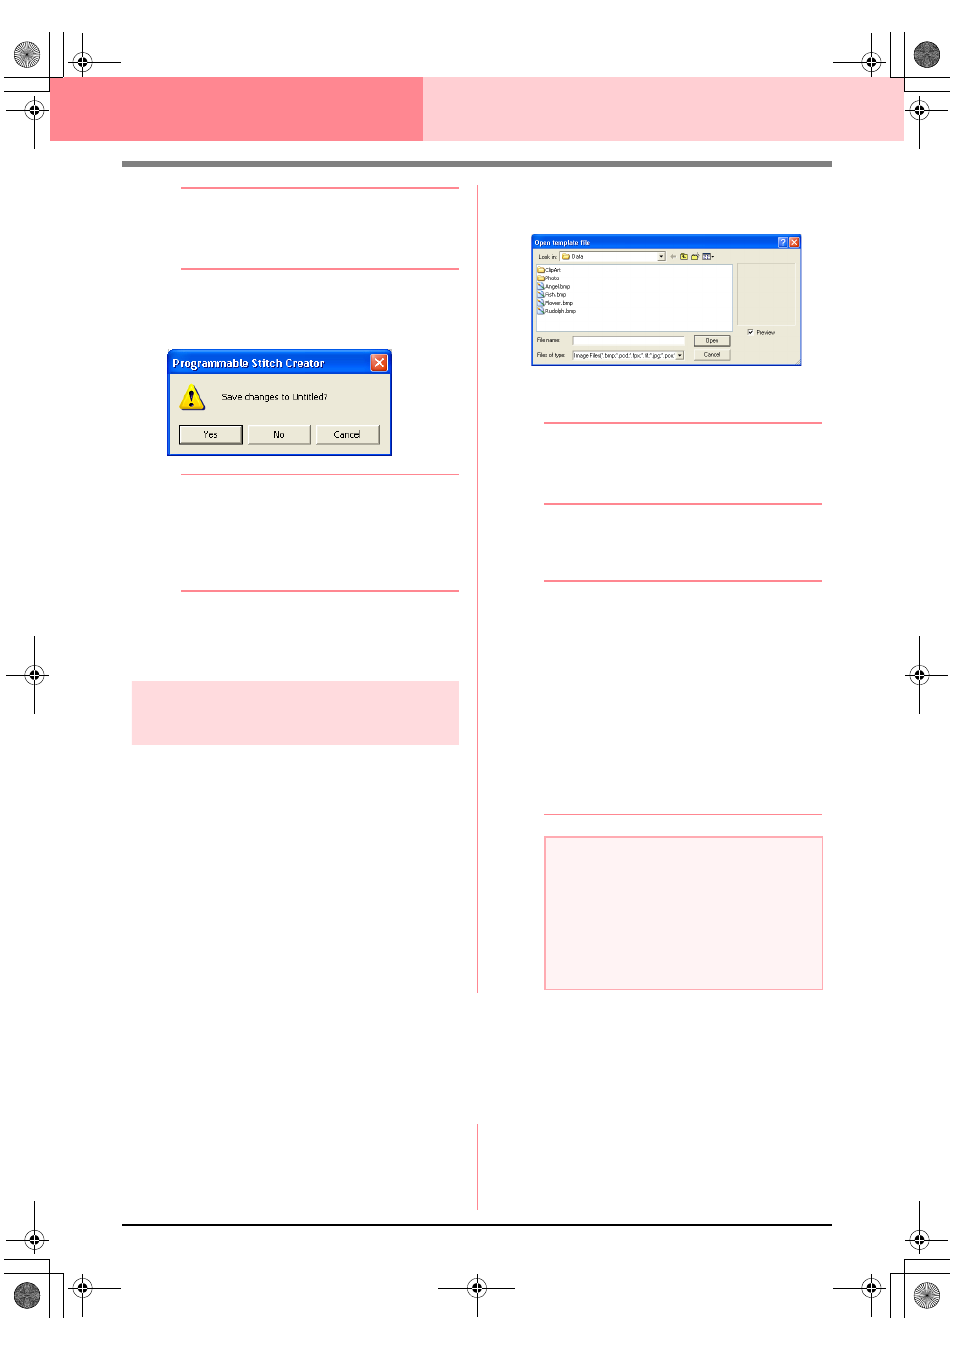
1.
Click File, then Template Open.
→ An Open template file dialog box similar
to the one shown below appears.
2.
Select the drive, the folder and the desired file.
b
Memo:
If the Preview check box is selected, the
contents of the selected file will appear in the
Preview box.
3.
Click Open to open the file.
→ The image fills the work area.
b
Memo:
• Double-clicking the file name also opens
the file and closes the dialog box.
• To quit the operation, click Cancel.
• To display, hide, or display a faded copy of
the image that remains in the work area,
click Image, then Display Image, and
then click the desired display setting.
• To display the original image, click
On.
• To display a faded copy of the image,
click Faded.
• To hide the original image, click Off.
Selecting a Pattern To Be Created
You can use Programmable Stitch Creator to create patterns for programmable fill stitches, stamps, motif fill
stitches, motif line stitches. The method and work area are slightly different for each. Use the commands on
the Mode menu to select the type of pattern that you want to create.
1.
To enter Fill/Stamp mode, click Mode, then
Fill/Stamp.
To enter Motif mode, click Mode, then Motif.
→ If the current work area has already been
saved or has not been edited, a blank
work area immediately appears in the se-
lected mode.
a
Note:
• With .pcd and .fpx files containing many
pages, only the first page can be opened.
Tiff files with LZW compression cannot be
opened.
• Only one image can be added to the work
area. If you try to display a different image,
it will replace the previous one.
PeDesignV6Eng.book Page 210 Thursday, July 8, 2004 11:59 AM