Changing the size and position of the image, Saving the image data, Layout & editing – Brother PE-DESIGN Ver.6 User Manual
Page 122
114
Layout & Editing
Inputting Images and Embroidery Patterns
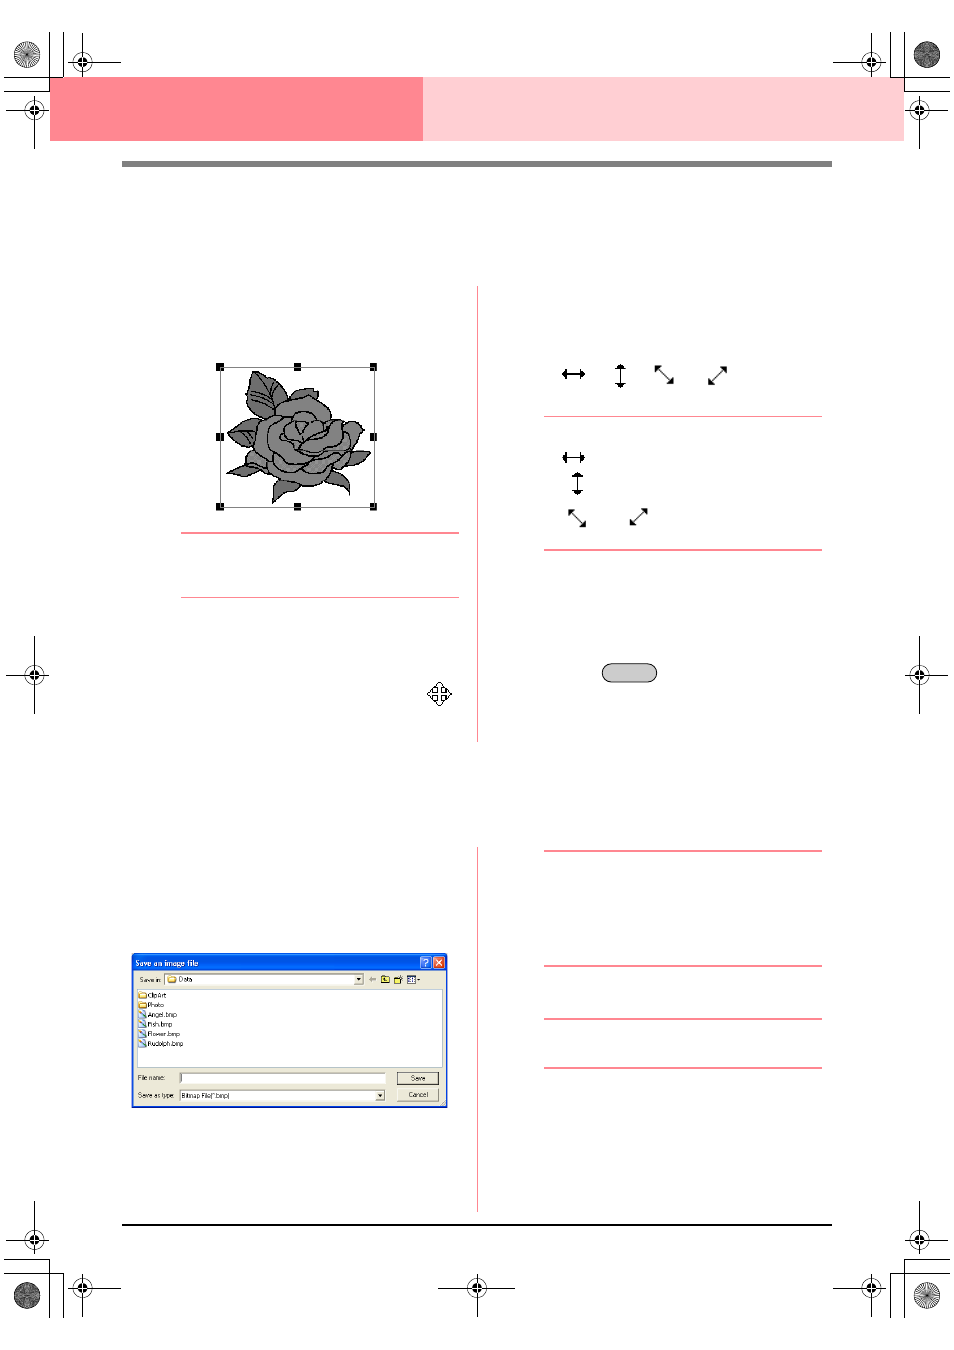
Changing the Size and Position of the
Image
The size and position of the image can be adjusted.
1.
Click Image, then Modify.
→ A red line and handles appear around the
image.
b
Memo:
The status bar shows the dimensions (width
and height) of the image.
Moving an image:
1.
Move the pointer over the image.
→ The shape of the pointer changes to
.
2.
Drag the image to the desired location.
Scaling an image:
1.
Move the pointer over one of the handles.
→ The shape of the pointer changes to
, ,
or ,
depending
on the handle that the pointer is over.
b
Memo:
•
is for scaling the width.
•
is for scaling the height.
•
and
are for scaling both
dimensions at the same time.
2.
Drag the handle to adjust the image to the
desired size.
Deleting an image:
1.
Press the
key, or click Edit, then
Delete.
→ The image will be deleted from the Design
Page.
Saving the Image Data
The image can be saved as a file or outputted to the Clipboard.
■
Saving as a file
1.
Click Image, then Output, then to File.
→ A dialog box similar to the one shown be-
low appears.
2.
Select the drive, the folder and the format in
which you want to save the image data.
3.
Type in the file name.
b
Memo:
• The correct extension is automatically
selected.
• The image data can be saved in either of
the following formats: Windows bitmap
(.bmp), Exif (.jpg).
4.
Click Save to save the data.
b
Memo:
To quit the operation, click Cancel.
■
Outputting to the Clipboard
1.
Click Image, then Output, then to Clipboard.
→ The image data in the Design Page is
copied onto the Clipboard.
Delete
PeDesignV6Eng.book Page 114 Thursday, July 8, 2004 11:59 AM