Specifying the sewing area, Layout & editing – Brother PE-DESIGN Ver.6 User Manual
Page 191
Advanced Opreation
Layout & Editing
183
Layout & Editing
Checking Embroidery Patterns
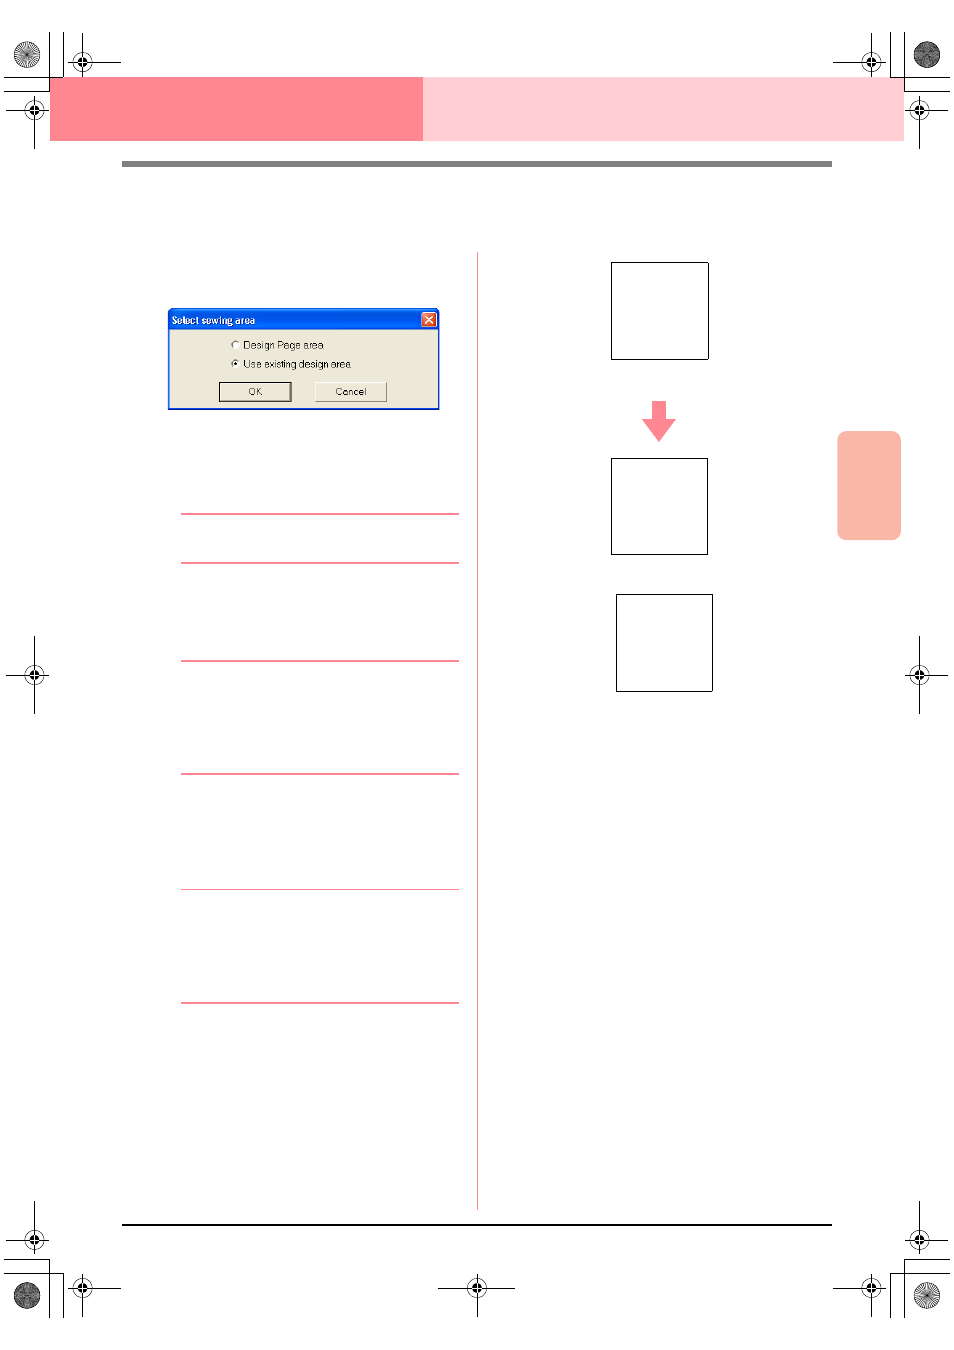
Specifying the Sewing Area
The sewing area can be specified.
1.
Click Sew, then Select Sewing Area.
→ The following dialog box appears.
2.
Select the desired sewing area (Design Page
area or Use existing design area).
3.
Click OK.
b
Memo:
To quit the operation, click Cancel.
→ If Design Page area was selected, the
patterns will be sewn so that the needle
position when you start sewing is aligned
with the center of your Design Page.
b
Memo:
When Design Page area is selected, the
dimension of the pattern matches the size of
the Design Page, therefore reducing the
ability to move a pattern around the layout
screen of your embroidering machine.
→ If Use existing design area was select-
ed, the patterns will be sewn so that the
needle position when you start sewing is
aligned with the center of the actual pat-
terns.
b
Memo:
When Use existing design area is selected,
the actual pattern size is maintained,
therefore allowing greater mobility when
using the layout functions of your
embroidering machine.
c
“Specifying the Design Page” on
page 108
Design Page (on your screen)
A
Sewing area = Design Page area
A
Sewing area = Use existing design area
A
PeDesignV6Eng.book Page 183 Thursday, July 8, 2004 11:59 AM