In-Situ TROLL 9500 Operators Manual User Manual
Page 91
84
TROLL 9500 Operator’s Manual
0095110 rev. 007 01/09
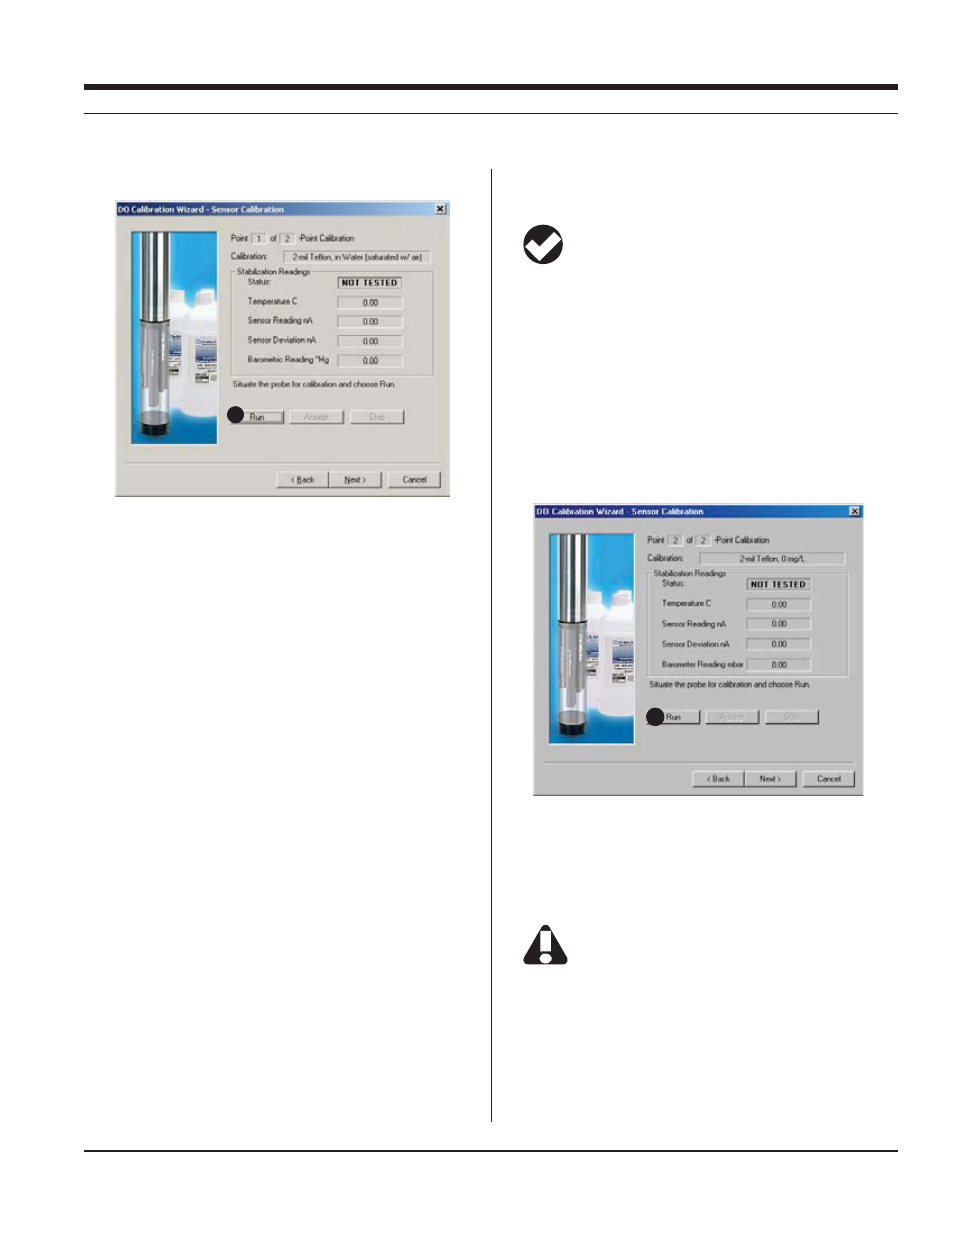
16. Click Next to continue. A screen like this will be displayed:
17. Select Run to begin stabilization for the first calibration point.
The display will continuously update as readings are taken and
compared against the stabilization criteria.
s
NOT
TESTED is displayed until you begin the calibration by
selecting Run.
UNSTABLE indicates the sensor response does not meet the
criteria for a valid calibration point.
NOMINAL indicates the sensor deviation meets early stabiliza-
tion criteria.
The
Accept button becomes available when nominal stability is
achieved. You may accept the early value, or wait for com-
plete stability. If you accept the early value, the status will be
designated “USER SET” in the calibration report. (For more on
calibration reports, see “Calibration History” in Section 10.)
STABLE is displayed when the readings have stabilized suffi-
ciently to take a valid calibration point. The calibration proceeds
automatically to the next screen.
s
s
ings. This enables you to follow the progress of the stabilization,
but the deviation from the previous reading is not necessarily the
best indicator of stability as the software is looking at longer-term
trends.
s
values are used to calculate the stimulus.
TIP: If the calibration stimulus was entered from a look-up
table at step 15 and the temperature is not as expected, you
may select Stop, then Back to retrieve the Setup page and
re-enter the User Set stimulus.
18. When readings have stabilized (or you click to Accept the Nomi-
nal result), the calibration will advance automatically.
If doing a 1-point calibration, go to step 20.
For a 2-point calibration, the Wizard displays a screen similar to
the one shown below and waits for you to situate the sensor in
oxygen-depleted medium—either the Cal Cup filled with sodium
sulfite solution, or a nitrogen-saturated water bath.This time, the
D.O. sensor membrane should be completely immersed in solu-
tion, as well as the temperature sensor.
Allow about 15 minutes for the sensor to stabilize in the medium.
19. Select Run to begin the stabilization for the 0% calibration point.
Controls and status indicators are the same as for the first calibra-
tion point (step 17).
In true 0% conditions, the sensor reading will be 10 nA or
less. If the sensor needs maintenance or there is oxygen in
the medium, readings will be higher than 10 nA and
complete stability will never be reached. If an accurate 0% calibration
is important to your application, do not accept Nominal. Cancel the
calibration, perform sensor maintenance and/or check the conditions,
and repeat the calibration.
SECTION 13: DISSOLVED OXYGEN—POLAROGRAPHIC
17
19