In-Situ TROLL 9500 Operators Manual User Manual
Page 27
20
0095110 rev. 007 01/09
TROLL 9500 Operator’s Manual
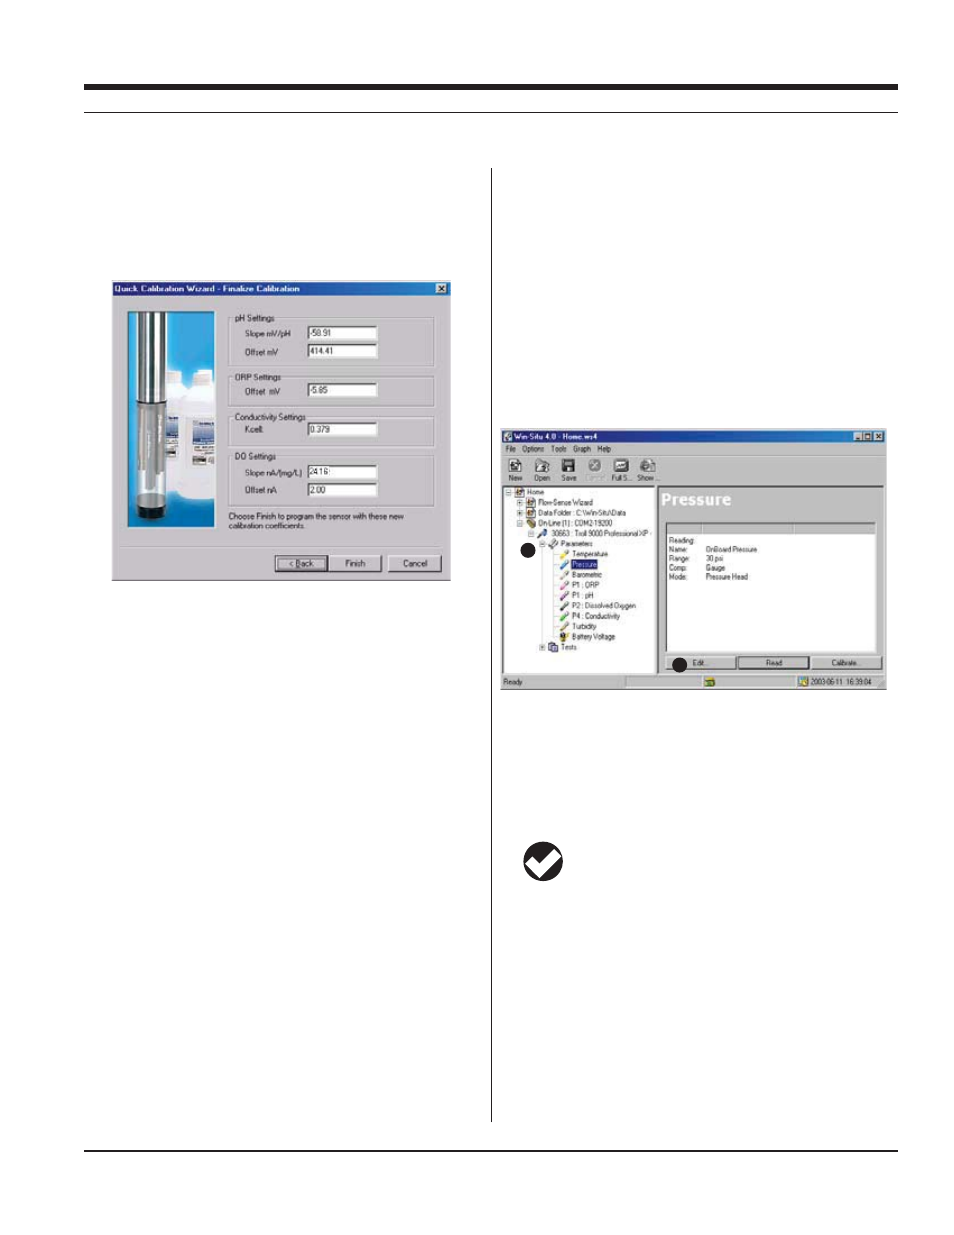
The Wizard displays a final calibration screen like the one below
at the end of the Quick Calibration procedure. This information
is also stored in the Calibration Report. Click Finish to continue.
When you click Finish, the calibration information is written to the
sensors.
The calibrated sensors are ready to take measurements.
Ideally, you chould calibrate just before using the MP TROLL 9500.
However, if the the instrument will not be put to use immediately, store
it as follows:
s
and the sensors. Add about 50-100 mL of tap water to the Cal
Cup. Return the probe to the Cal Cup for transport to the field.
CALIBRATE THE EXTENDED SENSORS
For some sensors, the Quick-Cal procedure is not available. A tradi-
tional calibration is recommended. To calibrate, select the sensor in
the Parameters list and click or tap Calibrate to launch a Calibration
Wizard. Complete calibration information is in the following sections of
this manual:
RDO Optical Dissolved Oxygen
Section 13 (second part)
Ammonium
Section
15
Chloride
Section
16
Nitrate
Section
17
Turbidity
Section
18
SET UP CUSTOM PRESSURE/LEVEL MEASURE-
MENTS
You can configure a pressure channel to display measurements just
the way you want them—as raw pressure head above the sensor, as
depth, or as water level with a reference. The specified settings are
easily changed from one mode to another, and any choice can be
redone or undone later, when viewing test data.
1. With the MP TROLL 9500 connected to a host PC, select the pres-
sure parameter in the Navigation tree.
2. Click or tap Edit....
The Parameter Wizard will help you enter the required information.
The choices are explained in greater detail in Section 7 below.
3. When you finish the Wizard, the information is written to the device
and the display is updated. The pressure channel is ready to take
measurements
TIP: For complete information on setting up the pressure
parameter, refer to Section 7 of this operator’s manual.
SECTION 3: GETTING STARTED
1
2