Figure 3-12: mount the chassis – Maple Systems PC419C User Manual
Page 45
Page 33
1010-1023, Rev 00
Figure 3-11: Mount the Chassis
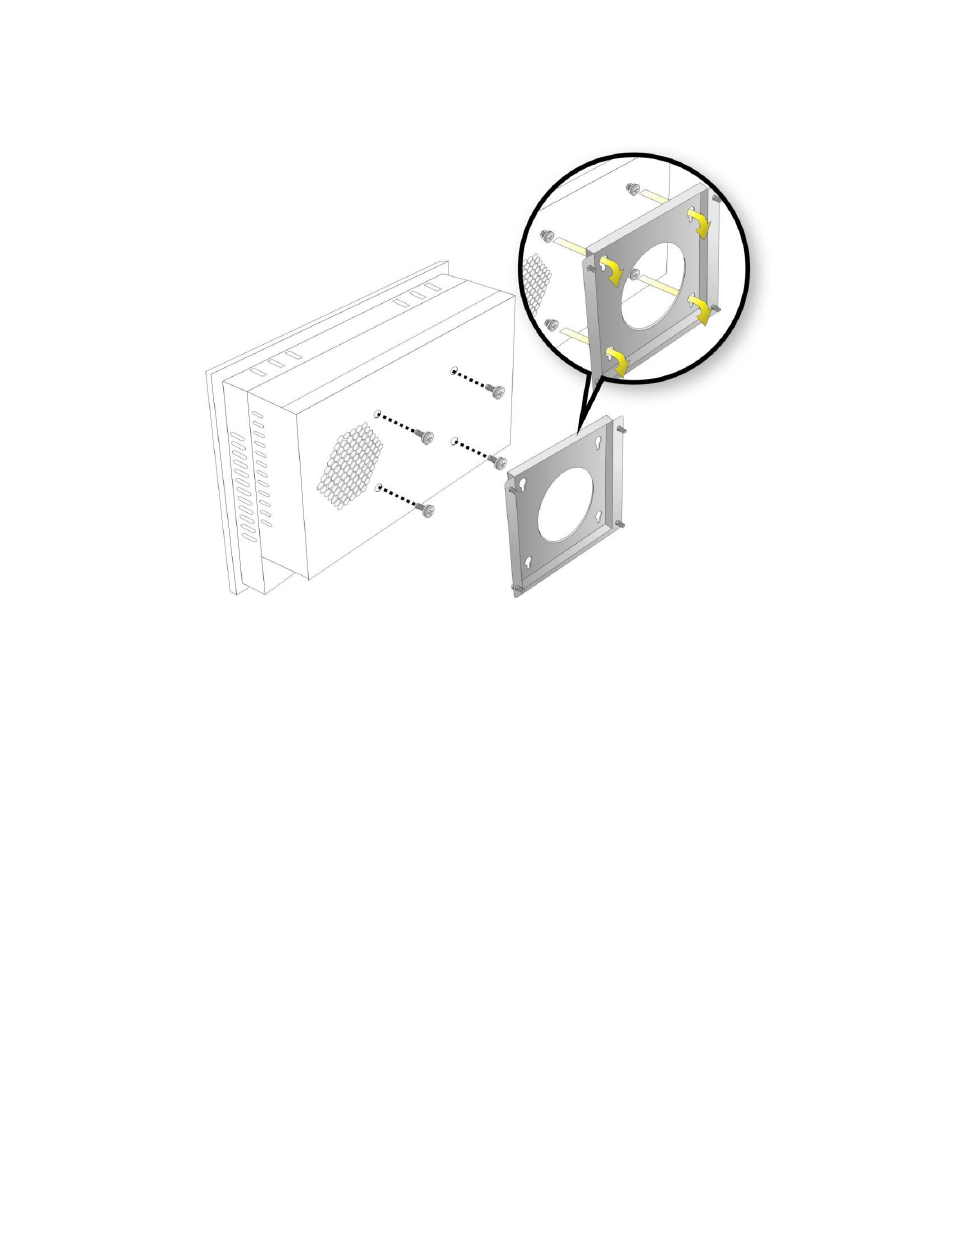
Step 9:
Secure the panel PC with the wall-mounting kit. To do this, stick the protective
cushion on the wall-mounting kit first. Then, put the wall-mounting kit on the top
panel of the panel PC. Carefully mark the location of the wall-mounting kit screw
holes on the wall. Drill a pilot hole at the marked location on the wall. Secure the
wall-mounting kit to the wall by inserting a retention screw into the pilot hole on
the wall (
Figure 3-12). This step avoids pushing apart the panel PC from the
wall-mounting bracket accidentally.
Step 9: