Acroprint timeQplus (software version 4.x and above) User Manual
Page 64
timeQplus Administrator Functions
06-0414-000 Rev. B
60
• Click
Ok when done or Cancel to exit.
To manually poll or update a single connected Time Clock:
• Navigate to the Time Clock screen and click the appropriate tab on the left.
• Click a Time Clock in the list to highlight and then click the Poll Clock button.
• Click a Time Clock in the list to highlight and then click the Update Clock button.
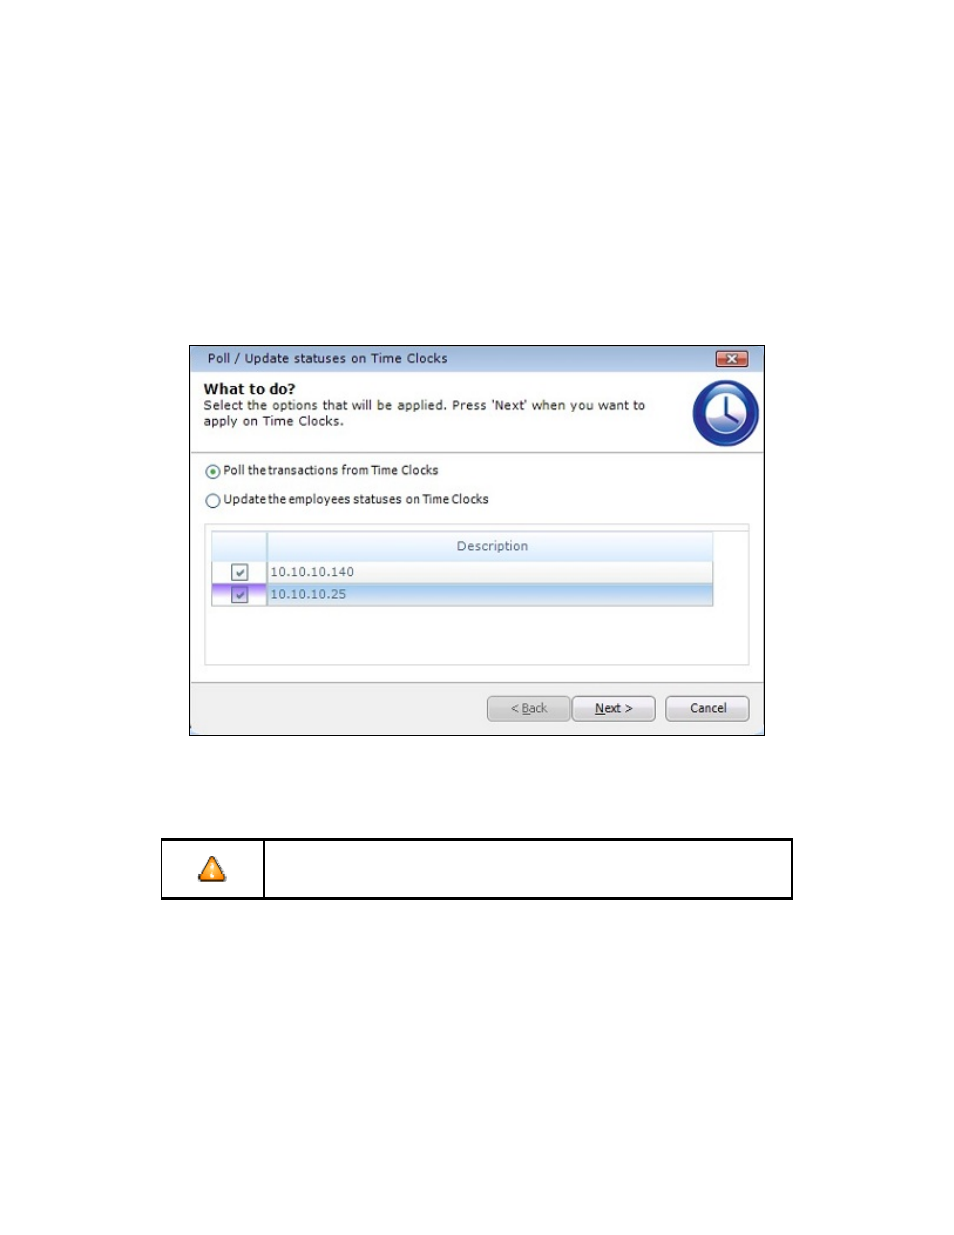
To manually poll or update multiple connected time clocks simultaneously:
• Click
the
Multi Time Clock Poll & Update button located at upper right of Time Clock screen.
• Check the box to the left of the Time Clocks you wish to include (identified by IP address).
• Select either Poll or Update and then click Next to proceed.
Changing Time Clock Connection Types
Use caution when making changes to the Time Clock configuration.
Incorrect settings can cause the software to be unable to
communicate with the Time Clock.
In certain instances, it may be necessary to change an Ethernet or Serial connected Time Clock to a USB
Time Clock. Some reasons for this action:
-
A previously installed Ethernet or serial connected Time Clock is being moved to a location
without a network or serial connection.
-
Communication to an existing Ethernet connected Time Clock has been lost and the user needs
to get the transaction data from the clock.
To change a Time Clock’s connection type from Ethernet or Serial to USB:
• Select the Time Clock and click the Time Clock Details button. The Time Clock Details screen
will appear.
• Click
USB flash drive and then click Save.