Acroprint timeQplus (software version 4.x and above) User Manual
Page 29
timeQplus Administrator Functions
06-0414-000 Rev. B
25
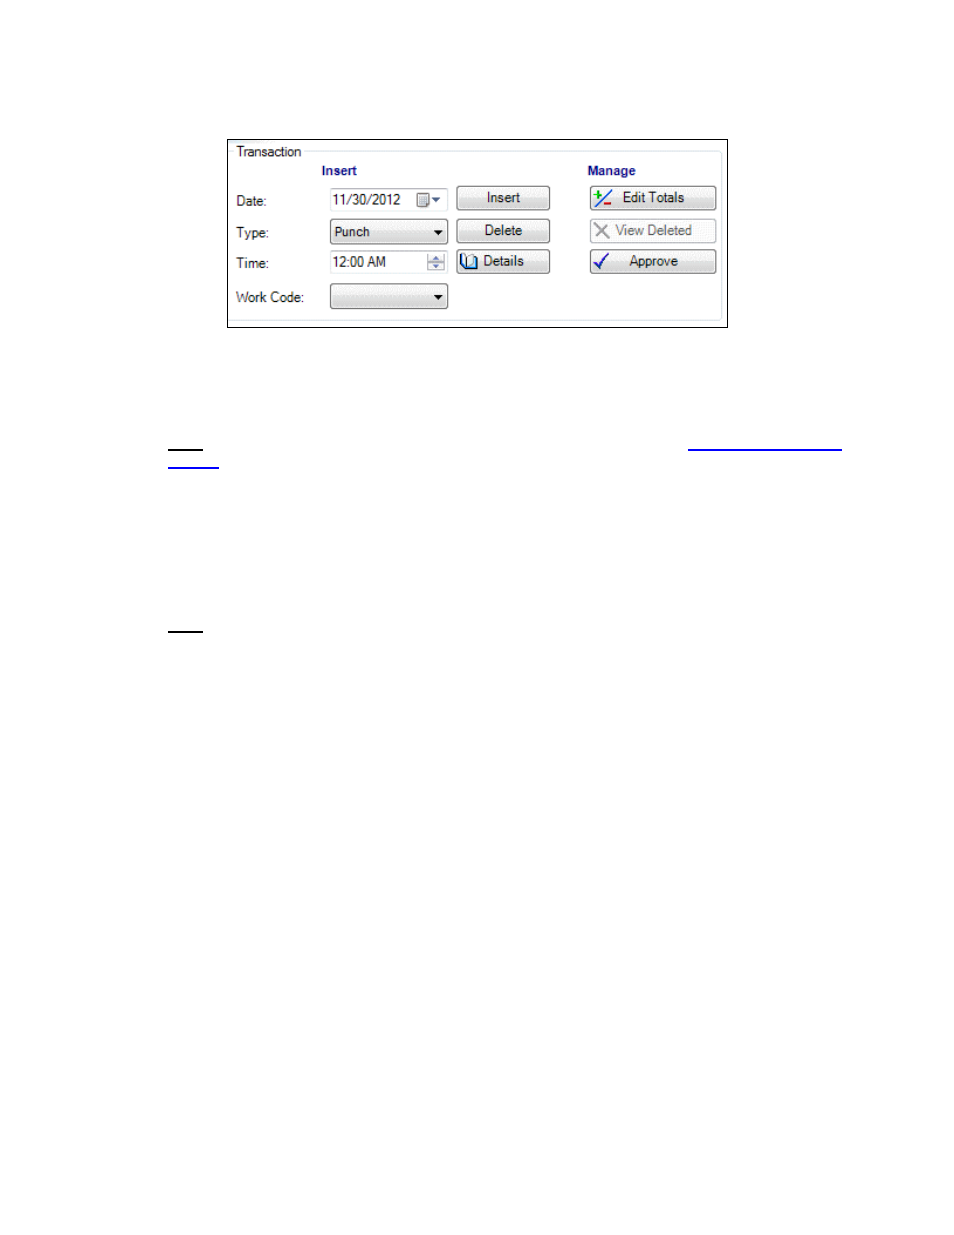
Managing Transactions
To insert a transaction:
• On
the
Punch Editing screen, select employee from the ‘Select an Employee’ drop-down list.
• Select the appropriate pay period from the ‘Choose a Pay Period’ drop-down list. Be certain to
confirm transaction being inserted occurs within the date range of the pay period.
Note: Transactions added to the Future pay period will appear in the
Future Transactions
Report
until such time as the Pay Period in which the transaction occurs becomes the Current
pay period.
• Enter
the
Date of the transaction you are inserting in the field in the Insert section of the
Transaction area at the bottom left of the screen. You may simply type the desired date in the
field, or click the arrow at the right of the field to open a calendar to select the correct date.
• Select the type of transaction to insert from the ‘Type’ drop-down menu: PUNCH, HOL (Holiday),
VAC (Vacation), SIC (Sick leave), REG (Regular time), FMLA (Family Medical Leave Act) or OTH
(Other). The transaction type is displayed in the IN/OUT column.
Note: The REG transaction is useful to add hours when an employee forgot or otherwise unable
to clock both in and out. The effect of adding hours via the REG transaction is essentially the
same as adding two individual PUNCH transactions for a missed In punch and a missed Out
punch.
• Enter the correct Time for the transaction you are inserting. If you are inserting a PUNCH, enter
the time when the punch should have taken place. For other inserted transactions (HOL, VAC,
SIC, REG, OTH or FMLA), enter the number of Hours to apply to this transaction. You may
simply type the correct value in the field; or, for Time, use the up or down arrows at the right of
the field to adjust the time.
• If applicable, select a Work Code from the drop down list.
• Click
the
Insert button or press the
o
When inserting a PUNCH transaction, you will be prompted to enter a comment, maybe
why the transaction was added, for example. Enter text in the blank box and click the
Save button.
o
Click
the
No Comment button to skip entering a comment and save the transaction. To
permanently disable the Comments dialog box, check the Don’t display this dialog again.
o
To enable the Comments dialog box after permanently disabling it, click File >
Supervisor Preferences… on the top menu bar, check the Show Punch Comment
Dialog box, and then click Save.
o
You can view comments by selecting an inserted PUNCH transaction and clicking the
Details button.
• The transaction will now appear on the Punch Editing Screen.