Acroprint timeQplus (software version 4.x and above) User Manual
Page 55
timeQplus Administrator Functions
06-0414-000 Rev. B
51
Adding an Ethernet Connected Time Clock
• Click
the
Time Clock button on the left Navigation Bar or click View on the top menu bar and
choose Time Clock. If you’re adding a hand punch, click the Hand Punch button on the left
Navigation Bar or click View on the top menu bar and choose Hand Punch.
• Click
the
Ethernet tab on the left of Time Clock Manager screen.
• Click
the
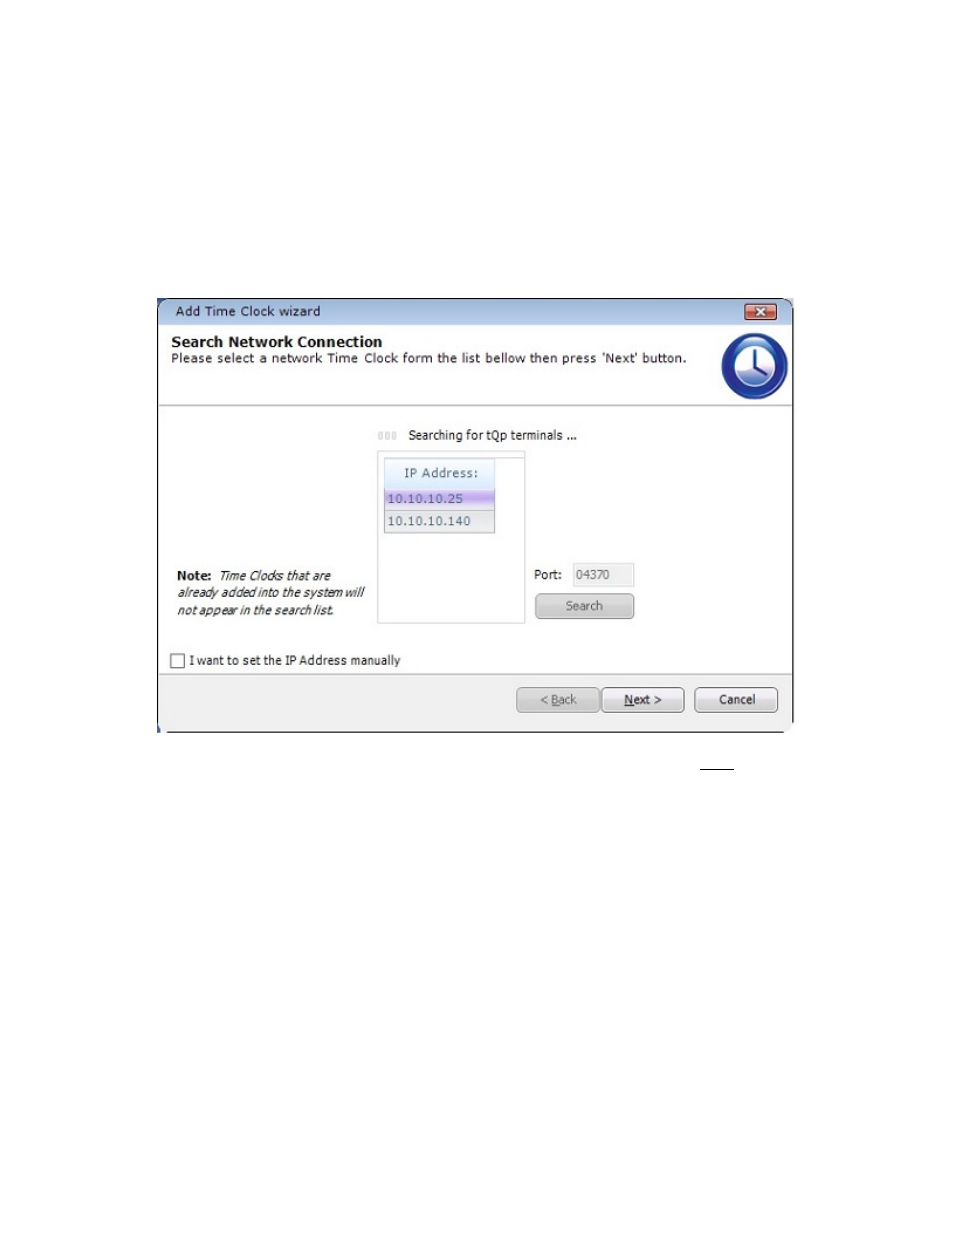
Add Time Clock button. The "Add Time Clock wizard" window will appear.
• Click
the
Next button. timeQplus will then automatically search your network for time clocks. Only
time clocks that have not been previously added to the software will be listed. If adding a hand
punch, you will need to manually enter the IP address information.
• Select the Time Clock you want to add, and then click the Next button. Note: You can also
manually input the IP address for Time Clocks outside the LAN but can possibly still be accessed
by timeQplus. To initiate this process, check the "I want to set the IP Address manually" box on
lower left, and then click the Next button.
• On
the
Network Connection window:
• If applicable, enter the Time Clock’s password (the COMM key value assigned on the Time
Clock). A password safeguards the Time Clock against unauthorized network access.
o
Enter a description, which is optional, but recommended. A description such as "Front
Lobby" or "Production Entrance C" can be useful if you have a number of Ethernet
connected Time Clocks.
o
Select the Time Clock’s time zone.
o
If not adding a hand punch, select a type for the Time Clock: Biometric (Finger), Badge
(Proximity/Barcode/Magstripe), or Facial Recognition.
• Click
the
Next button when finished.