Acroprint timeQplus (software version 4.x and above) User Manual
Page 60
timeQplus Administrator Functions
06-0414-000 Rev. B
56
Adding a USB Flash Drive Time Clock
This communication type is used when a Time Clock cannot be connected via an Ethernet or a Serial
Connection. It is essentially not connected at all so data is transferred to and from the Time Clock using a
USB flash drive.
• Click
the
Time Clock button on the left Navigation Bar or click View on the top menu bar and
choose Time Clock.
• Click
the
USB flash drive tab on the left of Time Clock Manager Screen.
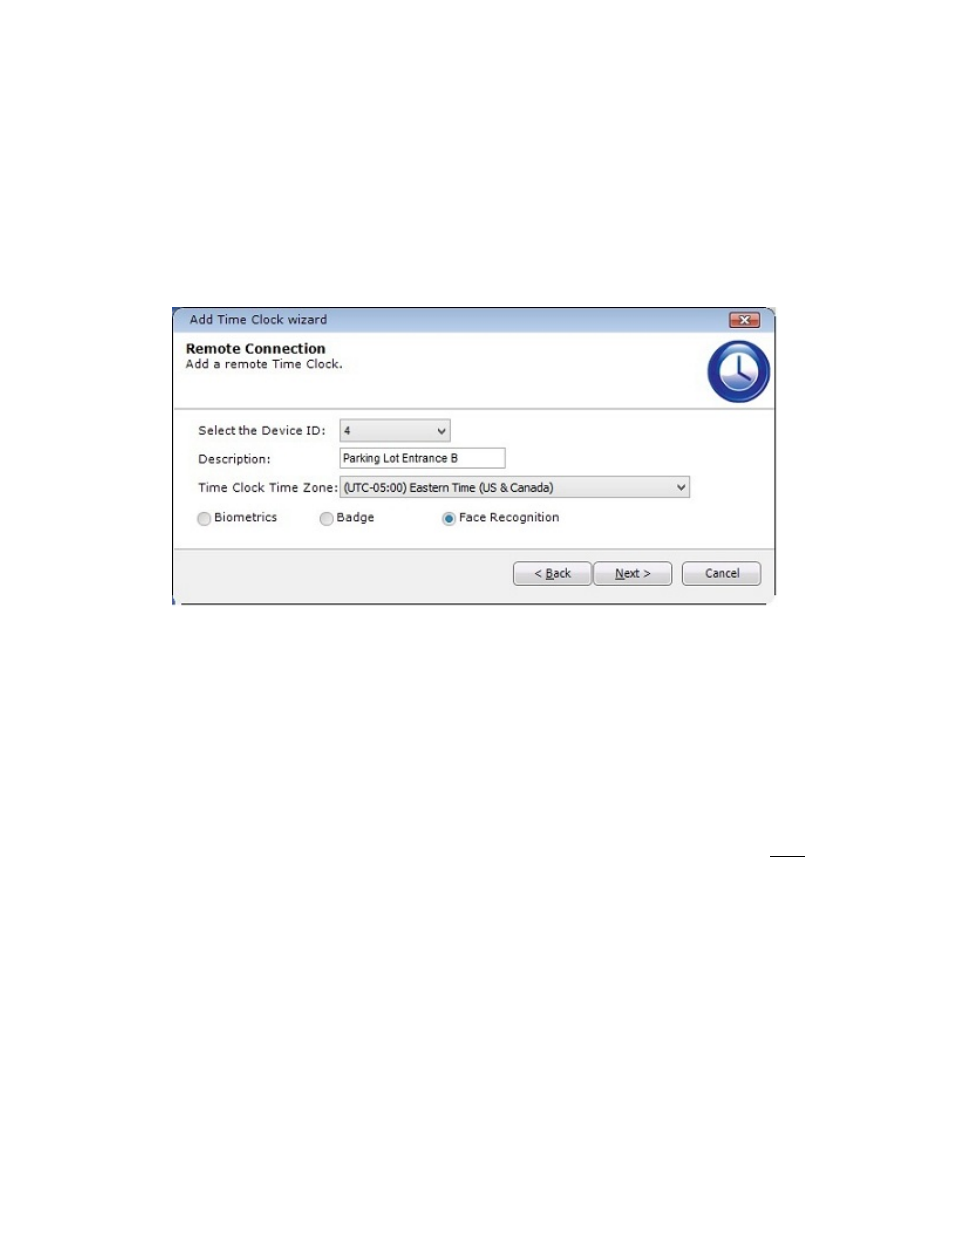
• Click the "Add Time Clock" button and then click "Next". The Remote Time Clock settings can
now be configured.
• Select the Device ID (from the Time Clock)
• Enter a Description (optional but recommended), such as the location of the Time Clock.
• Select the Time Zone.
• Select the Time Clock type: Biometric (finger reader); Badge (proximity/magnetic stripe/barcode
badge reader); Face Recognition.
• Click ‘Next’ and then "Finish".
Assigning/Removing Employees to/from Time Clocks
• Ensure
the
Employee Rights tab is selected at the top of the screen.
• Click the appropriate tab on the left to select the type of Time Clock communications. (Note: Use
Comm Port for USB-connected Time Clocks.)
• Click to select the desired Time Clock from the list.
• To
assign an employee to that Time Clock, click to select the desired employee name in the
Unassigned Employees box.
o
Click the right arrow button to move the employee’s name into the Assigned Employees
box.
o
To quickly and easily assign all employees to the Time Clock, click the double right arrow
button.
• To remove an employee from that Time Clock (meaning they will no longer be able to use that
Time Clock to punch), click to select that employee’s name in the Assigned Employees box and
then click the left arrow button to move the employee’s name back to the Unassigned Employees
box.