Acroprint timeQplus (software version 4.x and above) User Manual
Page 18
timeQplus Administrator Functions
06-0414-000 Rev. B
14
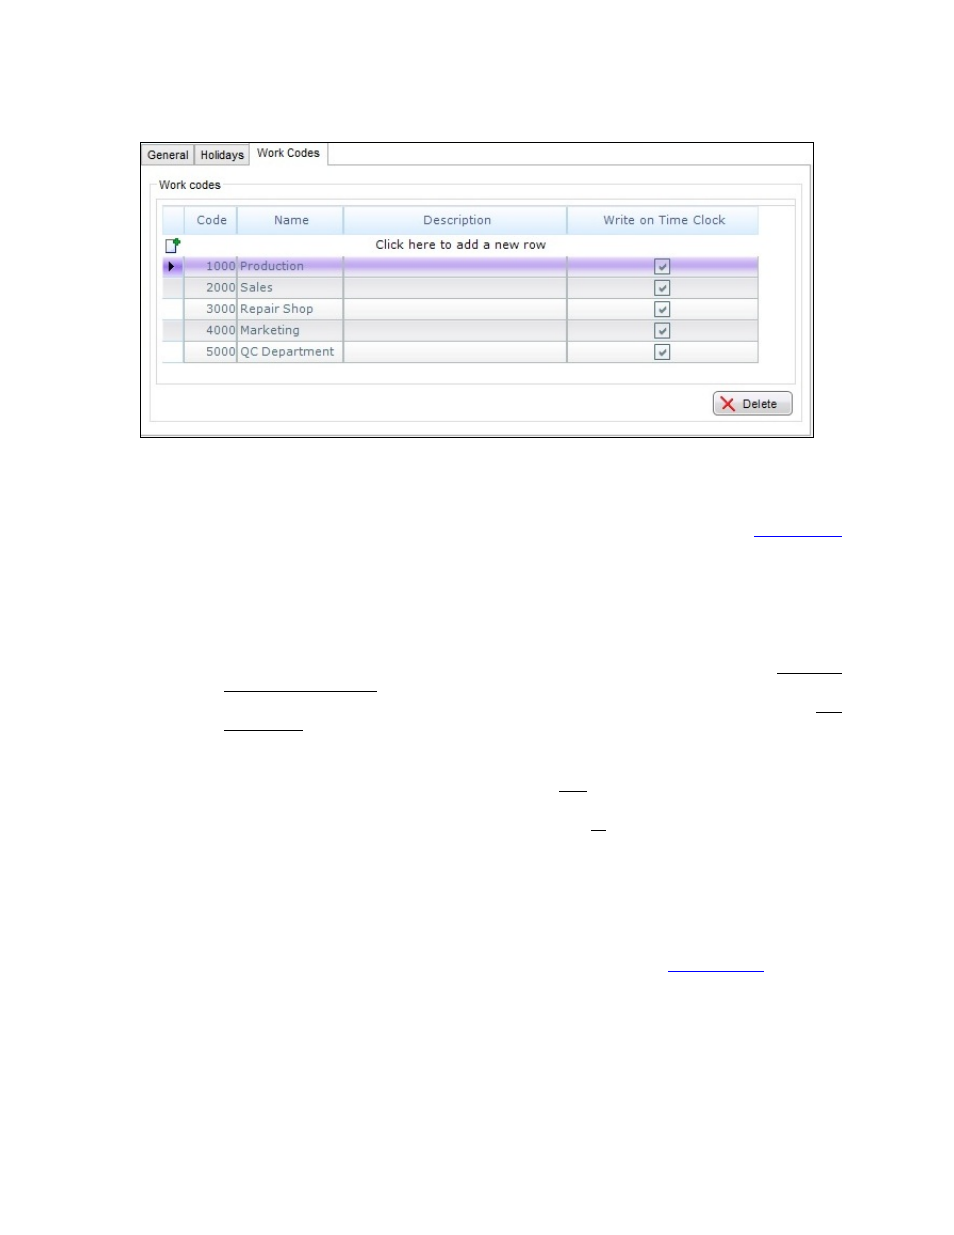
• Write to Time Clock – Must be checked before the work code can be assigned to employees or
used on any Time Clock (including the Virtual Clock).
The following applies to Hourly employees only:
• A Work Code must have "Write to Time Clock" set before it can be assigned to employees and
used on any Time Clock, including the Virtual Clock.
• Work Code assignments are managed on the Employees screen. Please see the
Work Codes
section in the timeQplus Supervisor Functions chapter for detailed instructions.
• Work Codes can be used on TQ600 Time Clocks (Facial, Biometric, Proximity, Barcode, and
Magstripe), and on the Virtual Clock.
• There are two modes for using Work Codes on connected Time Clocks (the Virtual Time Clock
handles Work Codes a bit differently). Consult the user manual for details on setting the
mode on each Time Clock.
o
Mode 3 - A Time Clock configured to Mode3 will allow employees to choose only their
assigned Work Codes stored in that Time Clock.
o
Mode 4 - A Time Clock configured to Mode 4 will allow any employee to choose any
Work Code that has been stored in that Time Clock.
• Because the Virtual Clock is controlled entirely by the timeQplus software, it reacts differently to
Work Codes:
o
If an employee is assigned Work Codes, then only those Work Codes are available to
choose when punching.
o
If an employee has no Work Codes assigned, then all Work Codes with ‘Write on Time
Clock’ checked will be available for use when punching.
• A punch is considered a ‘Transfer’ if a Work Code different from the previous punch is selected.
• All
OUT punches will have the same Work Code as the previous punch, which could be either an
IN or a TRANSFER.
The following applies to Salaried Employees only:
• To assign a salaried employee a work code, select the employee on the
Punch Editing
screen.
• In
the
Transaction area, select the date.
• Select ‘Reg’ from the Type drop down list and enter the time [HH:MM].
• Select a work code from the Work Code drop down list and click Insert to save changes.