Figure 262 selecting to edit status console config – Raritan Engineering Command Center CC-SG User Manual
Page 224
208 C
OMMAND
C
ENTER
S
ECURE
G
ATEWAY
A
DMINISTRATOR
G
UIDE
3. Click Save as Default at the bottom of the screen or press the TAB key and press Enter once
Save as Default is highlighted. Press ^Q or ^C to exit.
The Pre-Login and Message of the Day have three separate buffers or areas:
• Admin Console Screen – starts with a copy of the Active Message and can be edited by
this user / session.
• A system buffer that is held across system resets.
• The Active Message buffer (as seen by users when they interact with the system).
BUTTON
DESCRIPTION
Clear
Removes all text in the currently displayed Admin Console screen. Has
no effect on the value used by the system.
Load System Default Replaces the Admin Console Screen with the contents of the System
Buffer.
Save as Default
Puts the current Admin Console Screen into System Buffer. Has no
effect on the Active Message display.
Make Active
Replaces the current Active Message with the contents of the Admin
Console screen. All new users will see the new message.
Editing Status Console Configuration (Status Console)
The Diagnostic Console can be accessed from a serial or KVM port, or from Secure Shell (SSH)
clients. For each port type, you can configure whether or not status or admin logins are allowed
and if field support can also access Diagnostic Console from the port. For SSH, you can also
configure the port number to be used.
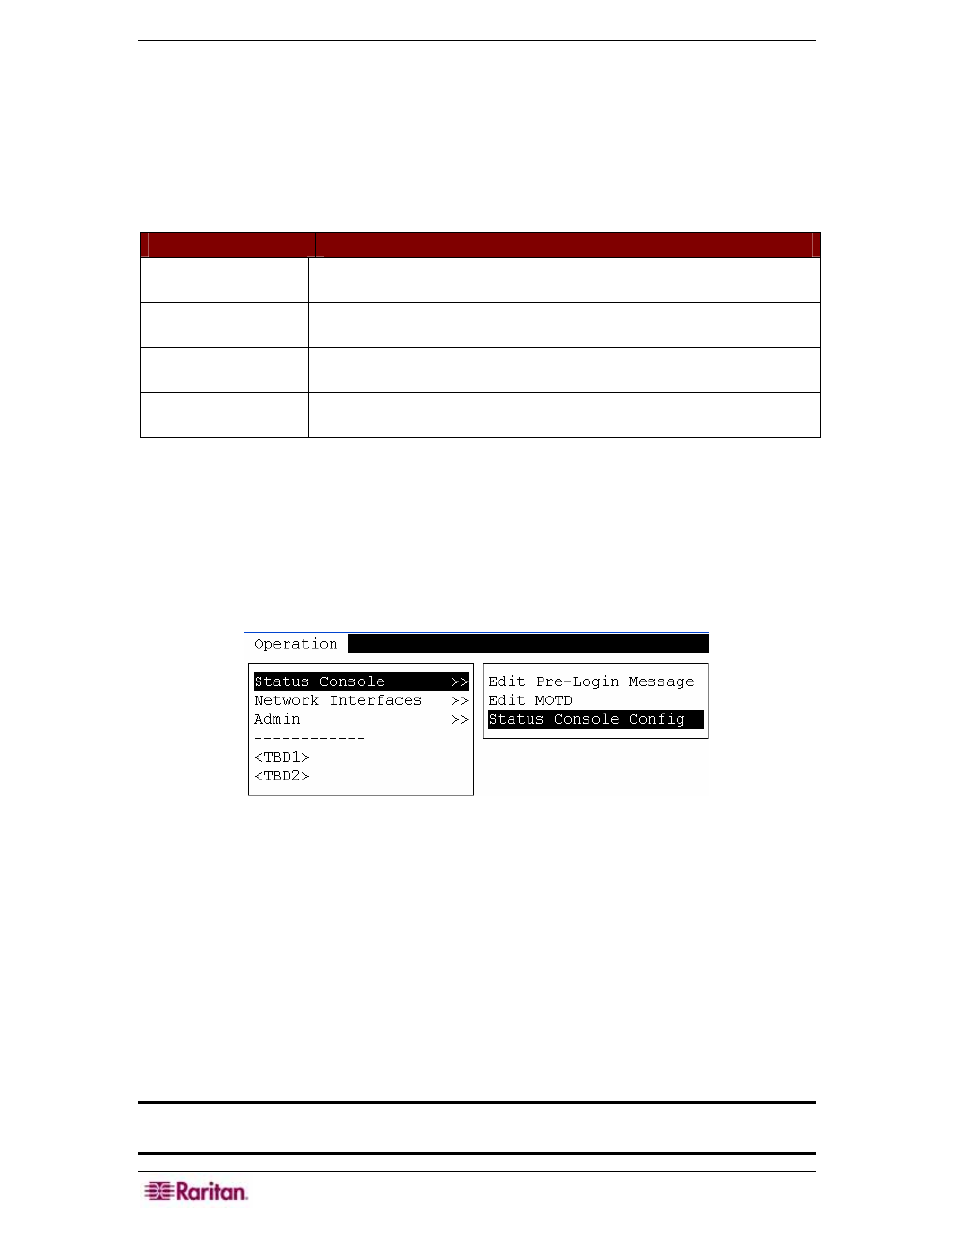
1. To edit status console configuration, click Operation, Status Console, then Status Console
Config.
Figure 262 Selecting to Edit Status Console Config
2. Click or use the TAB key,
↓↑ keys, and Enter keys to determine what you want displayed in
status console. There are three Diagnostic Console Access mechanisms:
• Serial Port (COM1)
• KVM Console
• SSH (IP network)
The Diagnostic Console offers three services:
• Status Display
• Admin Console
• Raritan Field Support
This screen allows the selection of which services are available via the various access
mechanisms.
Important: Be careful not to completely lock-out all Admin or Field Support
access.