Print a label – QuickLabel Designer Pro User Manual
Page 151
- 151 -
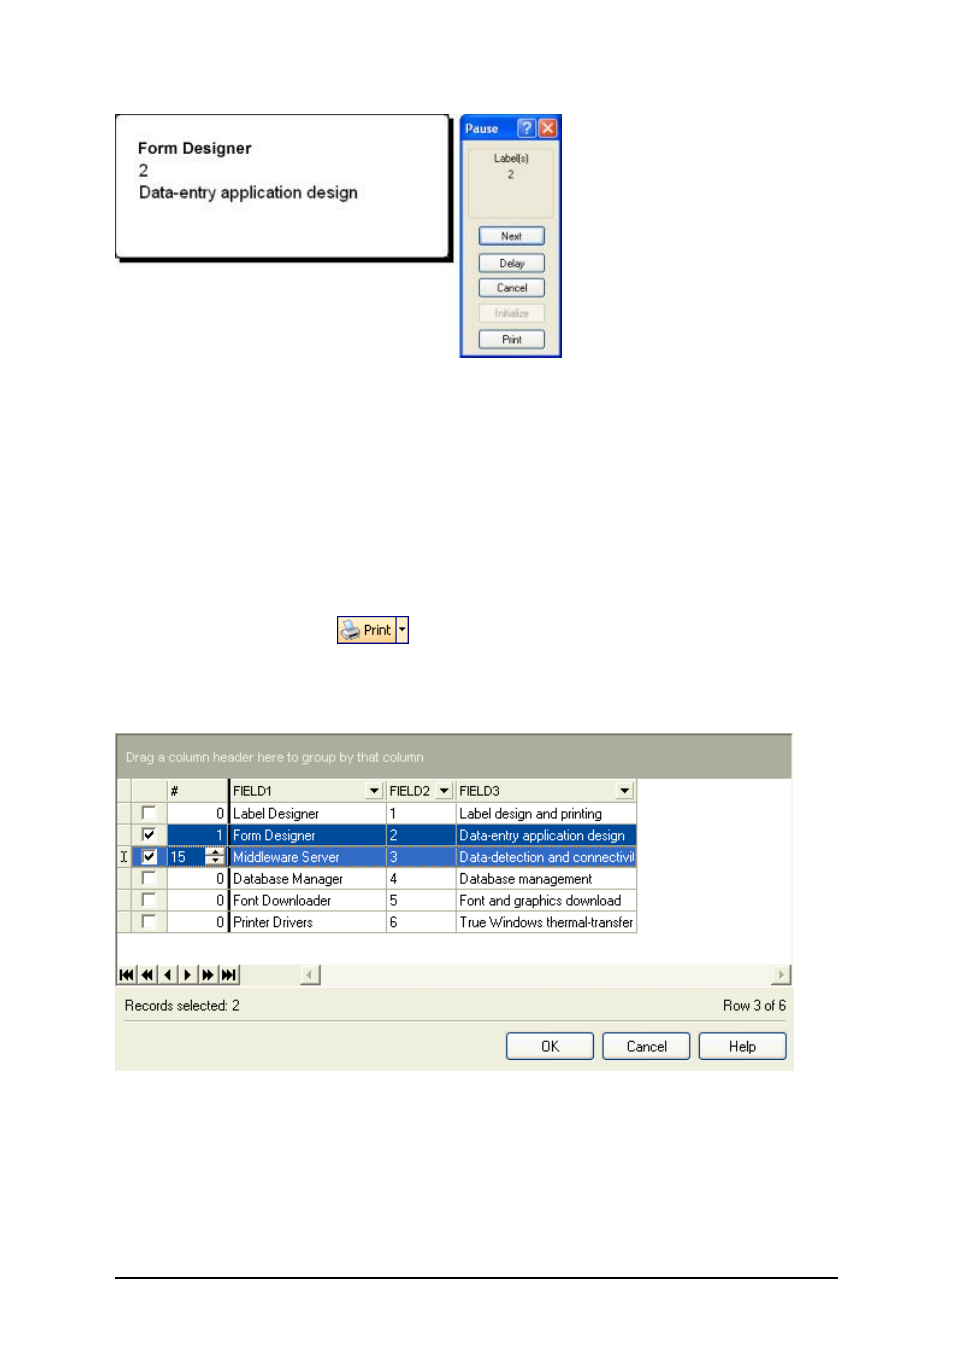
Preview of the second label in the series
7. Click on the Next button in the command window to advance to the next label in the
series. After you see the last label in the preview series, the labeling software will re-
open the Print dialog box.
8. Click on the Close button to close the Print dialog box.
Print a Label
When you are certain that the label design is correct and label preview shows the correct values
from the database, you can start sending the labels to the printer. To print a label, do the following:
1. Click on the print icon
in the Standard Toolbar.
The Print dialog box will open (same as the print preview dialog box).
2. Click on the button Select Records and select the records you want to print and specify
the label quantity for each record.
Selecting records and specifying label quantity
3. Click on the OK button.
4. Click on the Print button to start printing labels.
5. Click on the Close button to close the dialog box.