Designing objects with relative positions, Rotating label – QuickLabel Designer Pro User Manual
Page 115
- 115 -
Designing Objects with Relative Positions
During the regular label design process you put the objects on the certain spot on the label and they
occupy that space whenever the label prints. If you link object with variables, the objects become
variable object. If linked variables contain more data, the objects will usually increase their size and
occupy more space. You must be careful to anticipate the maximum variable length and design your
objects accordingly so the objects do not overlap each other or exceed the label boundaries. How-
ever, in some cases you need the object to change its placement on the label.
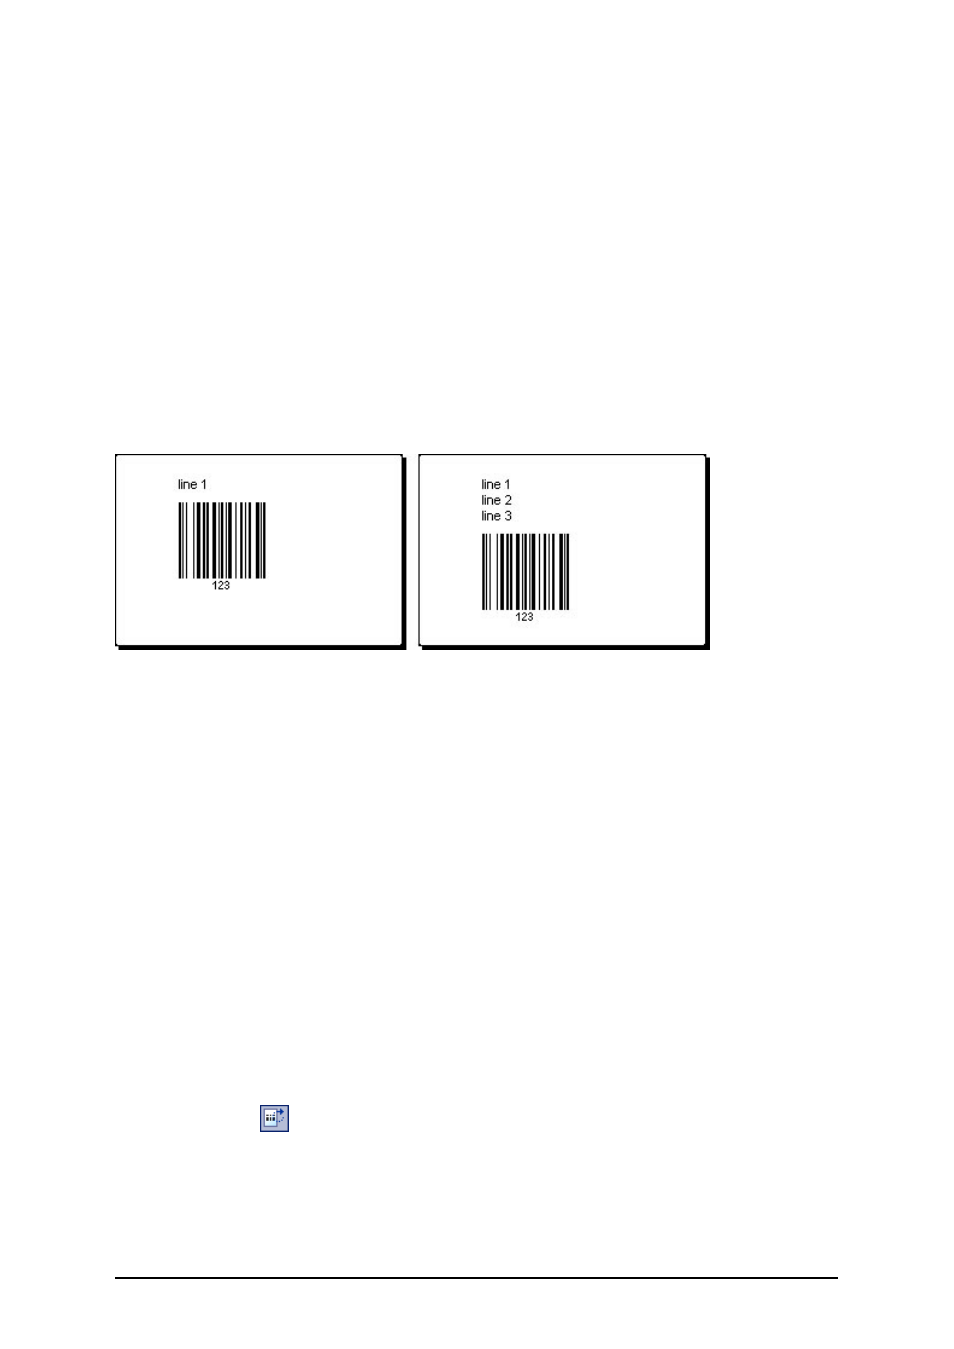
For example: You have a multi-line text object and bar code on the label. The bar code must always
print below the text object. To solve the problem, you must link the objects together. The text object
is a parent object, the bar code is linked to is as a child object. You can lock the vertical position of
the bar code to the bottom of the text object. You can also define the offset between the object.
See the scheme below. The bar code changes its vertical placement. The vertical distance between
the text and bar code object is always 1 cm, no matter the number of lines in the text object.
Variable positioning of the bar code object (linked to the bottom of the text object)
The placement of each label object can be variable. You can define the placement based on the label
border or based on the distance from some other label object. In each case, you can define the offset
from the border or other object. Of course, you can define object horizontal and vertical relative posi-
tions independently of each other.
To enable the relative positioning of the object, do the following:
1. Open the object's properties.
2. Go to the Appearance tab.
3. Click the Advanced button in the Anchoring Point section.
4. Define the appropriate horizontal and vertical relative position.
5. Click OK when ready.
When defining the relative object positions you might also want to enable the variable label sizing.
The length of the label can also adapt to the size of the objects.
Rotating Label
To rotate the label on the screen, do the following:
1. Click on the
icon in the top left corner of label design area (where vertical and hor-
izontal ruler collide).
2. The label will rotate for 90° clockwise.