Supported file formats, Inserting and removing a usb memory, Printing a file in a usb memory – Dell C3765dnf Color Laser Printer User Manual
Page 324
322
Printing
The front USB port of the printer is designed for USB 2.0 devices. You must use only an authorized USB memory
with an A plug type connector. Use only a metal shielded USB memory.
Supported File Formats
Files in the following file formats can be printed directly from a USB memory.
• PDF
• TIFF
• JPEG
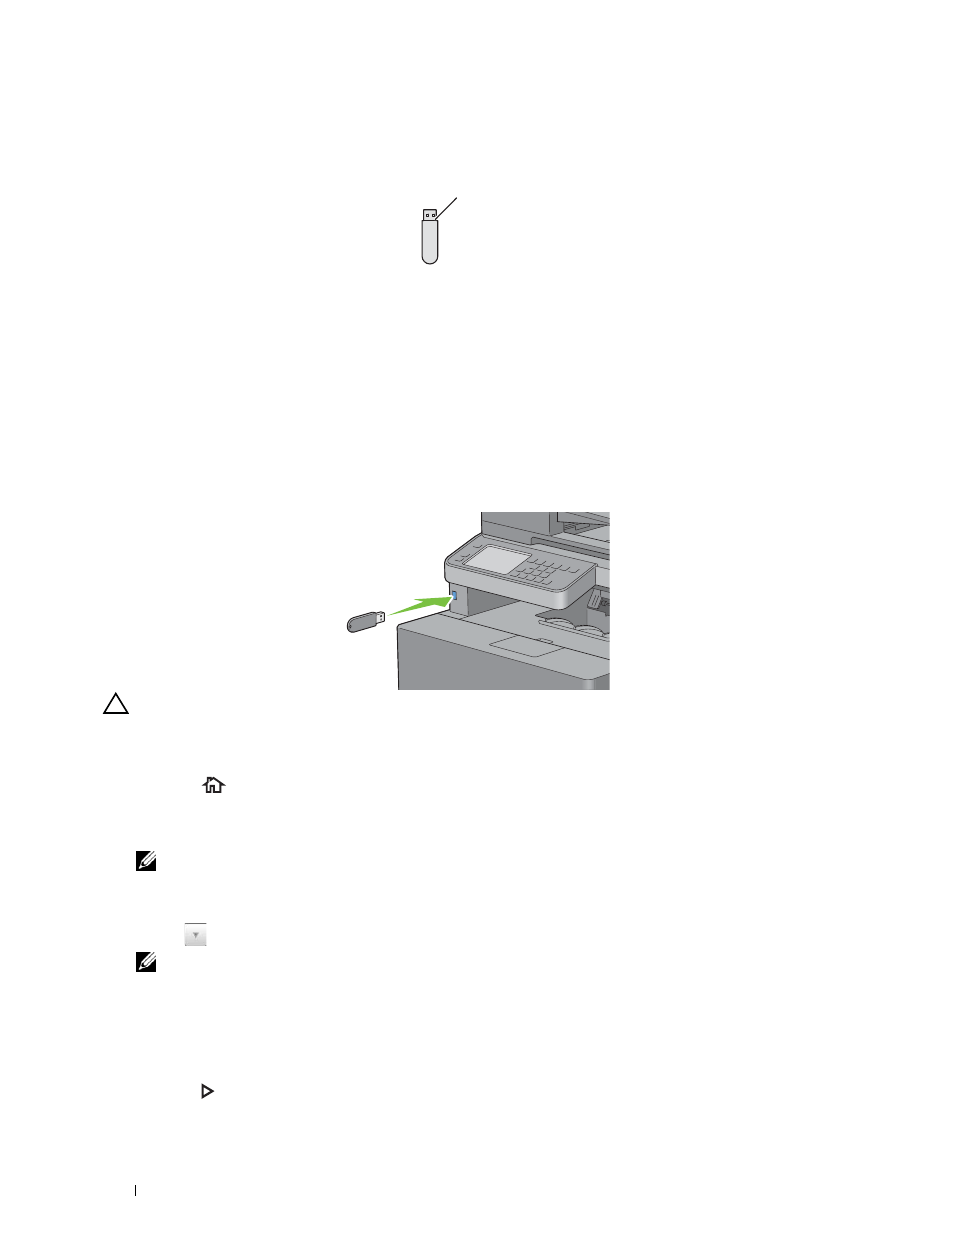
Inserting and Removing a USB Memory
You can insert the USB memory before printing or scanning images.
Before removing the USB memory, ensure that the printer is not accessing the USB memory.
CAUTION:
If you remove the USB memory while the printer is accessing, the data in the USB memory or the USB memory
device itself may be destroyed.
Printing a File in a USB Memory
1 Press the
(Home) button.
2 Insert a USB memory to the front USB port of the printer.
For details about inserting a USB memory, see "Inserting and Removing a USB Memory."
NOTE:
If the USB Drive Detected screen appears, select
USB Direct Print
, and proceed to step 5.
3 Select Print Menu.
4 Select USB Direct Print.
5 Select
until the desired file appears, and then select that file.
NOTE:
Only the following characters are displayed on the touch panel:
A B C D E F G H I J K L M N O P Q R S T U V W X Y Z 0 1 2 3 4 5 6 7 8 9 $ % ’ ‘ - @ {} ~ ! # ( ) & _ ^
6 Select OK.
7 Specify print options such as Output Color, Select Tray, 2 Sided Printing, Multiple-Up,
Collation, and PDF Password on the USB Direct Print and Options tabs. For details, see "USB Direct Print
8 Press the
(Start) button to begin printing.
A plug type