13 pos4000 link, Pos4000 link, Table 4. wash select ii-pos40000 wiring – Unitec Wash Select II With WashPay Integration Operations Manual User Manual
Page 45
W A S H
S E L E C T
I I
Document Number:
WS21058
33
Document Title:
WSII Operations Manual ver 6.10
2.13 POS4000 Link
The POS4000 Link menu allows the Wash Select II to be configured to interface with a
POS4000. In addition, it provides the activation of the Multi-Unit Fleet option.
Once the Wash Select II is properly configured, codes can be sold at one or more POS4000
units to be used at the Wash Select II. Configuring of these settings is also necessary for
units that are equipped for authorization through the POS network. In this case, set the
interface mode to ‘1’. If you have multiple Wash Select II units, you will also need to set the
bay address for each Wash Select II.
The following instructions show how to set up the Wash Select II unit to interface to the
POS4000.
1.
If not already installed, with the power disconnected, install the Wash Select II
communications module onto the top left hand corner of the CPU board. The
board is installed with LED’s on the bottom.
2.
Restore power to the Wash Select II and place the unit in setup mode. If you have
more than one bay, set the units up one at a time, with all un-configured units
turned off.
3.
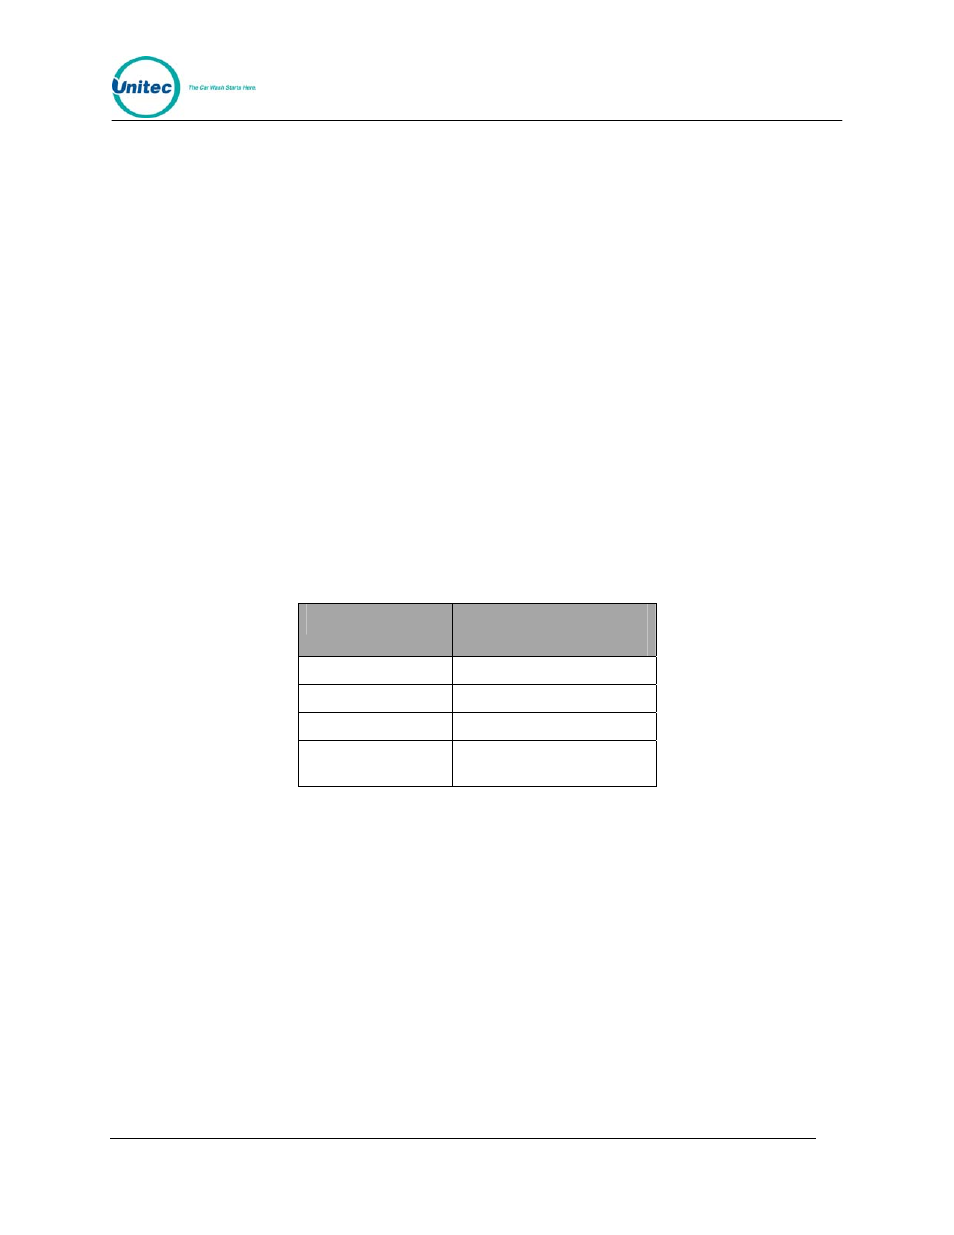
Wire the POS4000 cable connections as per the following connections:
Table 4. Wash Select II-POS40000 Wiring
POS4000
Wash Select II
connector J22
Pin 1 – White
Pin 1 – White
Pin 2 – Red
Pin 2 – Red
Pin 3 – Black
Pin 3 – Black
Shield – Not
connected
Shield, strap to base
mounting bolt in case.
4.
If the POS4000 is connected and both units are powered, the RX light on the 485
communications module should be blinking every couple of seconds. If neither of
the lights is blinking, you may have a failed connection or a failed POS4000. A
failed communications module may also be possible.
5.
Enter the POS4000 link sub-menu and enable the interface. (See Section 2.13.1.)
6.
If you have more than one unit, set the bay address per the instructions in Section
2.13.2. (Car wash bay 1 should be set up as unit 2.)
7.
Place the unit in operate mode. At this point, you should see both the RX and the
TX lights on the Wash Select II 485 communications module begin to blink in an
alternating fashion at intervals of a second or less. (If you have more than one
bay, the RX light should stay on longer than the TX light.)
8.
Place the unit back into setup mode.
9.
Configure the Convey Accounting settings. (See Section 2.13.4.)