Banner PresencePLUS BCR 1.3 Series User Manual
Page 116
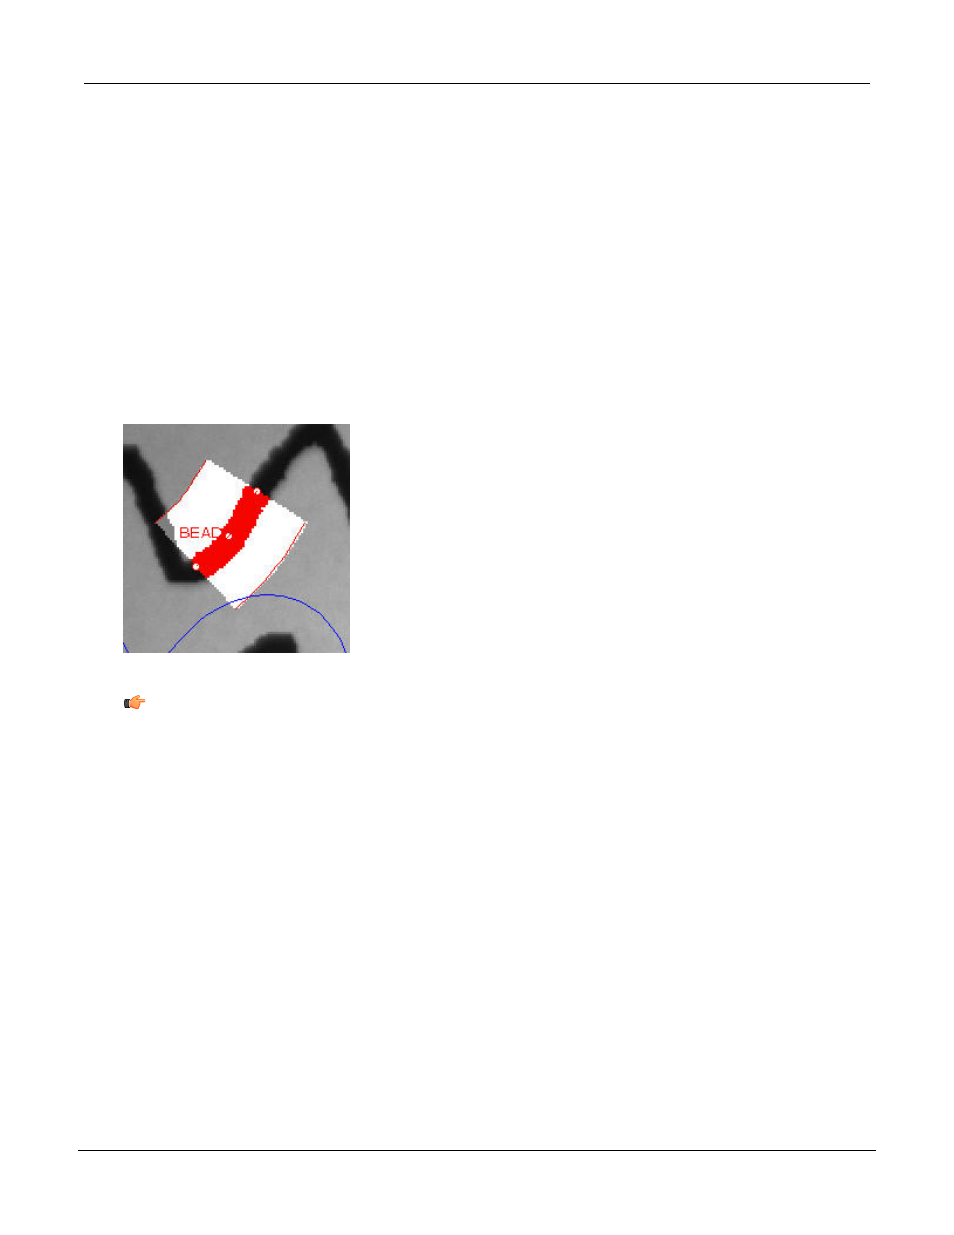
1. Click on the Draw ROI button.
2. Click on the bead to mark a starting point. A small circle will mark this start point. As you move
the mouse away from the start point, the software draws a dotted line following the mouse pointer.
3. Click on any part of the field of view, and a second point is drawn with a line connecting the two
dots to define a line segment.
4. Add more segments as necessary. (Depending on the bends of the bead, you need more segments
for better resolution.) Note that the dotted line is only displayed while the mouse pointer is in the
FOV.
5. You can end creating the ROI by--
• clicking on the Done button.
• pressing the ESC button on the keyboard.
6. When you are done, the ROI will look something like what is shown below.
Note: When drawing the connected line ROI, if the end point of one segment comes close the
beginning of another segment, the tool will tend to automatically close the loop. Below the picture
on the left shows the position just before the loop is closed, and the picture on the right shows
the loop automatically closed.
P/N 000000
Banner Engineering Corp. - Minneapolis, MN USA - www.bannerengineering.com
Tel: 763.544.3164
116
7/2009
PresencePLUS Software Tools