Pf3000 pro cotton yield monitor, Ag leader technology, Marking – Ag Leader PF3000Pro Cotton Yield Monitor Operators Manual User Manual
Page 87
PF3000 Pro Cotton Yield Monitor
Ag Leader Technology
Marking
July 2003
4-9
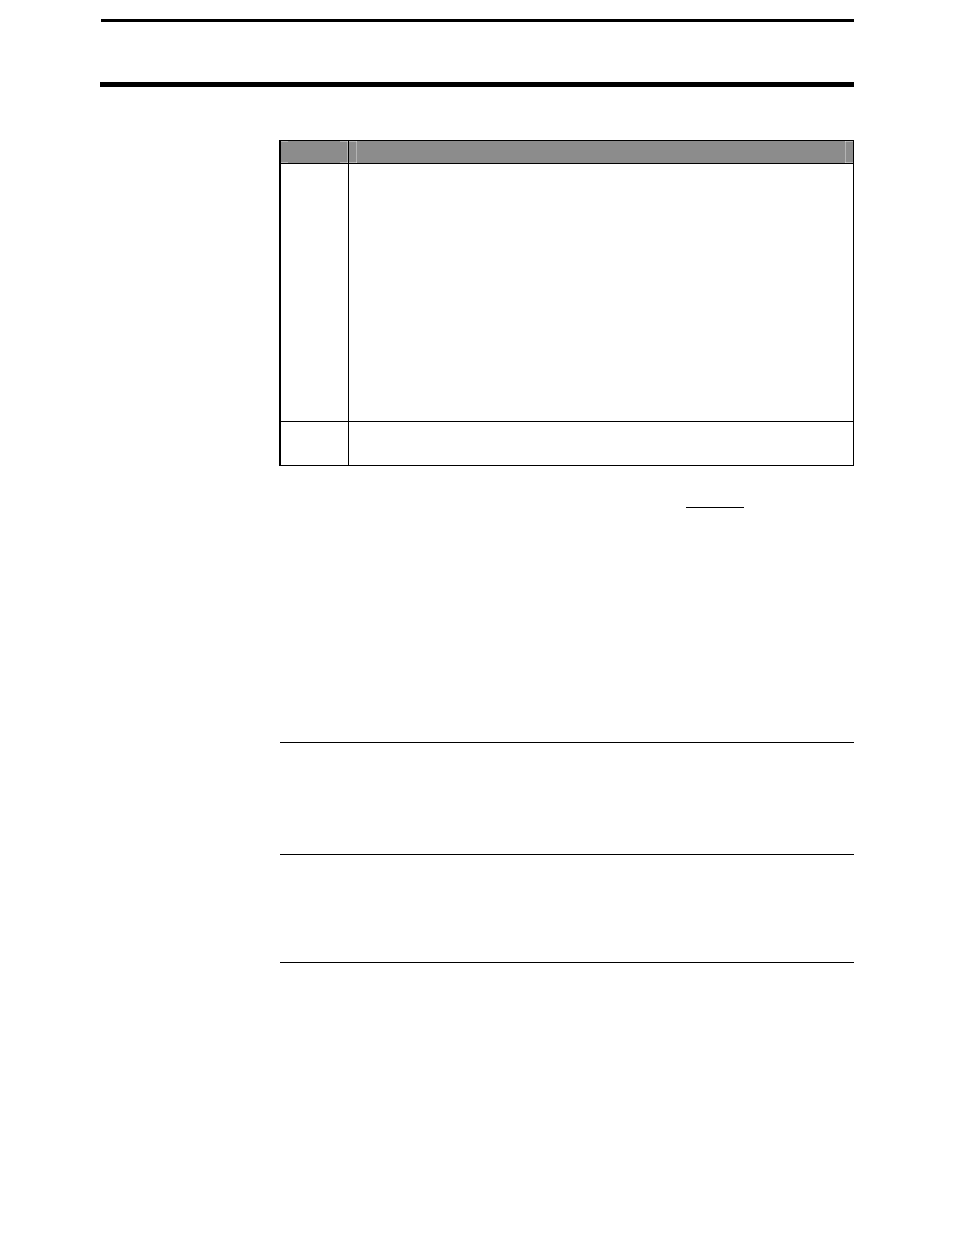
Step
Action
2
Press MARKS key.
3
Marks that are set as a Continuous Mark
Press the marker key to start marking at the beginning of the area
you want to mark. Press the marker key again to stop marking
after you have driven through and reached the end of the area that
you want to mark.
Marks that are set as a Spot Mark
Press the marker key once when you are directly over the item you
want to mark. The monitor will log one mark and automatically
shut off the marking for that mark.
4
After you have finished marking, press the MENU key again to
display FIELD, LOAD, MARKS on the bottom.
Follow the steps below to make marks when using the external Field
Marker.
Continuous Marking:
Press the ON key on the appropriate switch at the start of the distance to
mark. Travel all the way through the distance, and at the end, press the OFF
key on that switch.
Spot Marking:
Press the MARK key once on the appropriate switch just as the vehicle
passes over the location of the item in the field.
Connecting
External Field
Marker
The external Field Marker connects to Port 1. Make sure that under
CONSOLE setup Field Marker is set to EXTERNAL.
Mapping Marks
The marks you make in the field are all logged to the memory card. If you
read your card into a mapping program, your marks should appear on your
yield map.
* * *