3 enabling/disabling self tests, 5 alarm relay – LumaSense Technologies INNOVA 1314i User Manual
Page 67
Chapter 5
______________________________________________________________________
_____________________________________________________________________________
BE6030-13
1314i Photoacoustic Gas Monitor
LumaSense Technologies A/S
Page 67 of 199
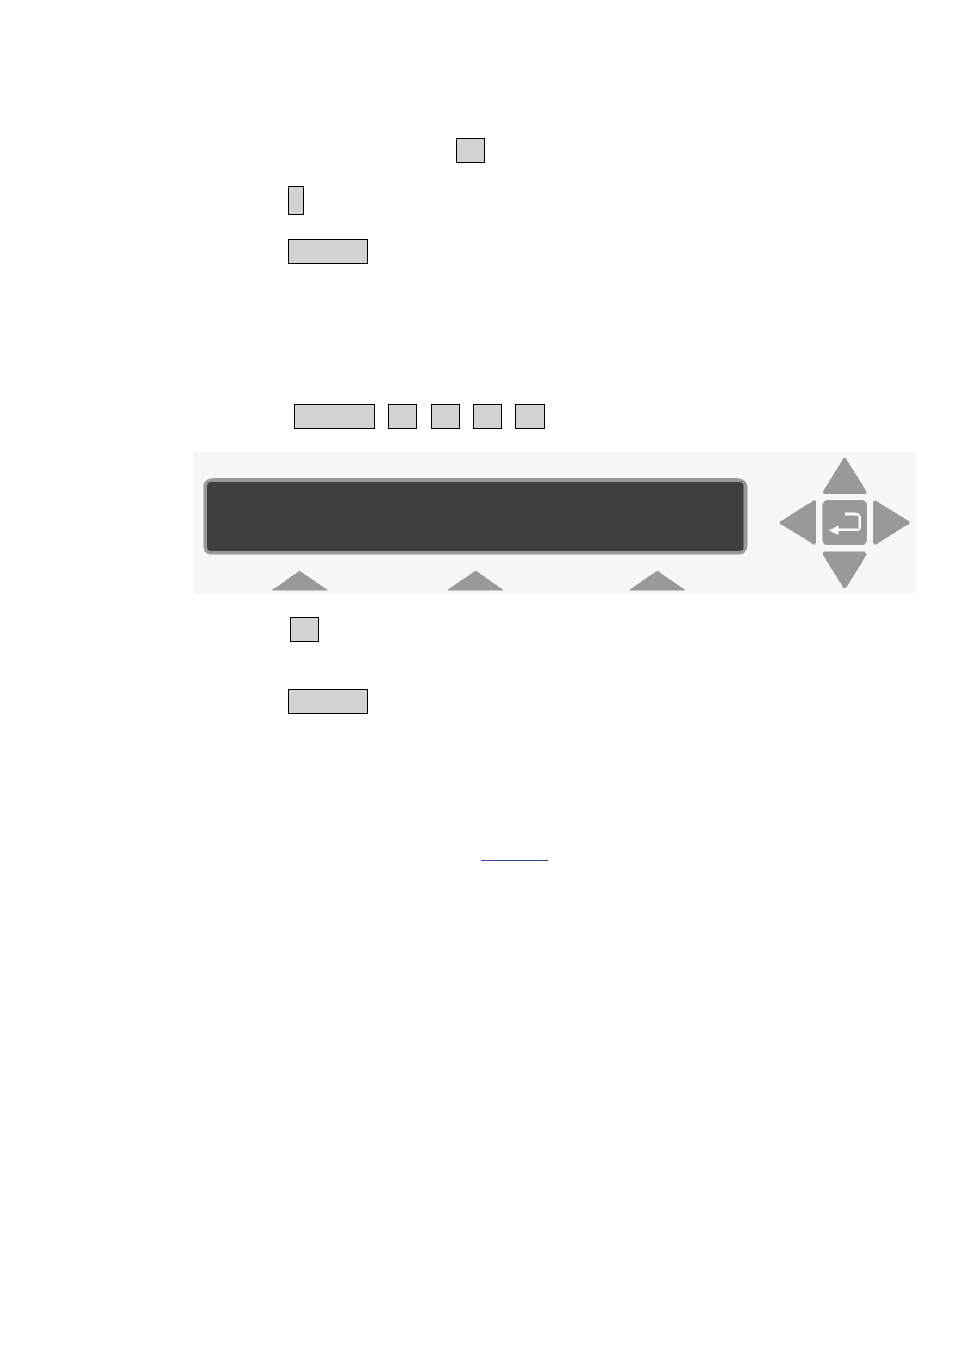
4. Use the direction push-buttons to enter the correct volume. If you
make a mistake, press S1 to revert back to the original volume.
5. Press
¿
to accept volume.
6. Press SET-UP to exit the set-up function.
5.4.3
Enabling/Disabling Self Tests
If you do not wish the Monitor to perform regular self tests, including
the hardware test on power-up you can disable it.
1. Press SET-UP S3 S1 S1 S3
2. Press S1, the Monitor no longer performs the hardware test as
part of its self-testing procedure during any kind of reset.
3. Press SET-UP to exit the set-up function.
5.5 Alarm Relay
Two alarm relays are built into the alarm relay socket on the
back panel of the Monitor. The function of the pins in this female
connector are shown in
. The two alarm relays can be
connected to a variety of either audio (for example, a siren)
and/or visual (for example a flashing light) alarm systems and
they are activated whenever a pre-defined concentration (alarm
level) of one (or more) of the gases being measured is exceeded.
Alarm signals are given by opening and closing the relay contacts.
Both relays are closed when the Monitor is switched off and when
the Monitor is switched on. This means that there is a direct
electrical connection between pins 1 & 2 and pins 4 & 5 at all
times except when the Monitor measures a gas concentration
which is greater than the corresponding alarm limit for the gas.
When this concentration is measured, the Monitor breaks the
connection between pins 1 & 2 or 4 & 5. The monitor will
furthermore activate the internal beeper and write the following
message on the display:
REGULAR SELF - TESTS ?
NO YES