1 setting the internal clock – LumaSense Technologies INNOVA 1314i User Manual
Page 35
Chapter 4
______________________________________________________________________
_____________________________________________________________________________
BE6030-13
1314i Photoacoustic Gas Monitor
LumaSense Technologies A/S
Page 35 of 199
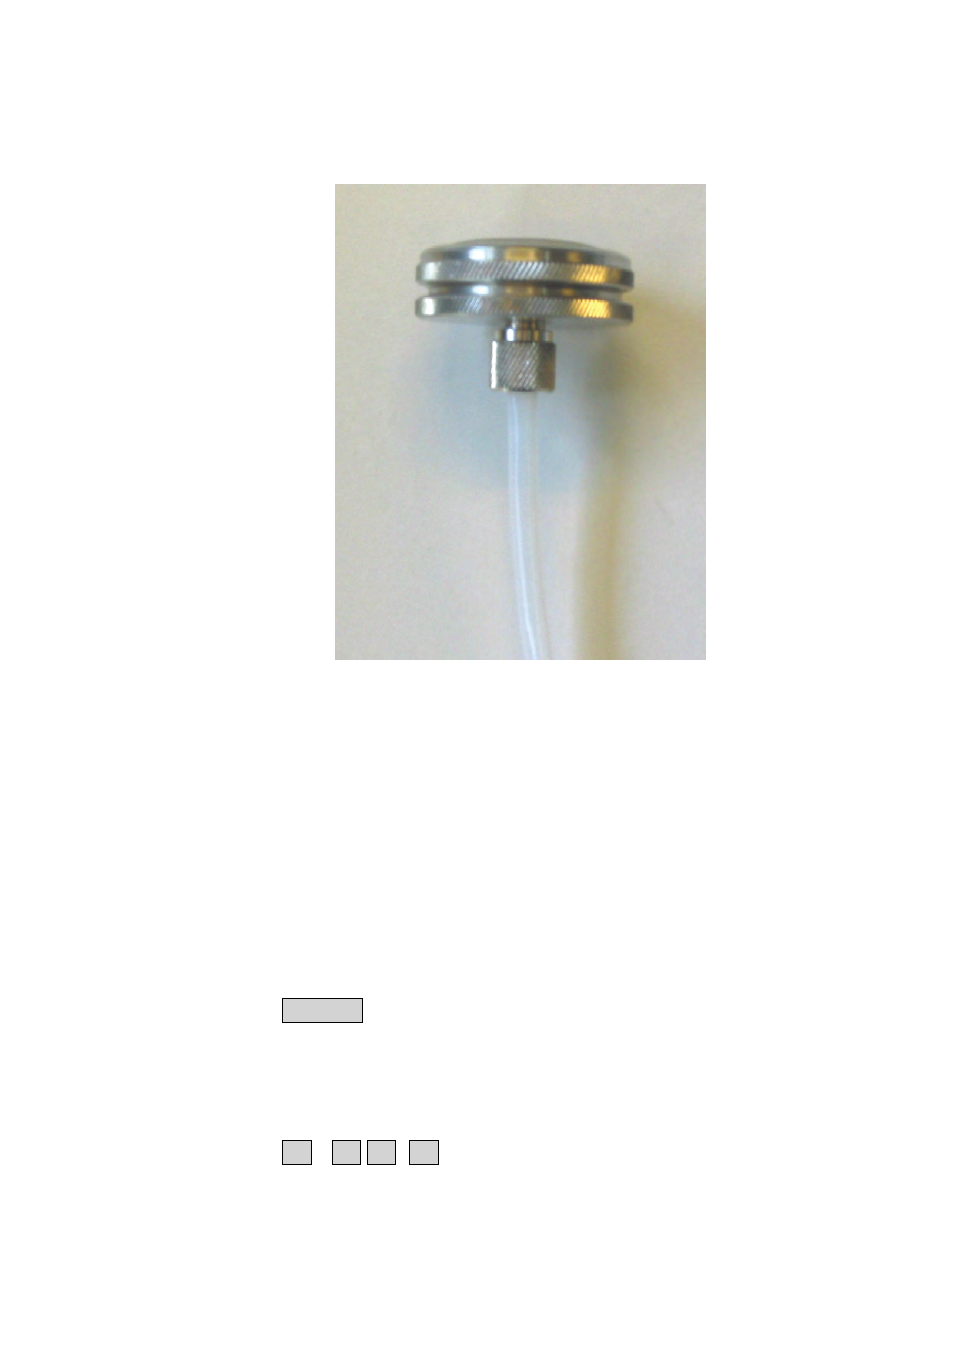
3. Attach the other end of the sampling tube to the external air-filter
which is provided as an optional accessory.
4.3 Familiarization with the Monitor using the Front
Panel
4.3.1
Setting the Internal Clock
Before dispatch from the factory, the internal clock of the Monitor is
set to the correct local (Danish) time. If the monitor is to be used as
a stand-alone instrument, then the clock can be adjusted to your
local time using the following instructions.
1. Switch on the AC Mains power switch on the back-panel of the
Monitor.
2. Press SET-UP.
Refer to the Set-Up Tree, supplied with the Monitor, so that you can
follow your movement through the various branches of this “tree” in
the following sequence of button presses.
3. Press S3 S1 S1 S1.