GF Signet 4632 Chlorine Dioxide Analyzer System User Manual
Page 17
17
463X Chlorine System Manual
Cl Zero
Calibration:
>
When > is pressed, the “live” readings are shown. The nA value is displayed, but cannot be
edited and is used for diagnostic and calibration purposes. When in Edit Mode, pressing Enter
stores the displayed value as your zero reference.
Cl In Process
Calibration:
>
Enter process chlorine value determined from a DPD test kit here.
Cl Temperature
Calibration:
>
Enter process temperature from a reference thermometer: °C or °F. Units are set up in the
Options Menu.
Reset Cl to
Factory Cal:
>
This menu resets Cl readings, Zero Calibration
and temperature back to Factory Calibration.
WARNING! User entered Cl calibration settings will be lost.
pH Standard
Calibration:
>
Set pH standard value. This applies a linear offset to the pH measurement.
pH Slope
Calibration:
>
Applies a slope to the pH measurement. The slope and standard value must be at least
2 pH units apart.
Reset pH to
Factory Cal:
>
Reset pH standard, slope or back to Factory Calibration.
WARNING! User entered pH calibration settings will be lost.
Chlorine Units:
ppm
>
This is the ¿ rst screen. Choose units of measurement: ppm or mg/l.
Loop 1 Source:
Chlorine
>
Choose chlorine or pH for this 4 to 20 mA current loop.
Loop 1 Rng: ppm
0.00 5.00
>
Select the minimum and maximum values for the current loop output. Units are derived from
Loop 1 Source. If the Source 1 is changed, be sure to re-edit this page.
Loop 2 Source:
pH
>
Choose pH or chlorine for this 4 to 20 mA current loop.
Loop 2 Rng: pH
00.0 14.00
>
Select the minimum and maximum values for the current loop output. Units are derived from
Loop 2 Source. If Source 2 is changed, be sure to re-edit this page.
Calibrate Menus
Factory settings shown
Description
Current Output Functions
NOTE:
For greater accuracy it is recommended that the initial calibration of the system should be in the following order:
1. Temperature
2. pH electrode (if optional pH sensor is installed. If manual pH sensor is selected enter the pH value into the
option menu prior to calibrating the chlorine sensor)
3. Chlorine sensor.
• Although the Calibrate Menu can be navigated upwards or downwards, it is best to navigate downwards when editing Current
Loop and Relay settings as previous entries can inÀ uence subsequent menus.
• Chlorine and pH calibration screens will be shown only when a valid sensor is detected.
The menus below are displayed here in the order seen when scrolling down through the Calibrate Menu.
NOTE: The next two pH calibration screens will be shown only when a valid pH sensor is detected.
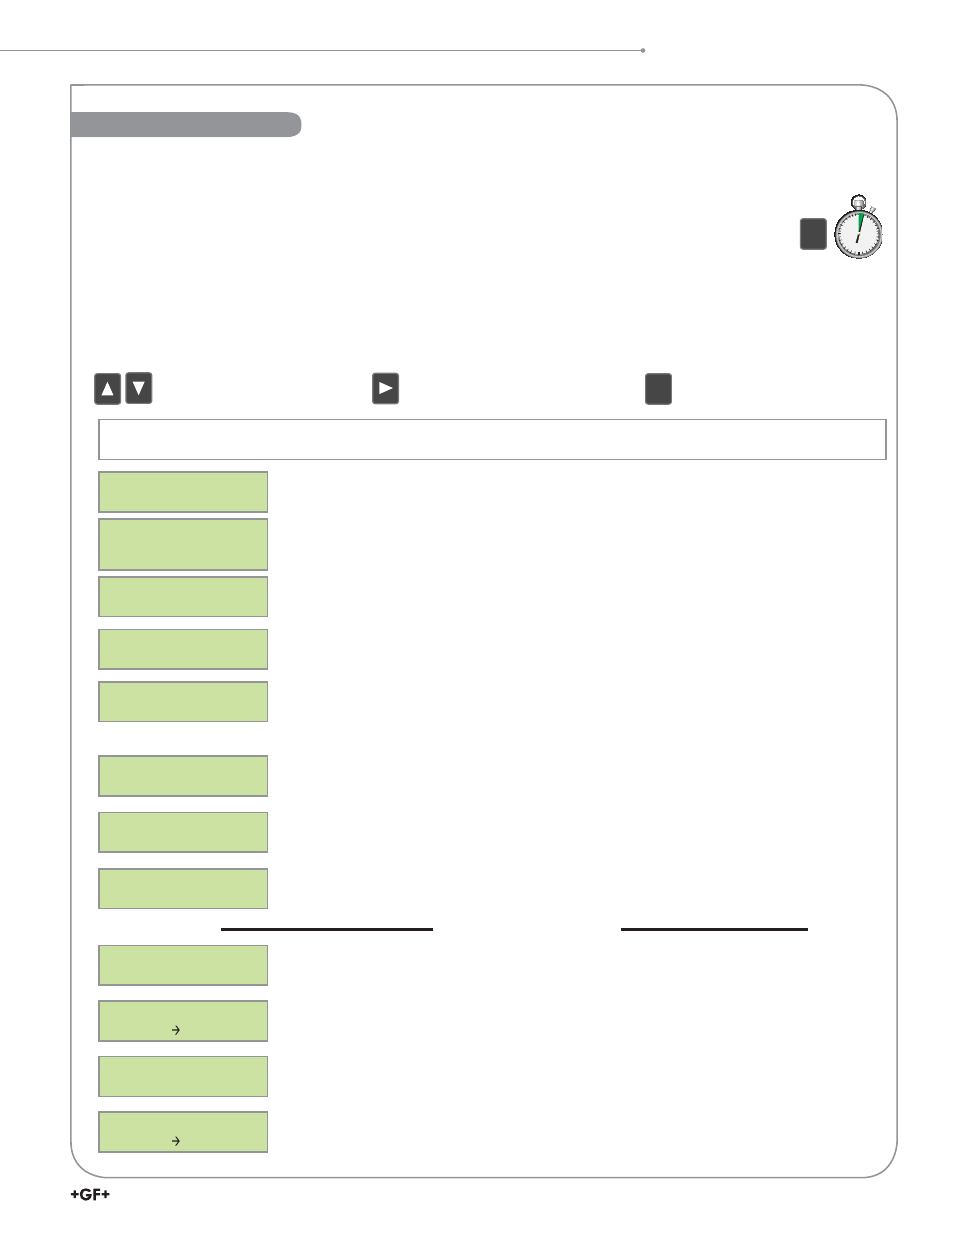
8630 Calibrate Menu
2s
(Hold)
ENTER
ENTER
Press the Ź key to enter Edit mode.
Press the Enter key to save
your settings.
ENTER
ENTER
Press the Ÿ or ź Arrow
key to scroll through the menus.
8630 Calibrate Menu