EVS IPDirector Version 4.4 - March 2008 Part 3 User's Manual User Manual
Page 92
IP Director Version 4.4 – User Manual – Part 3: Ingest and Play-Out
EVS Broadcast Equipment – March 2008
Issue 4.4.C
79
See section 4.16 “Loading Media”, on page 75.
Note
Before creating clips on which you want to apply metadata, ensure that
the relevant profile is defined as the current profile.
To create a clip in the Control Panel module, proceed as follows:
1.
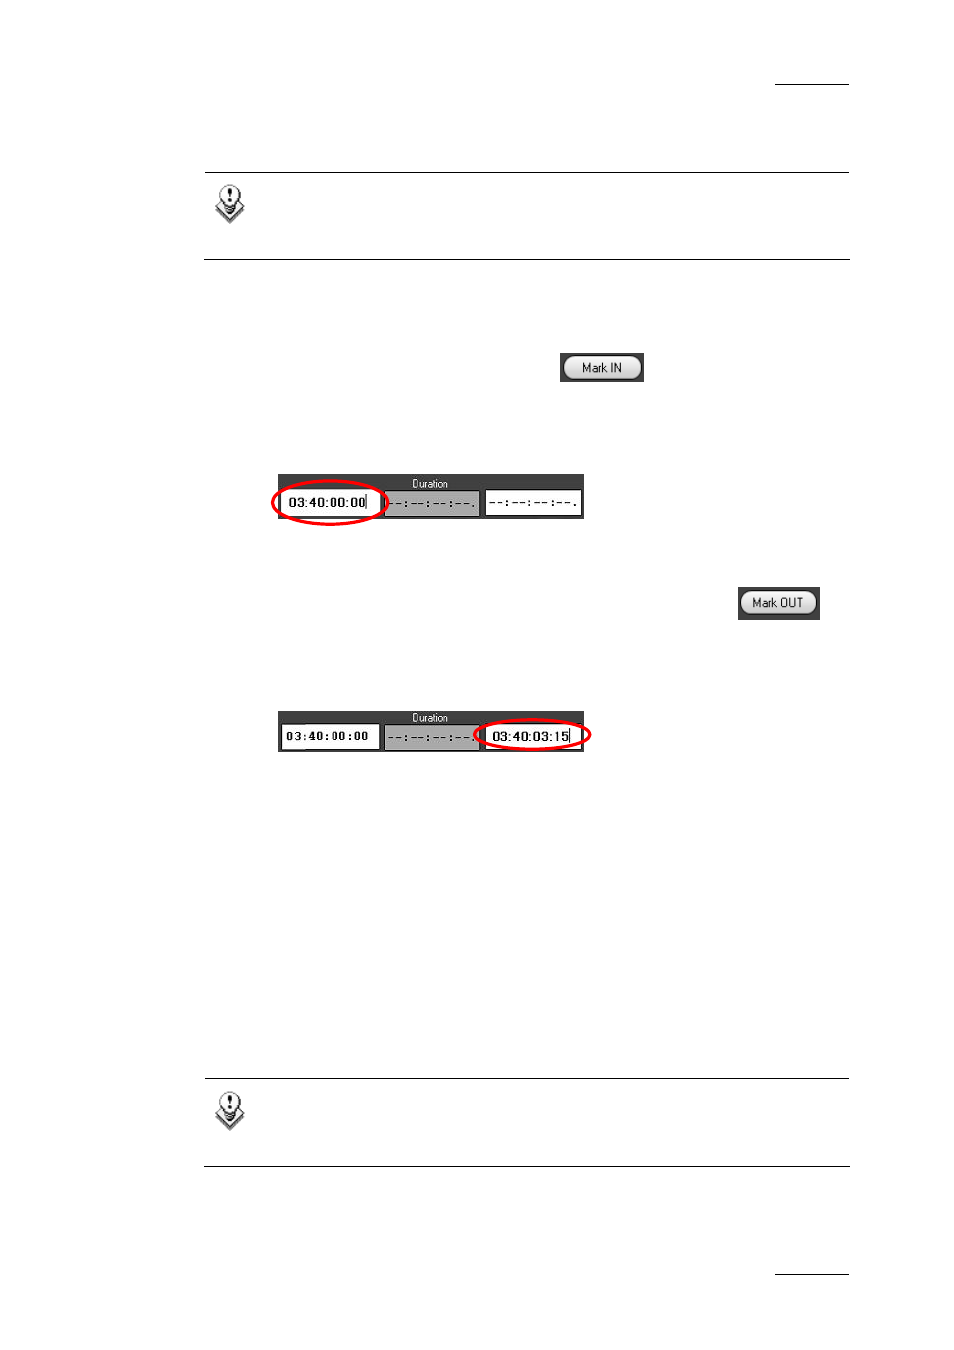
Create an IN point with one of the following actions:
•
Place the position indicator on the jog bar where you want to create the
IN point and select the Mark IN icon
.
•
Enter the timecode of the requested IN point in the Short IN field and
press ENTER.
The IN point is set:
2.
Create an OUT point with one of the following actions:
•
Place the position indicator on the jog bar or cue to the place where you
want to create the OUT point and select the Mark OUT icon
.
•
Enter the timecode of the requested OUT point in the Short OUT field
and press Enter
The OUT point is set:
The clip duration displays in the Duration field.
3.
To save the clip, do one of the following:
•
Click the New Clip icon.
•
Press the ShuttlePRO dedicated button to save the clip (see note below)
4.
If the Save Clip window opens, fill in a clip name and any desired
information and click the Save button.
For more information on the Save Clip window, refer to section 4.7 “Save
Clip Window”, on page 48.
A green message will appear on the main window to inform you that the clip has
been created if this setting has been activated in the Remote Installer.
Note
To save a clip from the ShuttlePRO, perform one of the following
actions :