Creating a scan box – Xerox CX PRINT SERVER 560 User Manual
Page 92
2. In the Server Address box, type the name of the CX print
server, and then click Connect.
3. In the Connect to Server dialog box, select Guest, and click
Connect.
4. Select the
Utilities
volume, and click OK.
5. Double-click the
MAC Utilities
folder.
6. Copy the
RemoteScanInstaller.zip
file to your desktop.
7. On your desktop, double-click the
RemoteScanInstaller.zip
file.
8. Double-click the
RemoteScanInstaller.pkg
file.
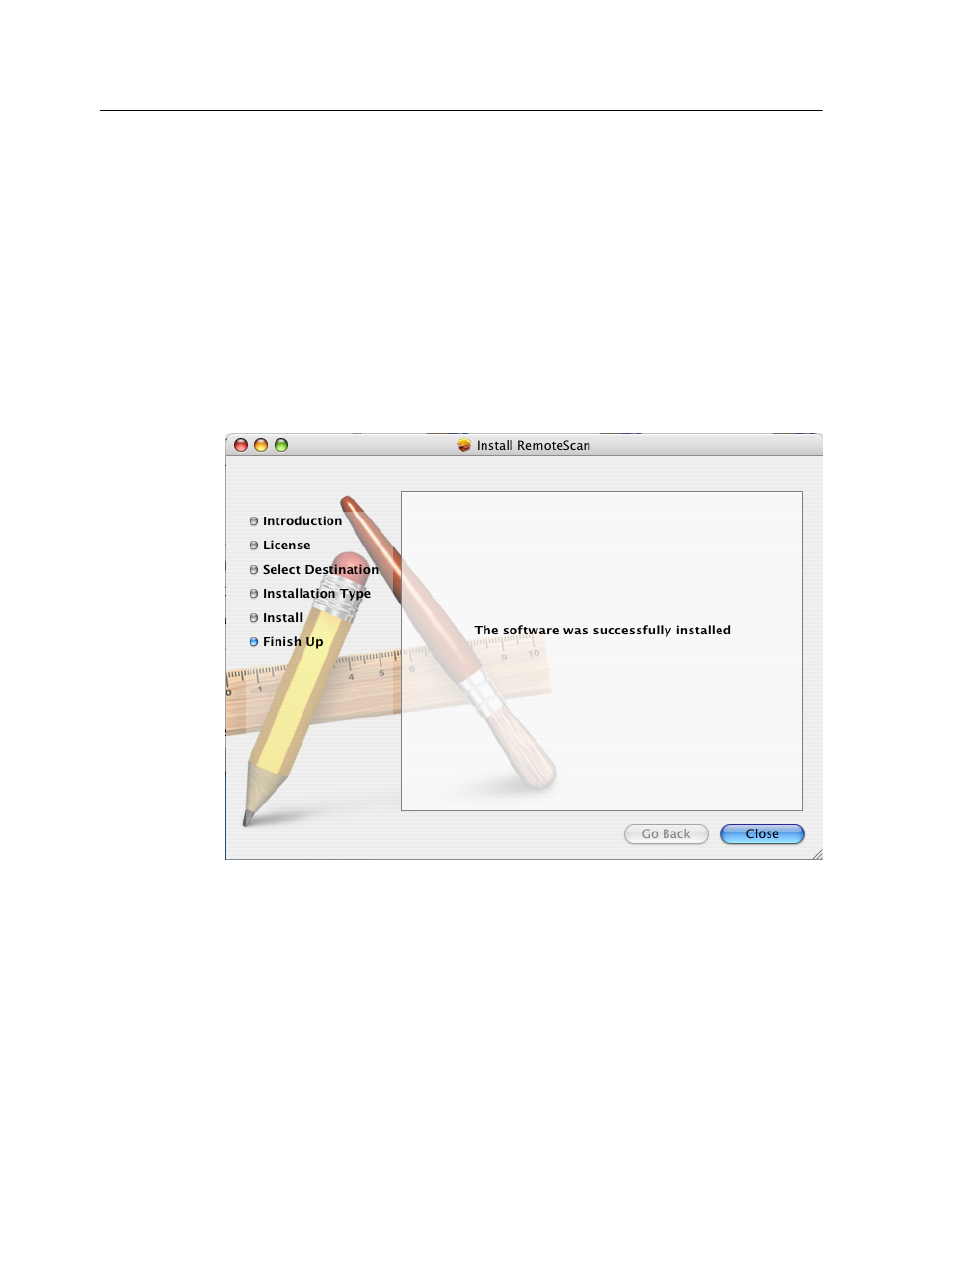
9. Follow the steps in the installation wizard.
The Remote Scan Application is installed on your Mac computer,
and an icon appears on your desktop.
Creating a scan box
From your computer, create a scan box on the printer's hard disk.
Requirements: The exact name of the CX print server to which
you want to connect
Scanned jobs are saved to a scan box on the printer's hard disk.
You can also save a copy of your scanned files to a folder on the
network. To do this, you need to create a folder on the CX print
82
Chapter 9—Scanning documents