Moving a specified range of data, Copy dst copy dst to to, Move src move src start start – Zoom MRS-802 User Manual
Page 48: Move src move src end end
Reference [Track Editing]
ZOOM MRS-802
48
7.
Specify the copy destination start point in the same
way as for the copy source, and press the [ENTER]
key.
The indication “Copy SURE?” appears on the display.
8.
To execute the copy operation, press the [ENTER]
key.
By pressing the [EXIT] key instead of the [ENTER] key,
you can return to the previous screens. When the copy is
executed, the indication “Copy COMPLETE” appears on
the display, and the unit returns to the track edit menu.
H
INT
To paste the same range repeatedly, use the phrase loop
function (
→
p. 57).
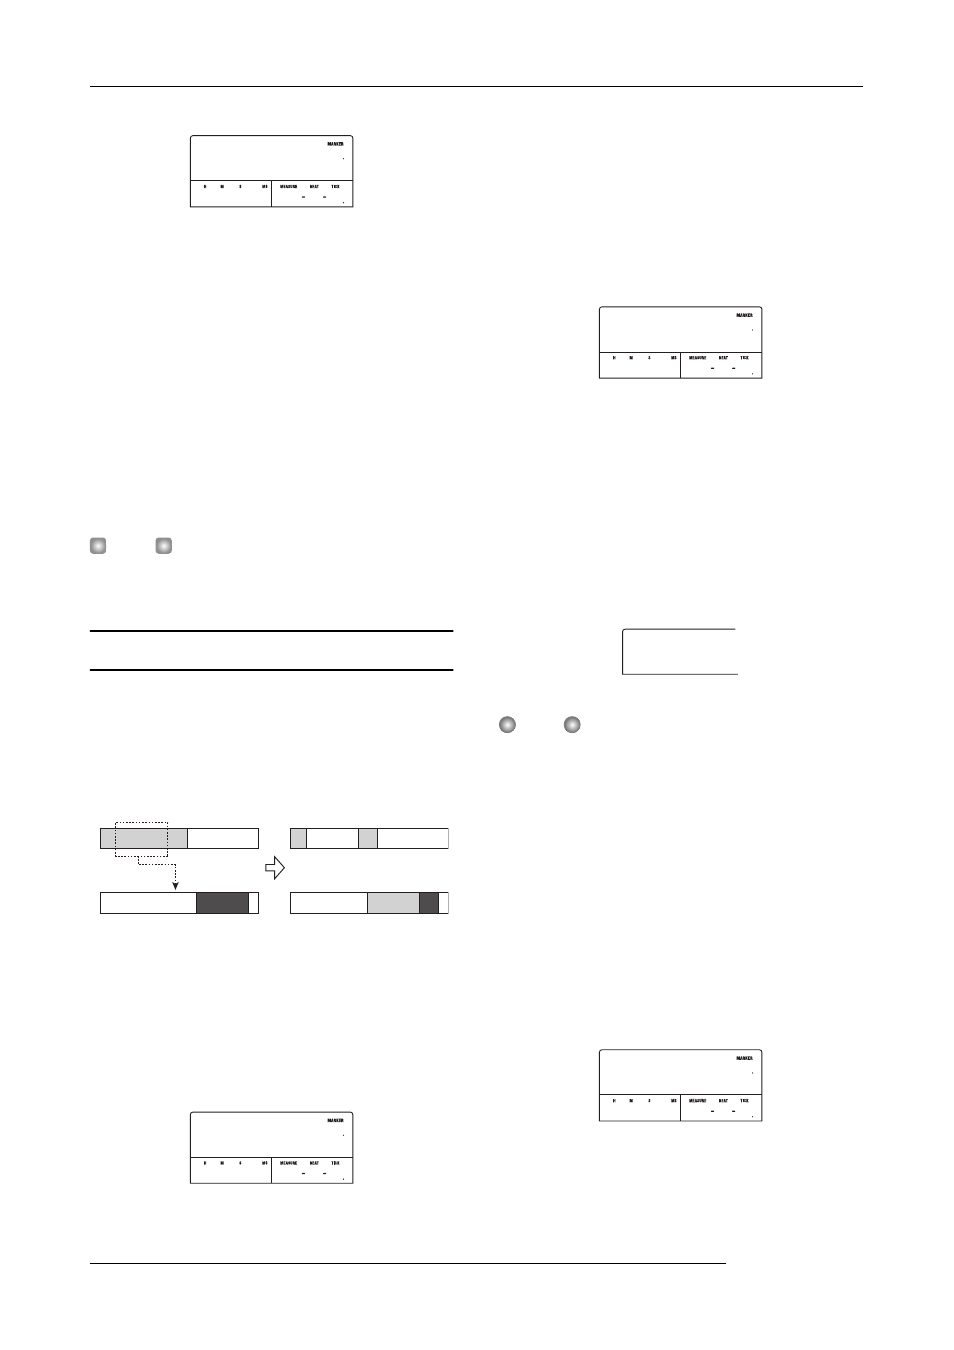
Moving a specified range of data
You can move the audio data of a specified range to a
specified position on a specified track. This action will
overwrite the existing data at the destination location. The
move source data will be erased.
1.
Refer to steps 1 - 6 of “Basic editing steps” to
select the move source track/V-take, and press the
[ENTER] key.
The display changes as follows. This screen lets you specify
the move range start point.
2.
Use the cursor left/right keys to move the flashing
section of the counter, and turn the dial to specify
the move start point.
You can also specify the point as a mark.
3.
Press the [ENTER] key.
The display changes to “Move Src END”.
4.
Use the same procedure as in step 2 to specify the
move range end point.
If you press the PLAY [
R
] key at this point, the specified
range will be played.
5.
Press the [ENTER] key.
The display changes to let you specify the move destination
track/V-take.
N
OTE
• If you have selected a single track as move source, only a
single track can be selected as move destination.
• If you have selected two adjacent tracks or the master
track as move source, only two adjacent tracks or the
master track can be selected as move destination. In this
case, the currently selected V-take for each track becomes
the editing target.
6.
Specify the move destination track/V-take in the
same way as when selecting the move source
track/V-take, and press the [ENTER] key.
The display changes to the screen for specifying the move
destination start point.
7.
Specify the move destination start point in the
same way as for the move source, and press the
[ENTER] key.
Copy Dst
Copy Dst
TO
TO
0 0 0 0 001 1
00
0
Move source track
Move
Move destination track
Move Src
Move Src
START
START
0 0 0 0 001 1
00
0
Move Src
Move Src
END
END
0 3 1200 083 4
00
12
Move Dst
Move Dst
TR 1- 1
TR 1- 1
Move Src
Move Src
TO
TO
0 0 0 0 001 1
00
0