Copying a specified range of data, Copy src copy src start start, Copy src copy src end end – Zoom MRS-802 User Manual
Page 47: Copy dst copy dst tr 1- 1 tr 1- 1
Reference [Track Editing]
ZOOM MRS-802
47
The subsequent steps will differ, depending on which
command was selected. See the sections for the respective
commands.
7.
When the editing command has been executed,
repeatedly press the [EXIT] key to return to the
main screen.
H
INT
After performing an edit function and rewriting the audio data
on a track, the original data cannot be restored. If you want
to retain the condition before editing, use the capture
function for that track (
→
p. 55).
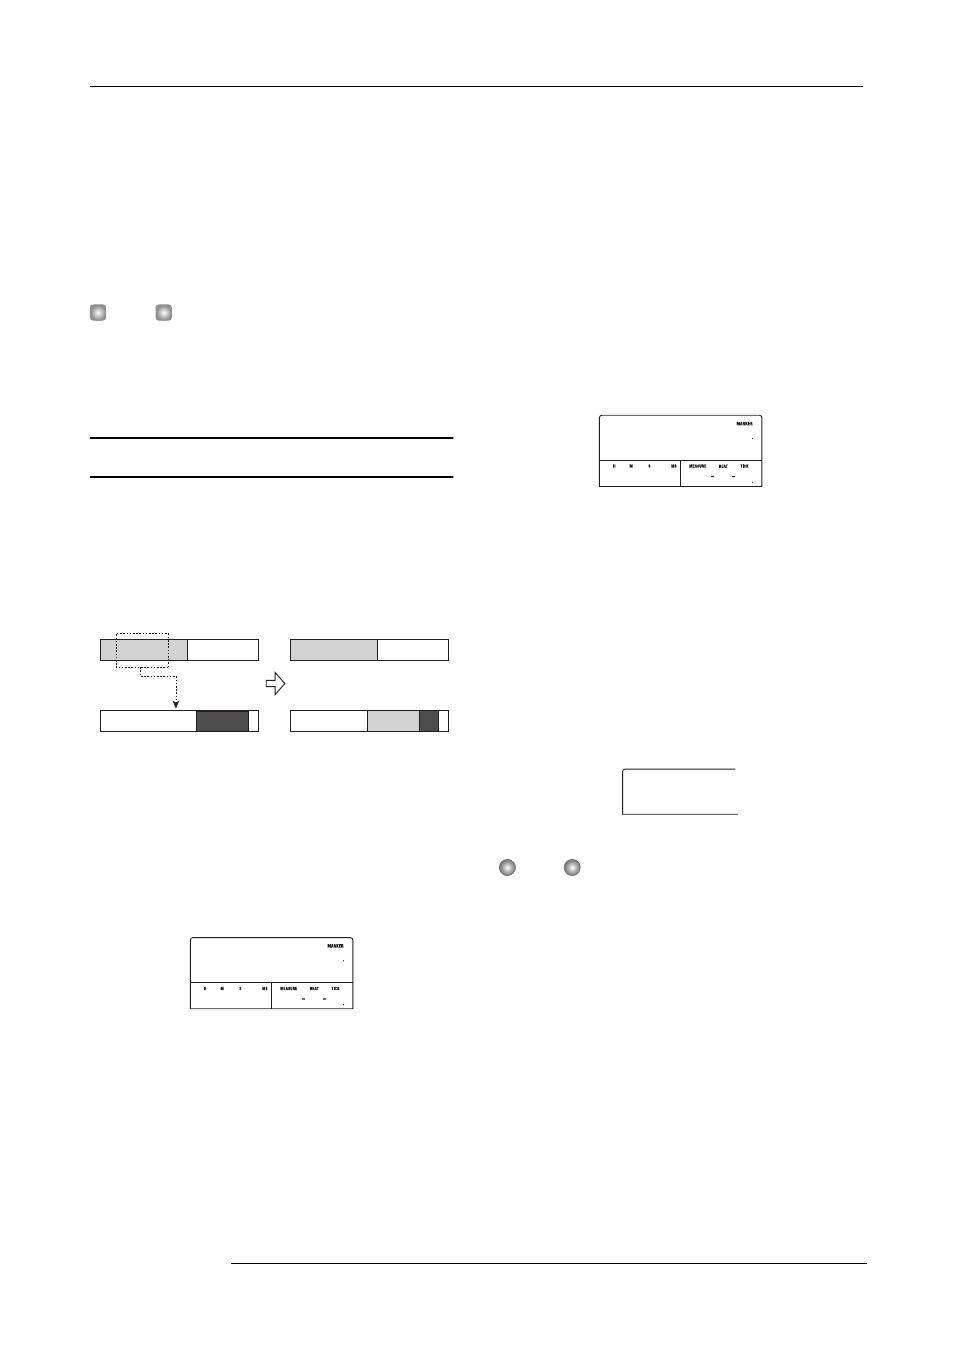
Copying a specified range of data
You can copy the audio data of a specified range to a
specified position on a specified track. This action will
overwrite the existing data at the destination location. The
copy source data will be unchanged.
1.
Refer to steps 1 - 6 of “Basic editing steps” to
select the copy source track/V-take, and press the
[ENTER] key.
The display changes as follows. This screen lets you specify
the copy range start point.
The edit range start point is shown on the left-hand counter
in hours, minutes, seconds, milliseconds, and on the right-
hand counter in measures, beats, and ticks.
2.
Use the cursor left/right keys to move the flashing
section of the counter, and turn the dial to specify
the copy start point.
The point can be specified in hours/minutes/seconds/
milliseconds. When a value is specified, the measure/beat/
tick counter reflects the new location.
If you move the flashing section to the MARKER field on
the display, you can specify a mark by turning the dial. In
this case, the mark position becomes the editing start point.
If you move to an area where no data are recorded, a “*”
symbol is shown.
3.
Press the [ENTER] key.
The display changes to “Copy Src END”. This screen lets
you specify the copy range end point.
4.
Use the same procedure as in step 2 to specify the
copy range end point.
If you press the PLAY [
R
] key at this point, the specified
range will be played.
5.
Press the [ENTER] key.
The display now shows “Copy Dst TR xx-yy” (where xx is
the track number and yy the V-take number). This screen lets
you specify the copy destination track/V-take.
N
OTE
• If you have selected a single track as copy source, only a
single track can be selected as copy destination.
• If you have selected two adjacent tracks or the master
track as copy source, only two adjacent tracks or the
master track can be selected as copy destination. In this
case, the currently selected V-take for each track becomes
the editing target.
6.
Specify the copy destination track/V-take in the
same way as when selecting the copy source
track/V-take, and press the [ENTER] key.
The display changes as follows. This screen lets you specify
the start point on the copy destination V-take.
Copy source track
Copy
Copy destination track
Copy Src
Copy Src
START
START
0 0 0 0 001 1
00
0
Copy Src
Copy Src
END
END
0 213 0 058 3
02
8
Copy Dst
Copy Dst
TR 1- 1
TR 1- 1