Reference [track editing, Editing a range of data, Basic editing steps for range editing – Zoom MRS-802 User Manual
Page 46: Copy src copy src tr 1- 1 tr 1- 1
Reference [Track Editing]
ZOOM MRS-802
46
Editing a range of data
The procedure for specifying a range of a V-take and then
performing an action such as copying or moving is
explained below.
Basic editing steps for range editing
When performing editing for a specified range of data, some
steps are similar for each action. These are as follows.
1.
From the main screen, press the [UTILITY] key in
the display section.
The utility menu appears on the display.
2.
Verify that the indication “UTILITY TR EDIT” is on
the display, and press the [ENTER] key.
The track edit menu containing various editing commands
appears on the display.
3.
Use the cursor left/right keys to select the desired
command.
The following editing commands are available.
• Copy
Copy a specified range of audio data.
• Move
Move a specified range of audio data.
• Erase
Erase a specified range of audio data.
• Trim
Retain only a specified range of audio data and erase the
rest.
• Fade I/O (Fade-in/out)
Perform fade-in/fade-out over a specified audio data
interval.
• Reverse
Reverse a specified range of audio data.
• TimStrch (Time Stretch/Compress)
Change the duration of a specified range of audio data on a
track without changing the pitch.
4.
Press the [ENTER] key.
The screen for selecting the track and V-take for editing
appears.
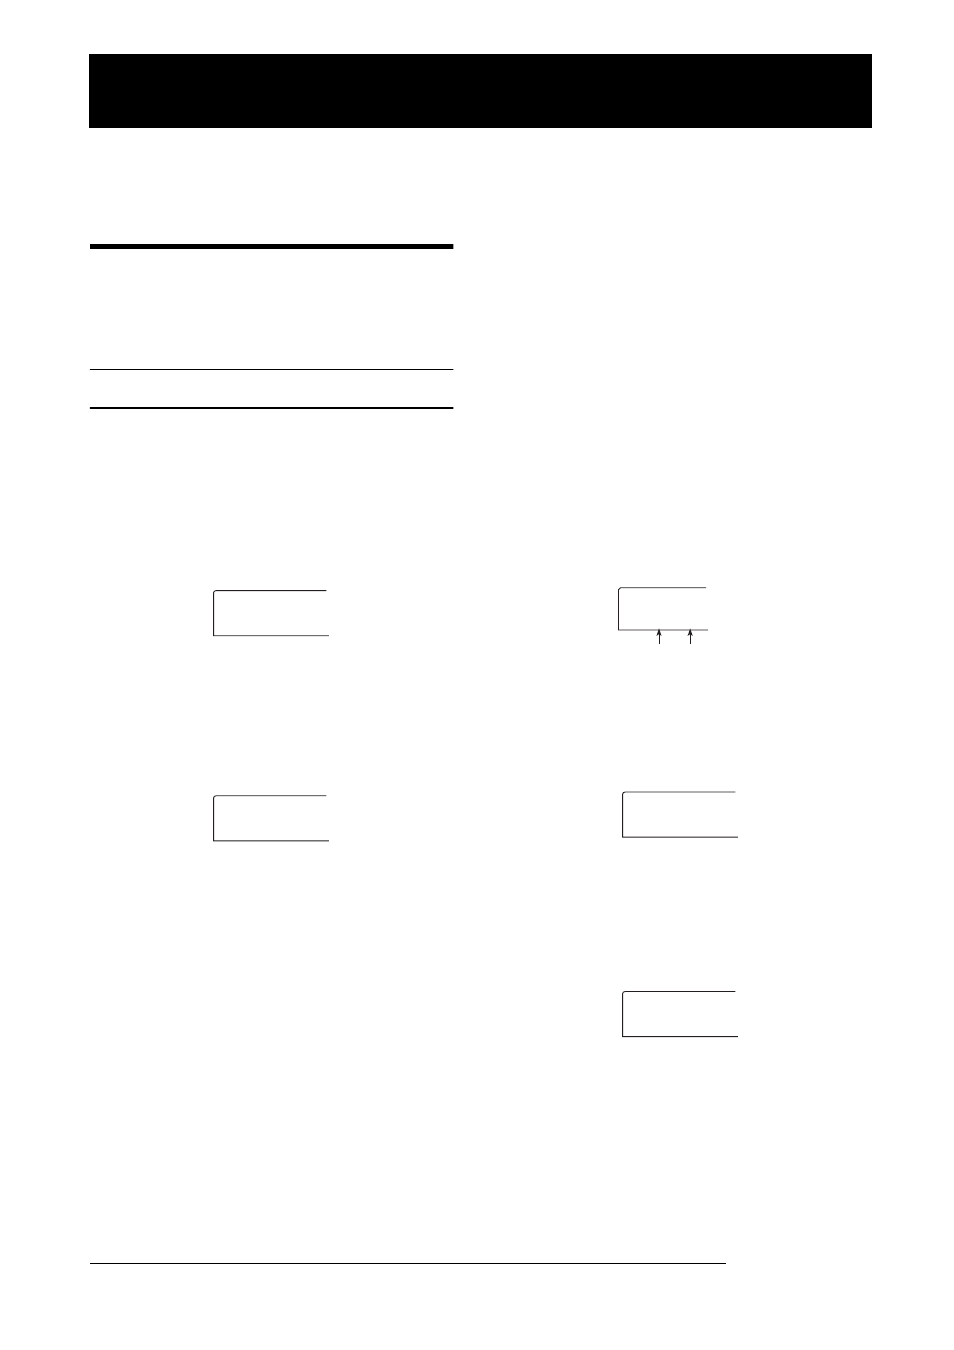
The display shown below is an example for selecting the
copy command in step 3.
5.
Turn the dial to select the track number (1 - 8), and
use the cursor up/down keys to select the V-take
number (1 - 10).
On this screen, also V-takes that are not currently selected
for tracks 1 - 8 can be selected for editing.
When track 8 is selected, turning the dial further to the right
brings up the following screen.
When this screen is shown, turning the dial to the right
selects tracks in odd-numbered/even-numbered pairs (1/2,
3/4, 5/6, 7/8) or the master track. In this case, the currently
selected V-take for the two tracks or the master track
becomes the editing target.
6.
Press the [ENTER] key.
UTILITY
UTILITY
TR EDIT
TR EDIT
TR EDIT
TR EDIT
Copy
Copy
V-take number
Track number
Copy Src
Copy Src
TR 1- 1
TR 1- 1
Copy Src
Copy Src
TR 8- 1
TR 8- 1
Copy Src
Copy Src
TR 1/2
TR 1/2
Reference [Track Editing]
This section explains how to edit audio data contained on the tracks of the recorder section. There are two major types of editing
functions: specifying a range for editing, and editing an entire V-take.