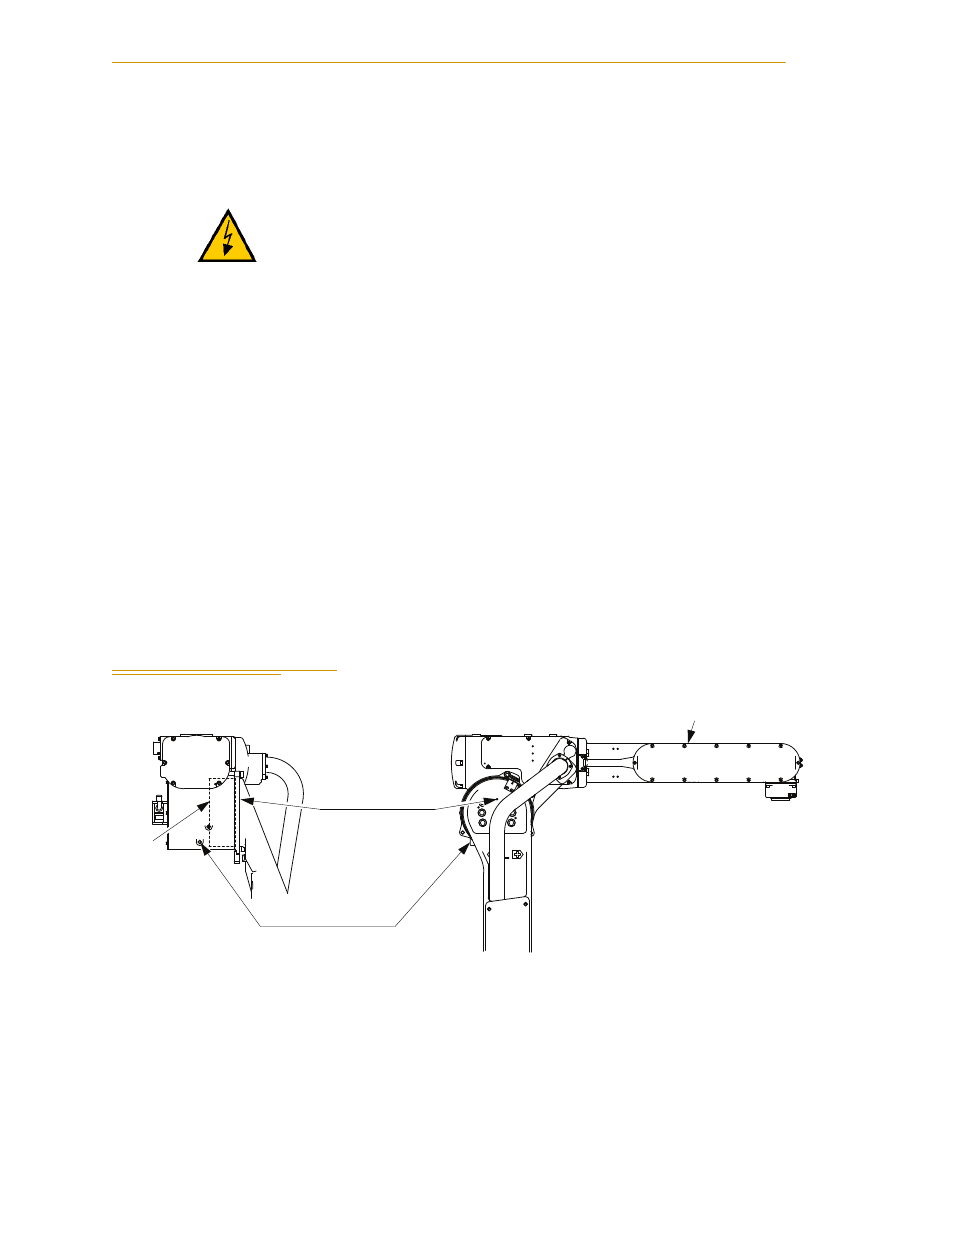
4 grease exchange for 3rd-axis speed reducer, Figure 5-6. 3rd-axis speed reducer diagram – Adept s1700D Viper User Manual
Page 64

Maintenance and Inspection
64
Adept Viper s1700D Robot User’s Guide, Rev A
1. Position the 2nd-axis arm vertically to the ground.
2. Remove the hexagon socket head plug (PT1/8) on the grease exhaust port.
3. Remove the hexagon socket head cap screw (M6) on the grease inlet and install
the grease zerk (A-MT6X1).
4. Inject the grease (approximately 500 cc, VIGO Grease RE No. 0) into the grease
inlet using a grease gun. The grease exchange is complete when new grease
appears in the grease exhaust port. The new grease can be distinguished from the
old grease by color.
5. Move the 2nd-axis for a few minutes to discharge the excess grease.
6. Remove the grease zerk on the grease inlet and reinstall the hexagon socket head
cap screw (M6). Prior to installation, coat the screw threads with Three Bond
1206C.
7. Wipe the grease exhaust port with a cloth and reinstall the hexagon socket head
plug on the grease exhaust port. Prior to installation, coat the screw threads with
Three Bond 1206C.
5.4
Grease Exchange for 3rd-Axis Speed Reducer
Figure 5-6. 3rd-Axis Speed Reducer Diagram
WARNING:
If grease is added without removing the
hexagon socket head plug (PT1/8), the grease will go
inside the motor and may damage it. It is absolutely
necessary to remove the plug.
3rd axis arm
3rd-axis
speed
reducer
Grease inlet
Grease exhaust port
(Hexagon socket head
cap screw M6)
(Hexagon socket head
plug PT1/8)
