Continuous scan, Continuous scan -26 – TA Triumph-Adler DC 2325 User Manual
Page 100
Sending Functions
2-26
ADVANCED OPERATION GUIDE
Continuous Scan
When the multi-page originals cannot be placed in the document processor
at one time, the originals can be scanned in separate batches and then
sent as one job. With this function, originals can be scanned one after
another until you press [Scan Finish].
Any of the following settings can be changed during scanning.
• Original Size selection
• 1-sided / 2-sided selection
• Sending Size selection
• Original Orientation
• Image Quality
• Scan density
• Scan resolution
• Zoom
• Border Erase
The procedure for using continuous scanning when sending scanned
images is explained below.
1
Press the Send key.
2
Press [Advanced Setup] and then [Continuous Scan].
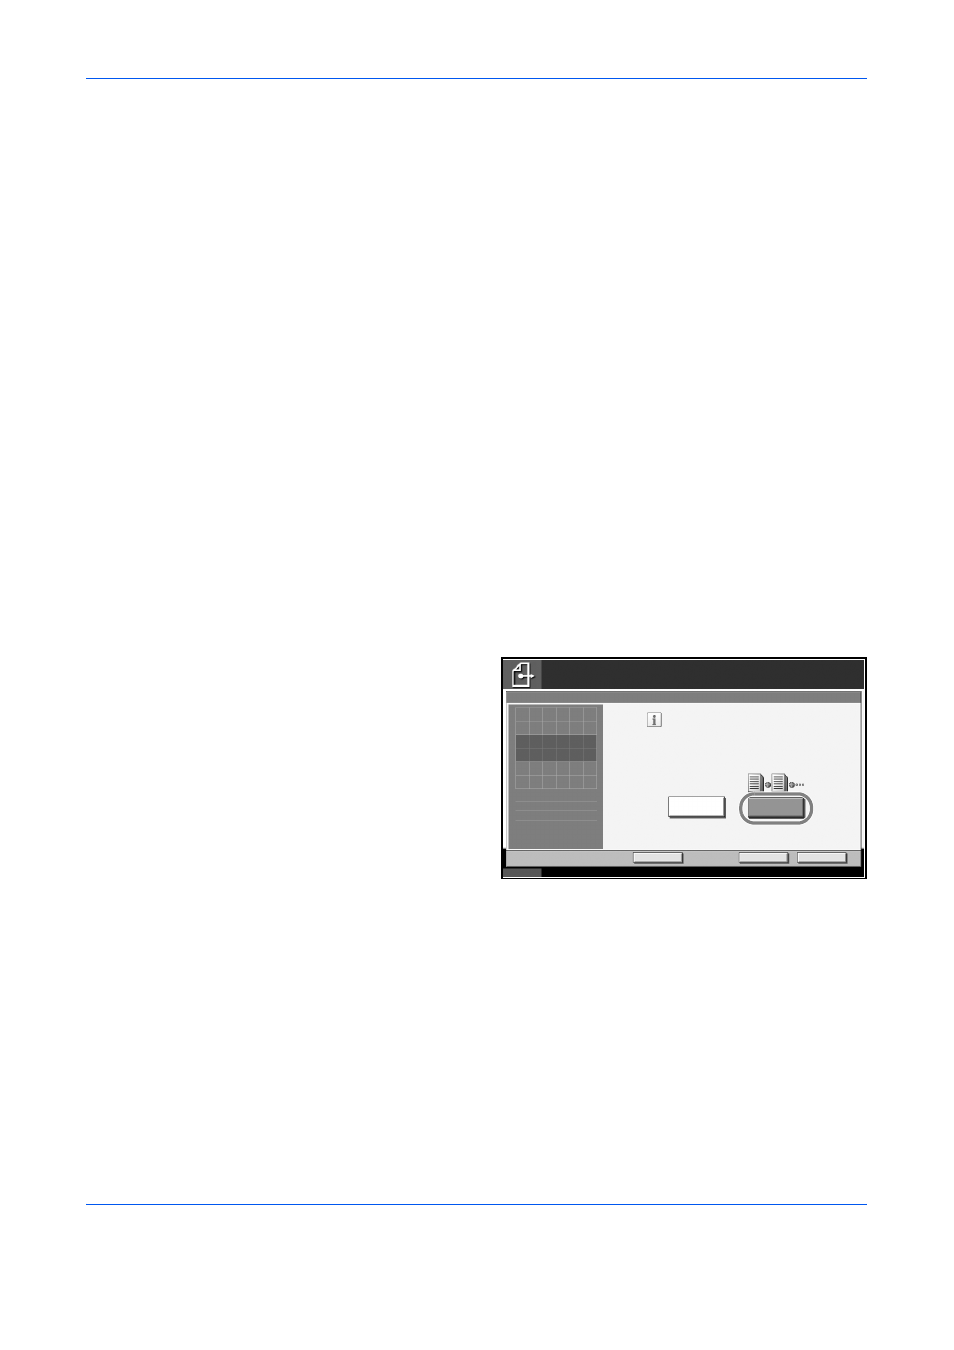
3
Press [On].
Continuous Scan is
selected.
4
Press [OK].
5
Specify the destination.
6
Place the original, and press the Start key.
When the scanning is completed, change the settings as necessary.
7
Place the next original, and press the Start key. Scan the remaining
originals by the same procedure.
When you have scanned all the originals, press [Scan finish] to start
sending.
Status
10/10/2007 10:10
Ready to send.
Destination
Add Shortcut
Scan originals from Document Processor and
platen for output as one job.
*Settings can be changed during scanning .
Cancel
OK
Off
Continuous Scan
Enter Destination.
On
1
Press [OK] to display
the image.