Grass Valley K2 Media Client System Guide Oct.10 2006 User Manual
Page 87

September 7, 2006
K2 Media Client System Guide
87
Bind Luns
Therefore if some LUNs remain bound while you are creating a new LUN, it is
possible that the new LUN number and the disk numbers will not match. When you
create a new file system, this mismatched numbering does not hamper functionality.
However, to make the K2 Media Client easy to service, you should retain the correct
numbering sequence. To do this you must unbind all media LUNs (not the System
LUN) and then bind disks in sequence.
To bind a LUN, do the following:
1. In the tree view, right-click the
Unbound
node and select
Bind LUN
.
2. If the K2 Media Client is online, messages appear “…offline mode now?” and
“…continue?”. Click
Yes
to put the K2 Media Client in offline mode.
AppCenter channels go offline.
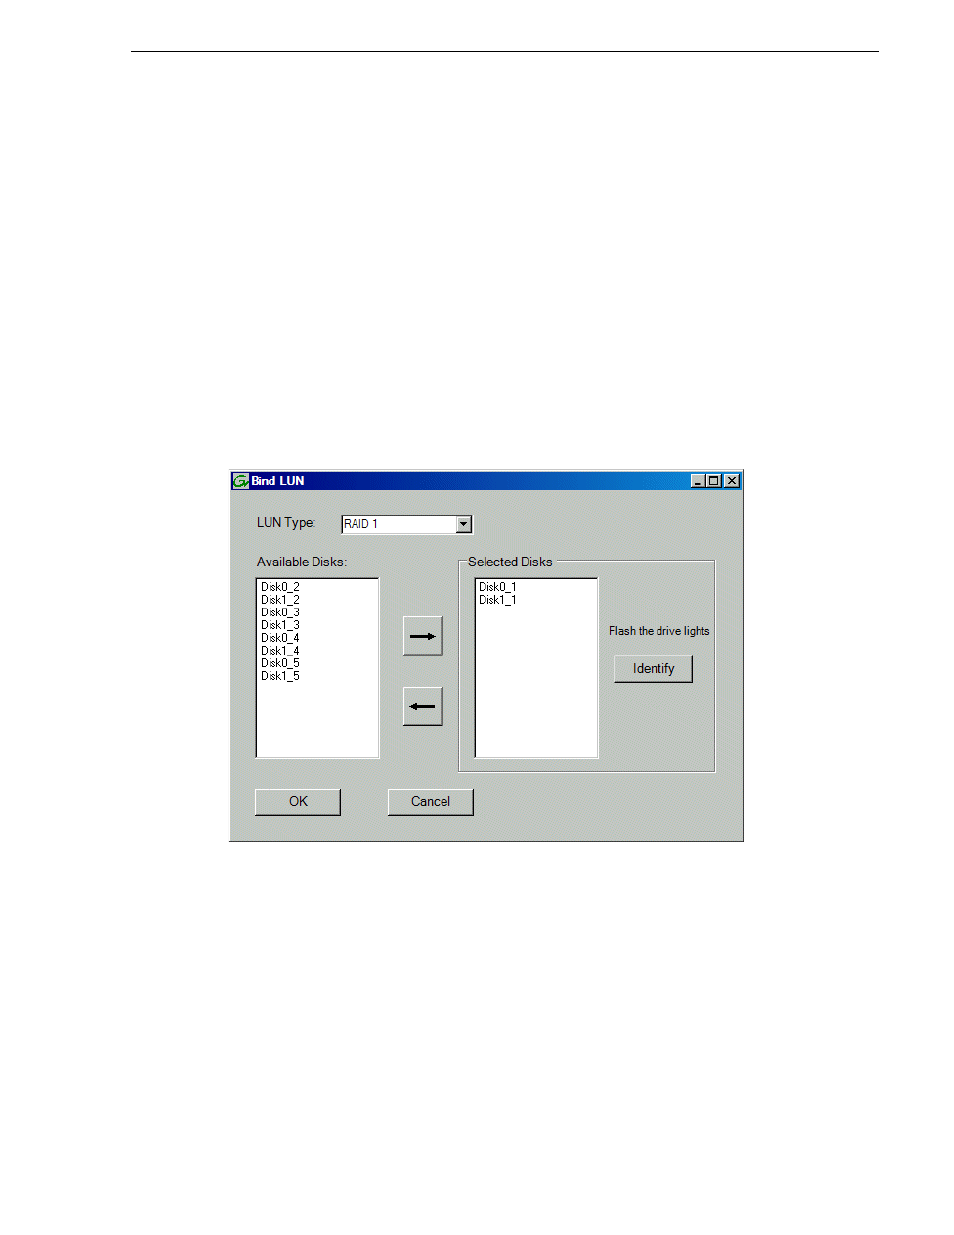
The Bind LUN dialog box opens showing all unbound disks for the controller listed
in the Available Disk list.
3. Select two contiguous disks, then click the arrow button to add them to the Selected
Disks list. (TIP: Use ‘shift-click’ or ‘control-click’ to select disks.)
NOTE: As an aid in identifying a disk module’s physical location, select it in the
Selected Disks list, then click
Identify Disks.
This causes the disk drive LED to flash.
4. Click
OK
to close the Bind LUN dialog box and begin the binding process.
The Progress Report opens and displays unbind progress.
5. When progress reports 100% complete, the LUN is bound.
6. Repeat the previous steps for other unbound disks.
7. Restart the K2 Media Client.
