Making a recording, Recording, Stopping recording – Teac HS-2000 User Manual
Page 72: Retaking a recording, Playback in timeline mode, Selecting a project, session and take, 8 – take mode

72
TASCAM HS-2000
8 – Take mode
Making a recording
Recording
When the unit is stopped, press the REC key to put the
unit into recording standby. At this time, the
icon
indicates this transport status.
In recording standby, press the PLAY key to start
recording.
The transport status display at the top left of the Home
Screen changes into the recording status display and part
of the background of the Home Screen becomes red,
indicating that the unit is recording. The time counter
starts at the same time.
NOTE
When stopped, pressing the
•
PLAY key while pressing
and holding the REC key will also start recording.
Recording can also be controlled using parallel control
•
(except retaking).
Unlike timeline mode, pressing the
•
PLAY key while
pressing and holding the REC key during playback will
not start overwrite recording.
When in recording standby, the parallel control signals
•
output are high for TALLY_RECORD and low for TALLY_
PAUSE.
When in recording standby, the
•
REC and PAUSE keys
on the front panel will be lit.
Stopping recording
To stop recording, press the STOP [RETAKE] key.
Retaking a recording
Press the STOP [RETAKE] key while pressing and holding
the SHIFT key to erase the last recorded take. (The
recorded audio file itself will deleted.)
If you press the PAUSE key during recording to record
multiple consecutive takes (files) and the PAUSE MODE is
set to SPLIT, this will only erase the last take. If it is set to
NO SPLIT, the recording is not split into multiple takes, so
this will erase the entire recording from start to finish.
For details about the PAUSE MODE item see “FILE FORMAT
page” on page 101.
Playback in timeline mode
Selecting a project, session and take
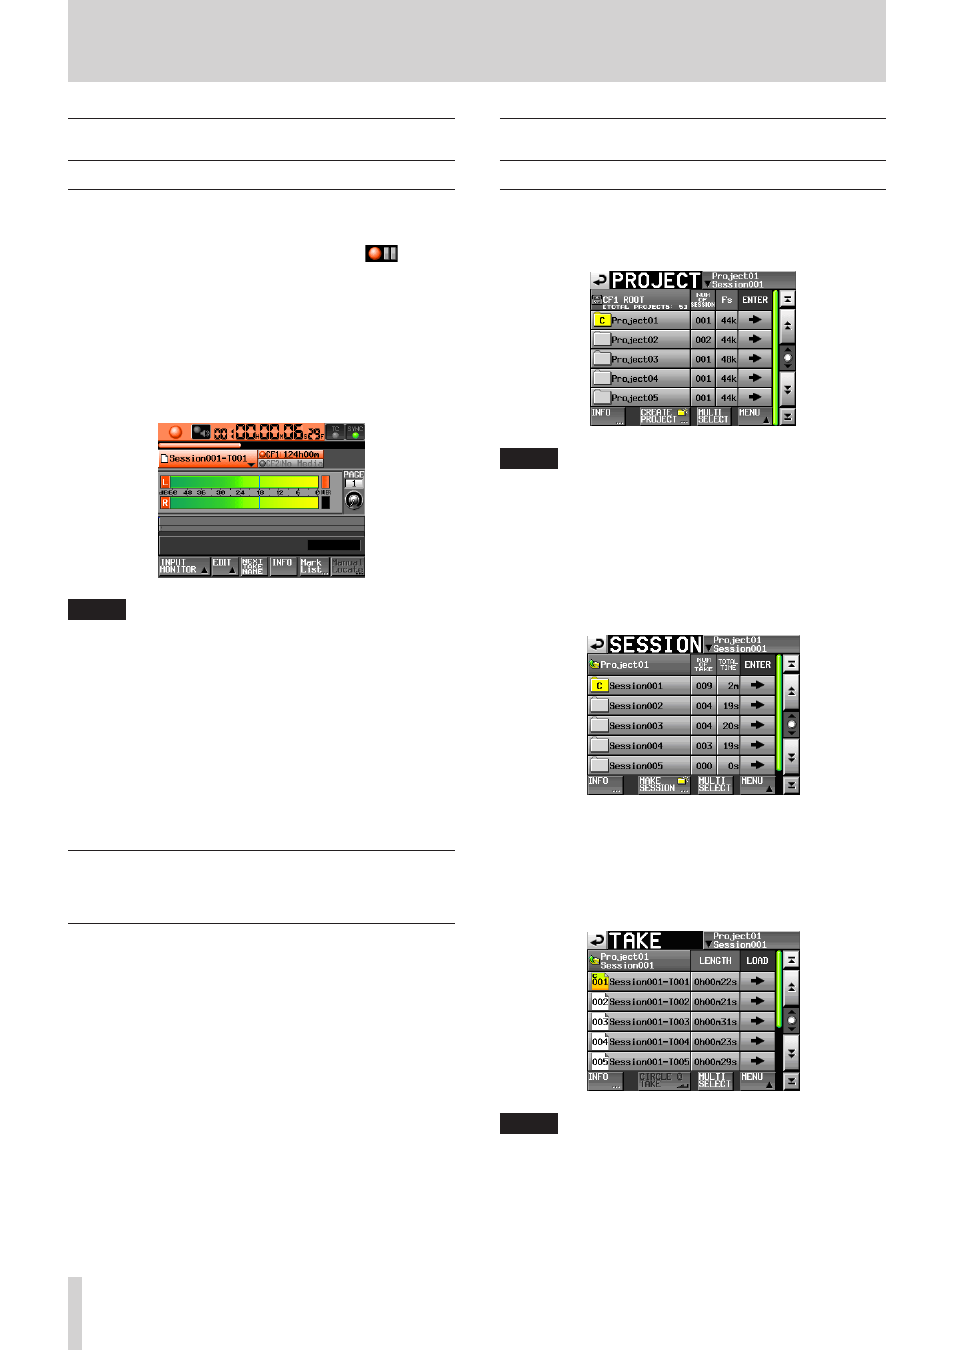
1. Press the PROJECT key on the front panel to open the
PROJECT
screen.
NOTE
You can also touch the session/take name area on the
Home Screen to open the
PROJECT
screen.
2. Touch the w button next to the project that contains
the take you want to load to open the session
selection screen
If the selected project is not the current project, a pop-
up window appears confirming that you want to load
it. Touch the
OK
button.
3. Touch the w button for the session that contains
the take you want to load to open the take selection
screen.
If it is not the current session, a pop-up appears
confirming that you want to load it. Touch the
OK
button.
NOTE
To load a take from the current session, instead of steps
1–4 above, you can also touch the session name button at
the top right of the
PROJECT
screen, or touch the take
name button on the Home Screen and touch the TAKE List
button in the pull-down menu to open the take selection
screen for the current session.
