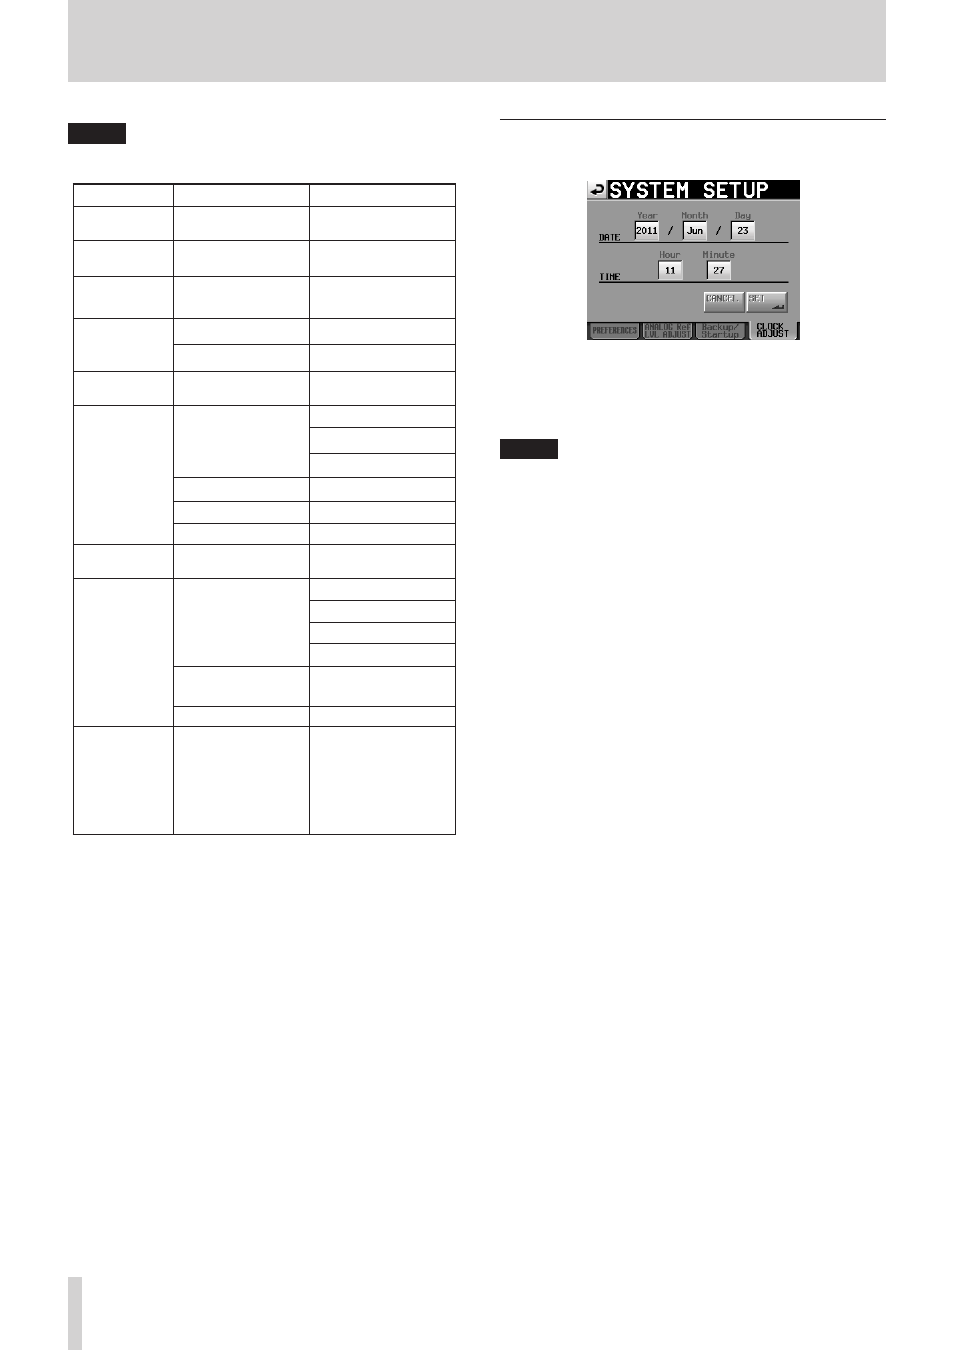
11 – internal settings, Clock adjust page – Teac HS-2000 User Manual
Page 114

114
TASCAM HS-2000
11 – Internal settings
NOTE
The following settings, which are not included in the
•
project, are saved and loaded in presets.
Screen name
Page name
Settings in presets
Home Screen
Time counter display
mode
LOCK SETUP
screen
All settings
PLAY SETUP
screen
CONTROL page
PLAY Inhibit Time
SYNC T/C
screen
CLOCK page
MASTER
SYNC page
Master TC
ON AIR Fs
screen
ON AIR Fs
REMOTE SETUP
screen
GENERAL page
FADER MODE
FADER Start MODE
FADER Stop MODE
PARALLEL page
AUX Assign
RS-232C page
All settings
ETHERNET page
All settings
AUDIO I/O
screen
INPUT page
INPUT SOURCE
SYSTEM SETUP
screen
PREFERENCE page
ONLINE Function
Digital Ref. Level
Analog Input Ref. Lvl
Analog Output Ref. Lvl
ANALOG Ref. LVL
ADJUST page
All settings
Backup/Startup page Startup MODE
OPERATION
MODE
screen
Whether operation
mode is on-air mode or
a different mode
(If this setting is not on-
air mode, the operation
mode saved on the CF
card will be activated)
The User Preset settings are the same as the Factory
•
Preset settings when the unit is first shipped new.
If the unit is restarted without saving the User Preset
•
after changing the Startup Mode to User Preset when
the Startup Mode setting stored in the User Preset
memory is Last Setting or Factory Preset, the User
Preset settings are loaded.
Then, the Startup Mode settings will change to the
Last Setting or Factory Preset setting stored in the User
Preset memory. In this case, you do not need to reload
the Last Setting or Factory Preset settings. The next
time the unit is restarted, the Last Setting or Factory
Preset settings will be loaded.
CLOCK ADJUST page
Set the time of the built-in clock on this page.
Touch the item to set, and use the DATA dial to adjust it.
(See “Setting the built-in clock” on page 26.)
Touch the
SET
button on the
CLOCK ADJUST
page or
press the DATA dial to confirm the setting.
NOTE
While setting the time, the clock stops and the “:” does not
blink. When you touch the
SET
button, the clock starts
again and the “:” blinks.
