Getting started with wincom 24 – Measurement Computing LogBook Series User Manual
Page 191
LogBook User’s Manual, Appendix A
887997
Supplement / HopNet Modems A-7
11. OPTION – Remove the Parallel Port cable that connects the LogBook to the PC. At this point the
Parallel Port cable is no longer needed and can be remove.
12. Click <ATTACH>.
Reference Note:
If this procedure was not successful, refer to the Frequently Asked Questions section on page
A-9 of this appendix.
Setting HopNet Modems for Base and Remote Operations
This section describes a set of serial commands that can be used to configure the HopNet modems. An
application, WinCOM24, will be used for entering commands. The commands will be used to set one
HopNet Modem as the Base (or Local) unit, and the other as the Remote unit.
Reference Note:
This section only provides a brief description of commands used, for additional information
refer to the HopNet 10 Series Wireless Modems User’s Manual.
Getting Started with WinCOM 24
1. Install the “WinCOM 24” software included with the HopNet modems.
2. Attach the 9-pin cable to 9-pin cable (CA-212) from the PC’s COMM1 port to the HopNet modem.
3. Turn on the HopNet modem, then execute the “WinCOM 24” software.
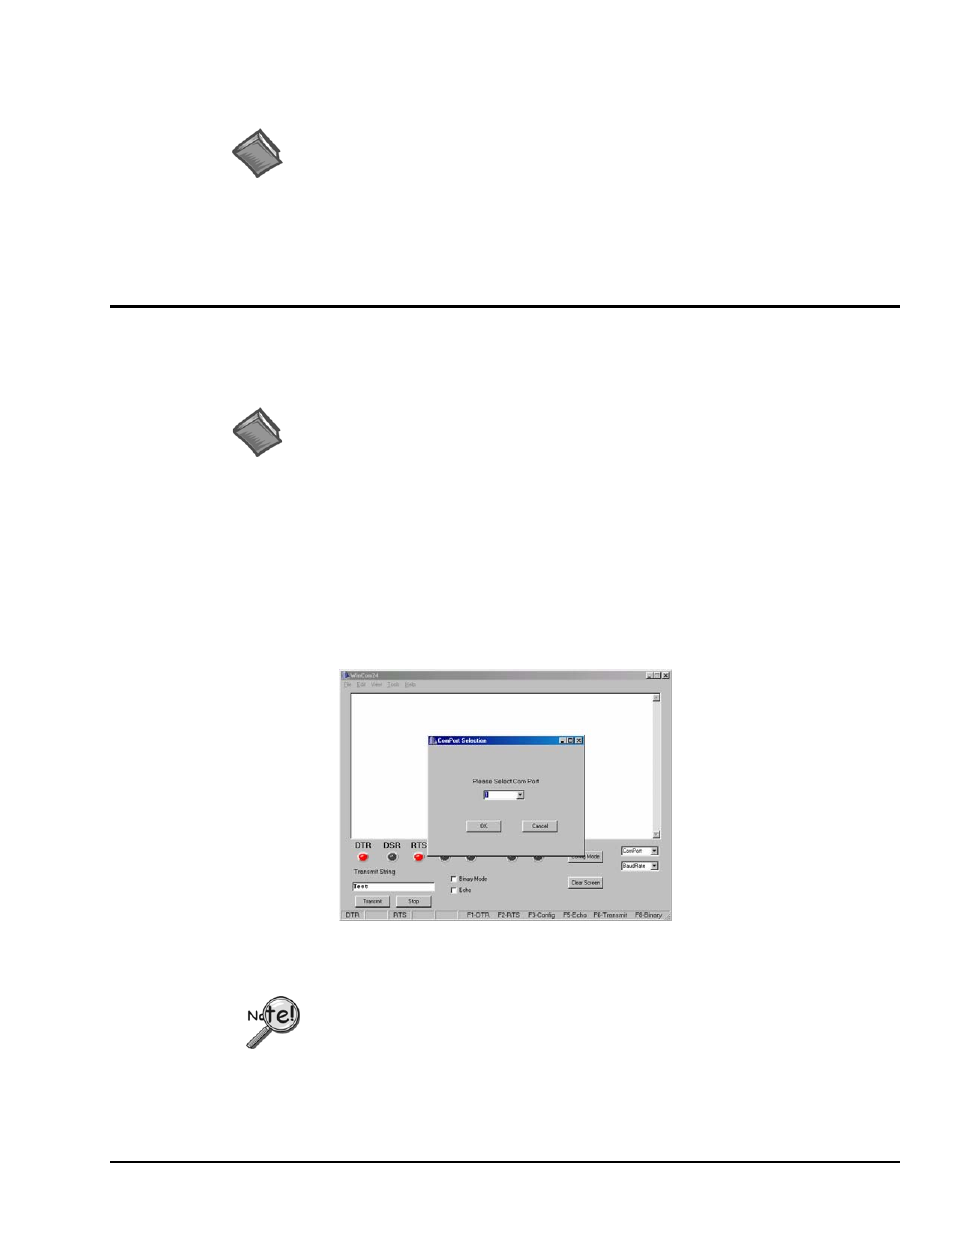
4. In the Com Port Selection dialog box, select Com Port 1. (See following figure).
5. Click <OK>.
ComPort Selection Dialog Box, Selecting Com Port 1
The default Baud Rate of 9600 will be seen (following figure).
The HopNet modem must be properly connected to the computer, and must be have
the same Baud Rate setting (9600). If the Baud Rate setting is other than 9600, use the
pull-down list and re-set the rate to 9600.