Using digital 2-point calibration – Measurement Computing LogBook Series User Manual
Page 144
LV-18 LogView
989592
Software
Reference
4. To reduce noise in sensitive channels like thermocouples, these channels can be sampled at a high
rate but stored at a slower rate after mathematically averaging the intermediate values. By checking
the Apply Noise Reduction Averaging checkbox, channels stored at a sub-rate will store the average
of all of the values collected at the Base Rate A. Extraneous values that are obvious errors will have
less effect on the data—it’s also possible to set up a calculated channel that only accepts values
within a defined range.
5. Close the Acquisition Configuration Window.
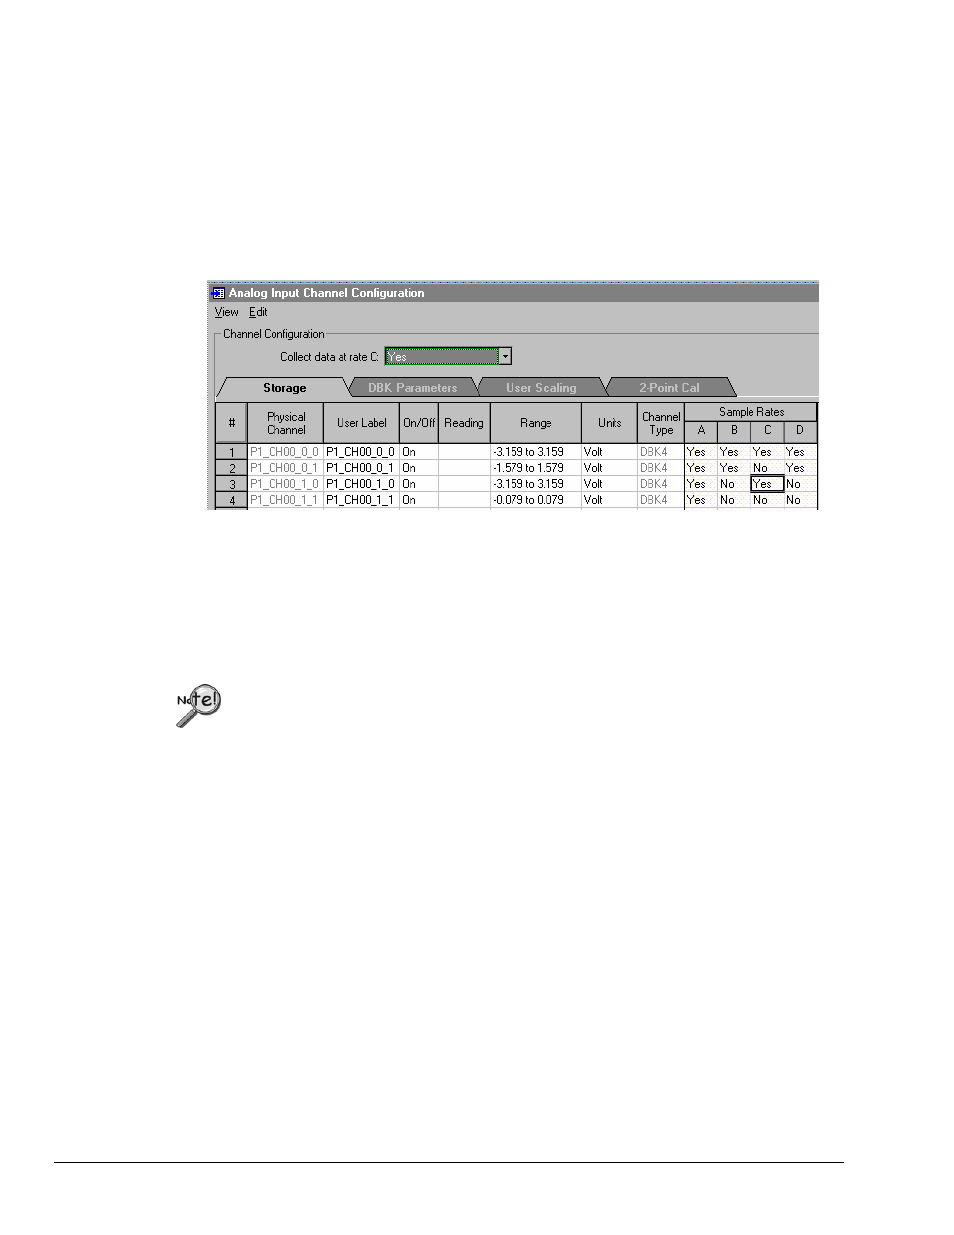
6. Click the Analog button to display the Analog Input Channel Configuration window. Under
the Storage tab, note that the newly configured sample rates are enabled. The sample rate columns
determine the rate at which each channel’s data will be stored. Each enabled (On) channel can have
data stored at sample rates A, B, C, D (or a combination, there of), see following figure.
Setting Sample Rates for Data Storage. Each enabled channel can be assigned up to four rates.
7. Set the cells in these four columns to Yes or No, as desired, for all enabled (On) channels.
Channels shown as “Off” are not sampled.
8. Once configured, download the acquisition setup file, and initiate data collection.
Using Digital 2-Point Calibration
Remote LogBooks can not be calibrated. 2-point calibration can only be performed
when LogBook is attached to the PC via a communication interface.
2-point calibration allows you to mathematically “trim out” inaccuracies in the measurement equipment
and/or the transducer. By allowing the equipment to measure 2 known points in the measurement range,
LogBook can calculate linear constants (the scale and offset) to correct inaccuracies in its analog inputs
(see page LV- 32). For channels where only one known point can be applied and verified, LogView
provides offset trimming.
1. Click the
2. Click the Analog button to open the analog input spreadsheet.
3. Click the 2-Point Calibration tab to expose the calibration columns. If some columns are obscured,
scroll to the right to reveal them or resize the window by dragging the right edge further to the right.
Note that the default Cal Scale and Cal Offset [mathematically applied to each channel] are 1 and 0,
respectively (right-most columns).