S3i©ty, Awarning, Adanger – Sears 113.197611 User Manual
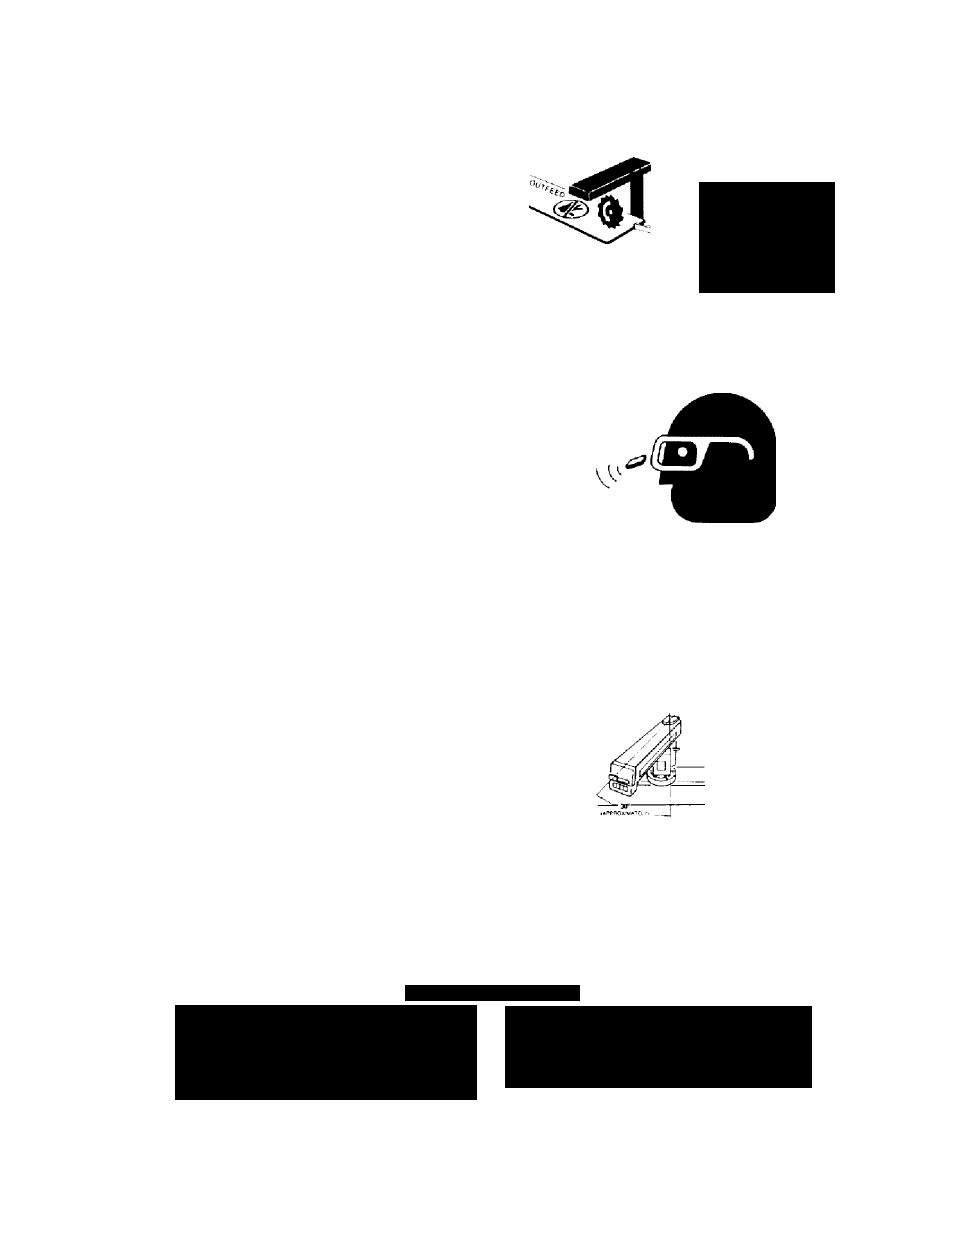
Page 9: On the, Is this safety label to alert you to, And to remind you to, Side surface of the motor, Outfeed zone hazard, Near the saw handle, Thrown objects
Attention! The text in this document has been recognized automatically. To view the original document, you can use the "Original mode".
S3i©ty
On the
side surface of the motor,
visible
from the infeed side when the saw is in a
rip position, is this safety label to alert you
to
outfeed zone hazard:
ADANGER
Rotational force
will pull hand back
into blade.
Fingers will be
cut off.
Keep hands away
from outfeed side.
Near the saw handle
is this safety label to
alert you to
thrown objects
and to remind
you to
wear safety goggles:
On the
bottom surface of the motor,
visible when the cutting tool is horizontal,
is this safety label to alert you
use a guard
when edge molding, and to position cut
ting tool behind fence:
(see Accessories
Section)
AWARNING
DANGER
Know this Cool:
1
Rtad and tlndeisland ai< warning& and I’n-structions
оге
»aw, in Qwrtei’ s Marvaal and with
acee»-
sofiea.
Prope'iy guard tf>e
lOOl
Provide
proper
workpiece
suppoo
Posjiion
me
cutting
tool
behind the lence by mov
ing the arm to the left and
clamping the yoke ьо this
label
faces
ihe
leoce:
ot
construct
an
auxiliary
lerice
per
Owrrer's
Man
uai.
With
power
off.the
twitch
key
removed,
turn
cuHirrg
loot by hand lo make sure
M
does
not
strike
guard,
fence
or
any
ofher
saw
pans
On the front panel is this general safety in
struction label:
SAFETY INSTRUCTIONS
1 Read manual De*ore using saw,
2
-
Wear salety goggies rrial meet ANSI Z&7.1 standards.
3- Do not do freehand cuts
4 Push carnage to luii rear position after each cross cut.
5. Know how to reduce the risk of kickback. See
instructions tor ripping
6. When ripping use push stick when blade is set 2
inches or more from fence
7 When ripping use push block and auxiliary fence when
blade IE set between 1 2 and
2
inches from fence Do
not make rip Cuts narrower than 1 '2 inch.
8 Keep hands out of path of blade
9 Do not reach around saw blade
10 Turn power oH and wait for blade to stop before
adjusting or servicing