Sears 113.197611 User Manual
Aeails/crnftsmrn, Inch radial saw, For your safety
Attention! The text in this document has been recognized automatically. To view the original document, you can use the "Original mode".
Save This Manual
for Future Reference
owners
manual
MODEL NO.
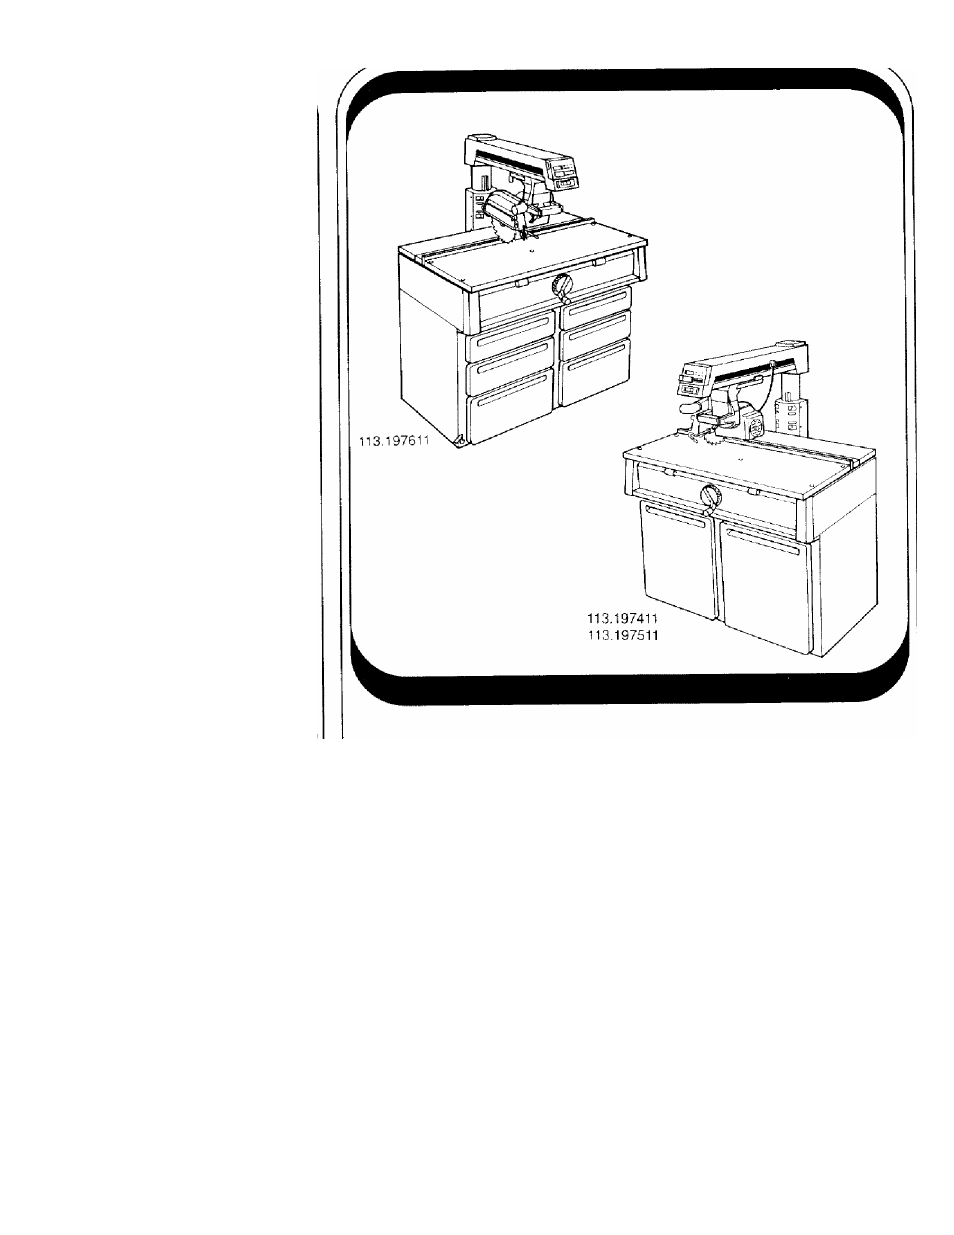
113.197411
10-INCH ELECTRONIC
RADIAL SAW WITH
44-
inch
cabinet
AND 2 DOORS
or
113.197511
10-INCH
electronic
RADIAL SAW
WITH 44-INCH CABINET
AND 2 DOORS AND
CASTERS
or
113.197611
10-INCH ELECTRONIC
RADIAL SAW WITH
44-INCH CABINET
AND 6 DRAWERS
Serial
Number_________ ______
Model and serial numbers
may be found on the left
hand side of the base.
You should record both
model and serial number in
a safe place for future use.
FOR YOUR
SAFETY:
READ ALL
INSTRUCTIONS
CAREFULLY
aEAilS/CRnFTSMRN
10-INCH RADIAL SAW
assembly
operating
repair parts
Sold by SEARS, ROEBUCK AND CO., Chicago, IL 60684 U.S.A.
Part No. SP5539
Printed In U.S.A,
Document Outline
- MODEL NO. 113.197411
- 113.197511
- 113.197611
- FOR YOUR SAFETY:
- READ ALL
- INSTRUCTIONS
- CAREFULLY
- Sold by SEARS, ROEBUCK AND CO., Chicago, IL 60684 U.S.A.
- Safety Symbol and Signal Words
- Major Hazards
- ^WARNING
- S3i©ty
- Assembly Steps
- A WARNING
- /kccpirihli/
- Assemble Side Panels(Only Door Model without Casters)
- Attach Door Hinges
- Attach Side Panels to Bottom Shelf
- Attach/lnstall Spacers
- Attach Skirts
- Finish Cabinet (Only Door Models; Drawer Model; Go to "Complete Center Slide Assembly")
- Attach Doors
- Complete Center Slide Assembly {Only Drawer Model)
- Mount Motor
- Mount Basic Saw Assembly
- I
- Assembly
- Attach Slide Arm Supports
- Install Front Table
- Assemble Table Lock Mechanism
- install Drawers (Only Drawer Model)
- To Remove Drawers (Only Drawer Model)
- Alignment and Adjustment
- Alignment and Adjustment Steps
- WARNING
- Í]
- Adjust Carriage Bearings
- \ \ OK
- Make Blade Parallel to Table
- Install Guard
- Complete Adjustments
- Button Functions
- Error Messages
- Install Battery
- To Replace Battery
- Align Encoders
- Set Zero Reference Points For Bevel, Miter, and Elevation
- Set Zero Reference Point For InRip
- Set Zero Reference Point For Out-Rip
- Motor Specifications
- Power Supply A WARNING
- A WARNING
- A WARNING
- A WARNING
- A WARNING
- Extension Cords
- Motor Protection & Reset Button
- A WARNING
- To Change Motor Voltage to 240 A.C.
- wrOS3CUltiriQ
- Ripping
- Ripping
- Workpiece Positioning
- Push Sticks and Push Blocks
- Ripping Safety
- A DANGER
- A WARNING
- ADANGER
- AWARNING
- Accessories
- Accessoriss
- Index