Kenwood KRF-V8881 D User Manual
Kenwood, Instruction manual
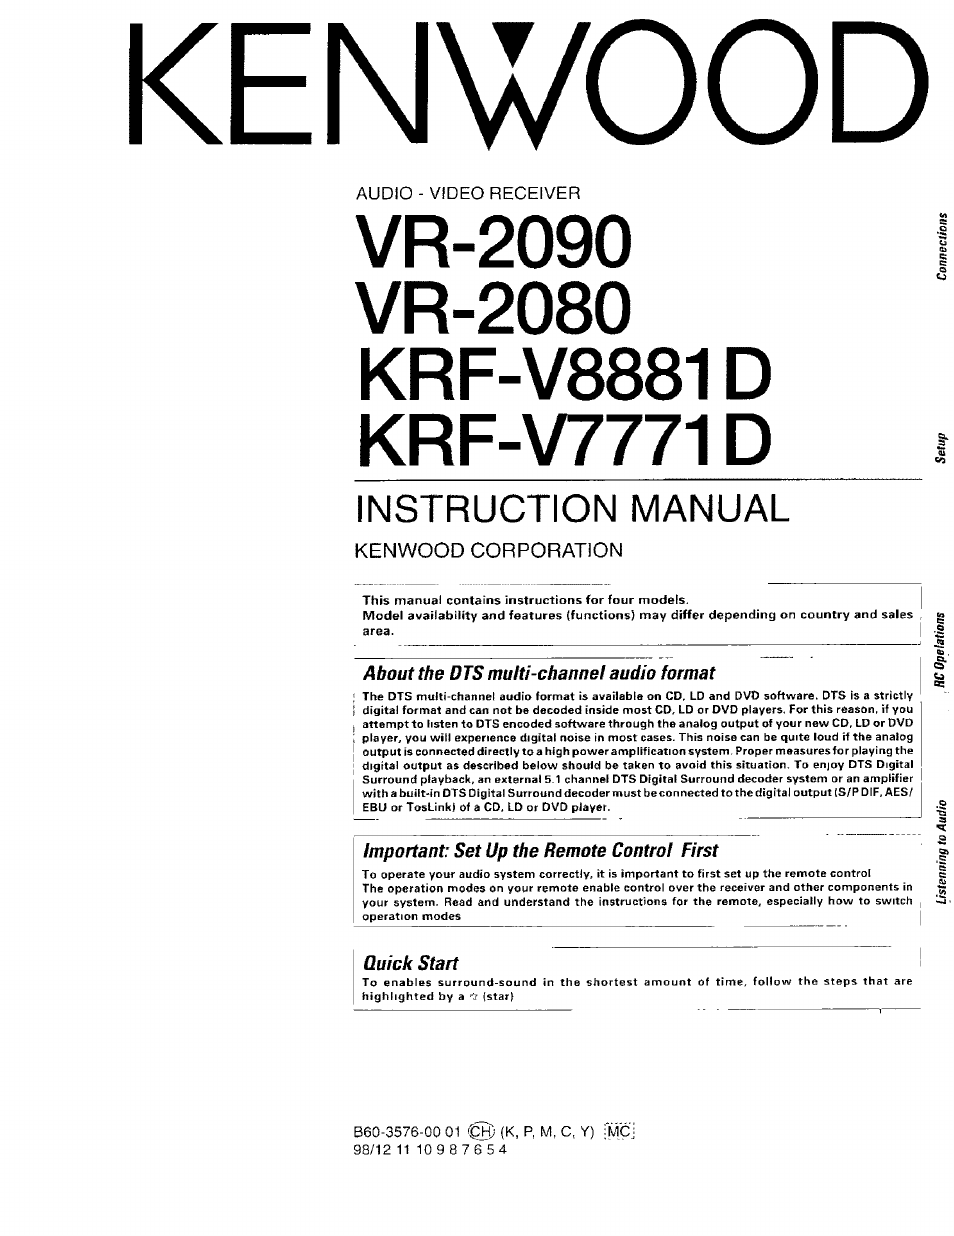
This manual is related to the following products:
Table of contents
Document Outline
- KENWOOD
- INSTRUCTION MANUAL
- Âk
- A
- A
- Contents
- introduction^
- Setup
- SC Operatiom
- Listenning fa^ Audio
- Connections ^
- Other
- lie incorporates a variety of high quality adjustable sound fields,
- like Arena , Jazz Club , Stadium . Cathedral and "Theater", to add the "presence" associated with an arena J8ZZ club or stadium ¡etc.) to the original signal. arena.
- set upprocedure.lThemacrosetupcoverstheAVcomponentsfrom both KEWWOODandothermanufacturersas well asnon-audio/
- with LCD
- How to use this manual
- Connection of audio components
- Connection of video components
- DTS disclaimer clause
- Make connections as shown below.
- lioSicLiryr“® ***^'^’ '*'■ ^'9"^' ^yp® detected
- When connecting the related system components, be sure to also refer to the instruction manuals supplied with the components you are connecting. ^
- Do not connect the power cord to a wail outlet until all connections are completed.
- To connect an DVD player with a DIGITAL OUT
- LASER DISC RF DEMODULATOR DEM-999W (Optional)
- DTS disclaimer clause
- Connecting the system control
- Connecting system control cords after connecting a KENWOOD audio component system lets you take advantage of convenient system control operations.
- There are two KENWOOD system control modes. Make connections according to the groups of terminal symbols shown below.
- EXAMPLE: IXSB] mode connections
- EXAMPLE; [XS16I mode connections
- [SL161 iXSS]
- ISL161
- [SL16]
- [SL16][MHKS8HXS1 [SL161 [XS] IXS81 [XS]
- Receiver
- Cassette deck
- CD player
- Record player
- rSLiS!
- SrST£M CONTROL OPERATIONS
- SWITCHING FROM [SL W] TO [XS8]
- Registering setup codes for KENWOOD audio components
- Speaker connections/PRE OUT connections
- Connecting the antennas
- Installina the remote control transceiver
- The following connections (ilXl)®) are only available for VR-2090 sold in the U.S.A. and Canada.
- Connect the remote control transceiver, sensor and controller as shown in the illustration.
- IR RECEIVER : {Optional, to be released in future)
- IR RECEIVER IN (®), IR OUT FOR REMOTE [i|)| :
- RELAY CONTROL (®); (Optional)
- ©POWER key
- ©POWER key
- ©ON/STANDBY key
- ©STANDBY indicator
- ®RC sensor
- ©PHONES jack
- ©SPEAKERS keys
- ©indicators
- ©MUTE key
- ©indicator
- ©VOLUME control knob
- ©VIDEO input jack
- ©AUDIO (L, R} input jacks
- ©C02/TAPE2 MONITOR indicator
- ©DISPLAY MODE key
- ©INPUT SELECTOR key
- STANDBY indication
- Turning the power on for the first time
- Switching the display mode (DISPLAY MODE key)
- Switching the IR RECEIVER mode (DISPLAY MODE key)
- IR RECEIVER setting
- Controls and indicators
- Hnttinn iia the BC according to vour receiver
- Perform the following procedure after inserting batteries for
- the first time or when the remote control back-up data has been lost.
- Preparations
- Model Type Setup
- To change "Model Type Setup
- The remote control unit is given with a hierarchical structure so that it can display a large number of functions. For instance, the menu screen for use in setup can be accessed from the menu screen as shown below.
- *1 : Communication status display El Transmitting iTj Receiving
- |x| Transmission/ reception inhibited
- To return to higher hierarchy level
- WtüpíórWnMlM^
- if one of your connected components is not listed in the Setup Codes chart, its setup code can be downloaded through a telephone line,
- Futureset codes are stored in memory, Each time a "Eutureset Upgrade" is performed, any previous information in the Futureset memory location is erased. Please inform your customer service representative if FutureSet has been previously used.
- Write down the brand name and model number of your component in the space provided before your call.
- Call our Free-Phone Consumer Help-Line and explain which components you would like to add to yo ur remote c ontrol.
- Open the "Setup"menu.
- Perform icon selection in the "Setup ” menu.
- Perform icon selection in the "Futureset Upgrade " menu.
- Receive the setup codes through the telephone.
- Code selection after mode download
- To delete a setup code
- Setup of Room A and Room B
- Setup of Input Level
- Set “CD2/Tape2"
- Ofwri^gn in the “Function " menu
- 'Accessories" control
- 'Home Automation " control
- Perform selection in the "Function" menu.
- X-W control
- Perform selection in the "Home Automation"menu.
- Perform selection in the "X-10 (1-8)" menu.
- ': ■■' yf ":^»,Sewp forrembte^onirolling otherequipmehi than AVcomponents
- Perform selection in the "Home Automation"menu.
- Perform selection in the "Lutron (Spacer)"menu.
- Perform selection in the “Lutron (GRAFIK Bye)" menu.
- Setup
- forrehiéte contfoUing'óitíér^üiprnenmáhmc0iipm^
- Makita control
- Perform selection in the "Home Automation"menu.
- Perform selection in the "Makita (1}"menu.
- Perform selection in the "Makita (2)" menu.
- Perform selection in the "Makita (3A)" menu.
- Perform selection in the “Makita (38)" menu.
- Select the “Main Menu" icon from the fixed segments.
- Select the “Macro"icon.
- Perform operation in the "Custom 1", “Csiom2”or "Cstom 3“ screen.
- Perform operation in the “Macro Edit: Custom 1“ screen.
- Operation in the "Custom 0 Edit: VCR" screen.
- Operation in the "Wkey Pad (Macro}"screen.
- Custom 1 Edit 1: ACC
- Custom 1 Edit 1: TV
- i Macro Execute
- Perfect Macro (For VR-2m/KRF-
- VR-Z090/VR-2080/KRF-V8881D/KRF-V7771D CORRECTION
- Perfect Macro (For VR-2090/KRF- V8881D)
- 'LCD FutureSet ' remote ‘‘Home AuUitnatioii^MM^
- Control "Home Automation"products
- "Automatic Power Sensing" and “SmartButton Macros”
- General operation flow
- Remote control of tuner
- Remote control of MD recorder
- Remote control of DVD player
- Remote control of LD player
- Remote control of cassette deck player
- Remote control of satellite tuner
- Remote control of DSS
- Remote control of Phono input
- Remote control of AVAUX
- Remote control of TV
- Remote control of VCR
- Remote control of cable TV
- General operation flow
- Remote controlling a Multi-room capabiiity CD player or a 200-disc changer CD player
- Preparation
- CD1 remote control (Control of “Room A “)
- CD2 remote control (Control of “Room B")
- CD Text playback
- Single CD remote control
- Remote control of non-KENWOOD CD player
- Carrousel CD remote control
- Controffing a Multi-room capability CD Pfuyer
- Controlling other CD players than the Multi-room capability CD Player (When 2players are connected)
- Controlling other CD players than the Multi-room capability CD Player men one co player is connected)
- Display on the receiver main unit
- Midnight mode i/TJ Off
- (Dolby Digital (AC-3) mode only)
- FL Dimmer, FL Display
- Back light
- Preparation
- Switching between digital input and analog input
- Select the speakers
- Setting up the IR RECEIVER
- Listening through headphones
- Muting audio temporarily
- To cancel muting
- Recording a music source
- Copying tape (TAPE1 -► fÀPÙj
- Caution for recording
- Digital -*• digital recording
- Digital -*■ analog recording
- Note on CD2/ Tape2 (Monitor) .
- "Tape! (Monitor)" setup menu screen
- Using "CD2/Tape2”
- inputs/Outputs and CD2/ Tape2 (Monitor)'
- Functions of RDS
- RDS Disp. icon
- Manual memory of broadcast stations
- Receiving a manually preset station
- Receiving preset stations in the preset order (P. CalU
- TP Search
- Receiving a station by specifying the frequency
- Presetting radigstatimsrnm^lly
- Receivina preset gf^figug
- Receiving preset stations in order (R Call)
- Sound modes
- Available play mode£
- Playback of digital input / playback of analog input
- Checking the surround alav status
- Aoolvina surround effect in DSP mode
- Select the "Main Menu" icon.
- Perform operation in the "Lstn Mode " menu screen.
- Select the mode from the "DSP Mode " menu screen.
- Adjust the DSP mode.
- Seiectthe "Main Menu" icon.
- Perform operation in the "Sound" menu screen.
- Adjust the "Tone".
- Adjust the "SP Level"
- How to reset the microcomputer
- Memory backup function
- Please note that the following items will be deleted from this unit's memory if the power cord is disconnected from the AC outlet for approximately three days,
- Although each setup code is designed to work with a number of different models, certain codes may not work with some models. (Also, certain codes may only operate some of the functions available on a given model.}
- With some models, be sure to keep the ENTER key pressed for a while.
- If there is any inquiry related to these setup codes, please contact the following services.
- U.S.A. ; 1-800-753-9860 Canada : 1-800-644-0073
- TV Setup codes (continued)
- Codes de configuration pour fes téléviseurs (suite) Códigos de preparación de televisores (continuación)
- Satellite Setup codes
- Codes de configuration pour les récepteuts d'émission par satellite Códigos de preparación de satélite
- DSS Setup codes
- Codes de configuration pour les DSS Códigos de preparación de DOS
- VCR Setup codes (continued)
- Codes de configuration pour les magnétoscopes (suite) Códigos de preparación de videograbadoras (continuación)
- LD Setup codes
- Codes de configuration pour les lecteurs de LD Códigos de preparación de reproductores de discos láser
- Home Automation Home Automation Home Automation
- DVD Setup codes
- Codes de configuration pour ies lecteurs de DVD
- Códigos de preparación de reproductores de videodiscos digitales
- DAT Setup codes
- Codes de configuration pour ies platines DAT
- Códigos de preparación de platinas de casetes audiodigitales
- Casset deck Setup codes
- Codes de configuration pour les platines à cassette Códigos de preparación de platinas de casetes
- CD Player Setup codes # 8***
- Codes de configuration pour les lecteurs de CD # 8***
- Códigos de preparación de reproductores de discos compactos # 8***
- Mise, audio Setup codes
- Codes de configuration pour divers appareils audio Códigos de preparación de otros aparatos de audio
- MD Setup codes
- Codes de configuration pour les MD
- Códigos de preparación de reproductores de minidiscas
- Cable Setup codes
- Codes de configuration pour le câble
- Códigos de preparación de televisión por cable
- Non-IR codes Codes Non-IR Códigos Non-IR
- Contents