Carriage assembly and power carriage installation, Installing the carriage assembly – Dynojet 250iPX: Installation Guide User Manual
Page 67
I N S T A L L A T I O N
Carriage Assembly and Power Carriage Installation
Version 2
In Ground Model 200iPX/250iPX Motorcycle Dynamometer Installation Guide
2-45
. . . . . . . . . . . . . . . . . . . . . . . . . . . . . . . . . . .
CARRIAGE ASSEMBLY AND POWER CARRIAGE INSTALLATION
Use the following instructions to install the standard carriage (or optional extended
carriage) and the power carriage along with securing the cable track.
I
NSTALLING
THE
C
ARRIAGE
A
SSEMBLY
Use the following instructions to install the standard carriage or the extended
carriage.
You will need the following parts:
• 36561045
Screw, 1/4-20 x 5/8", Pan-Head, Torx (4)
• 78100004
Standard Carriage Assembly or
78100005 Extended Carriage Assembly
1
Starting from the back of the dyno, slide the carriage under the carriage clamps.
2
Slide the carriage screw and the bearing bracket toward the nut block until the
carriage screw is touching the nut block.
3
Using the control panel to run the power carriage, run the carriage screw through
the nut block and into the screw support bracket on the carriage assembly.
4
Secure the bearing bracket to the carriage assembly using four 1/4-20 x 1/2-inch
button-head screws.
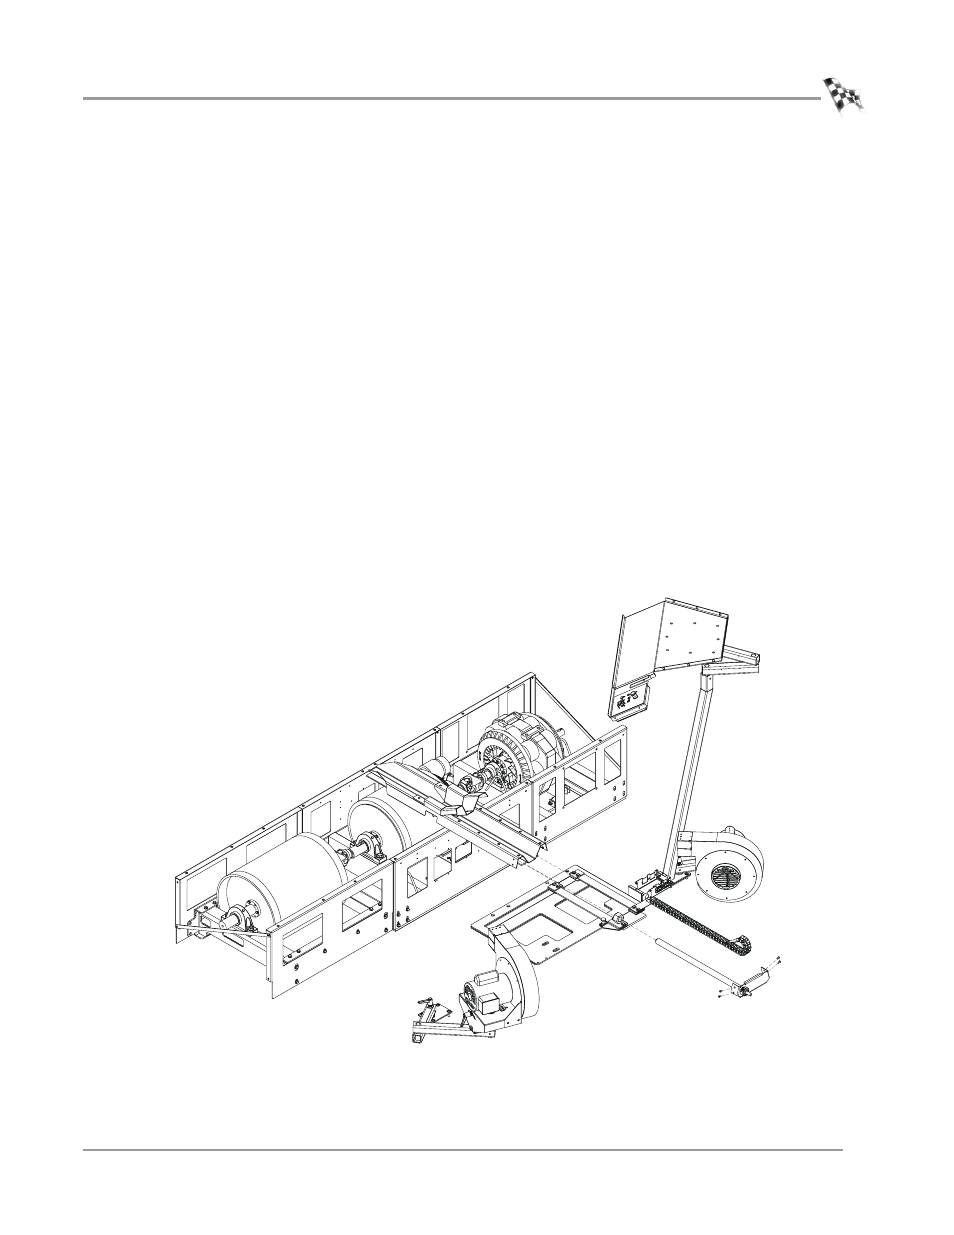
Figure 2-36: Install the Carriage Assembly
PD128