Bio-Rad Bio-Plex Software® Upgrades and Conversions User Manual
Page 34
Bio-Plex Manager Software 6.1 User Guide | Sample Needle Adjustment
22
8. Select the plate type to adjust the needle height appropriately. Choose
Standard Plate if you are using a Bio-Plex Pro™ flat-bottom microplate
for magnetic beads or the Millipore filter plate. Your other choice is PCR
Plate.
9. In the Adjust Needle window, click on the Up/Down button. The needle
will move to the down position.
10. With the needle in the down position, loosen the needle height
adjustment thumbscrew at the top of the needle so that the needle
housing can move up and down freely.
NOTE: All adjustments to the needle height must be made when the needle is
in the down position.
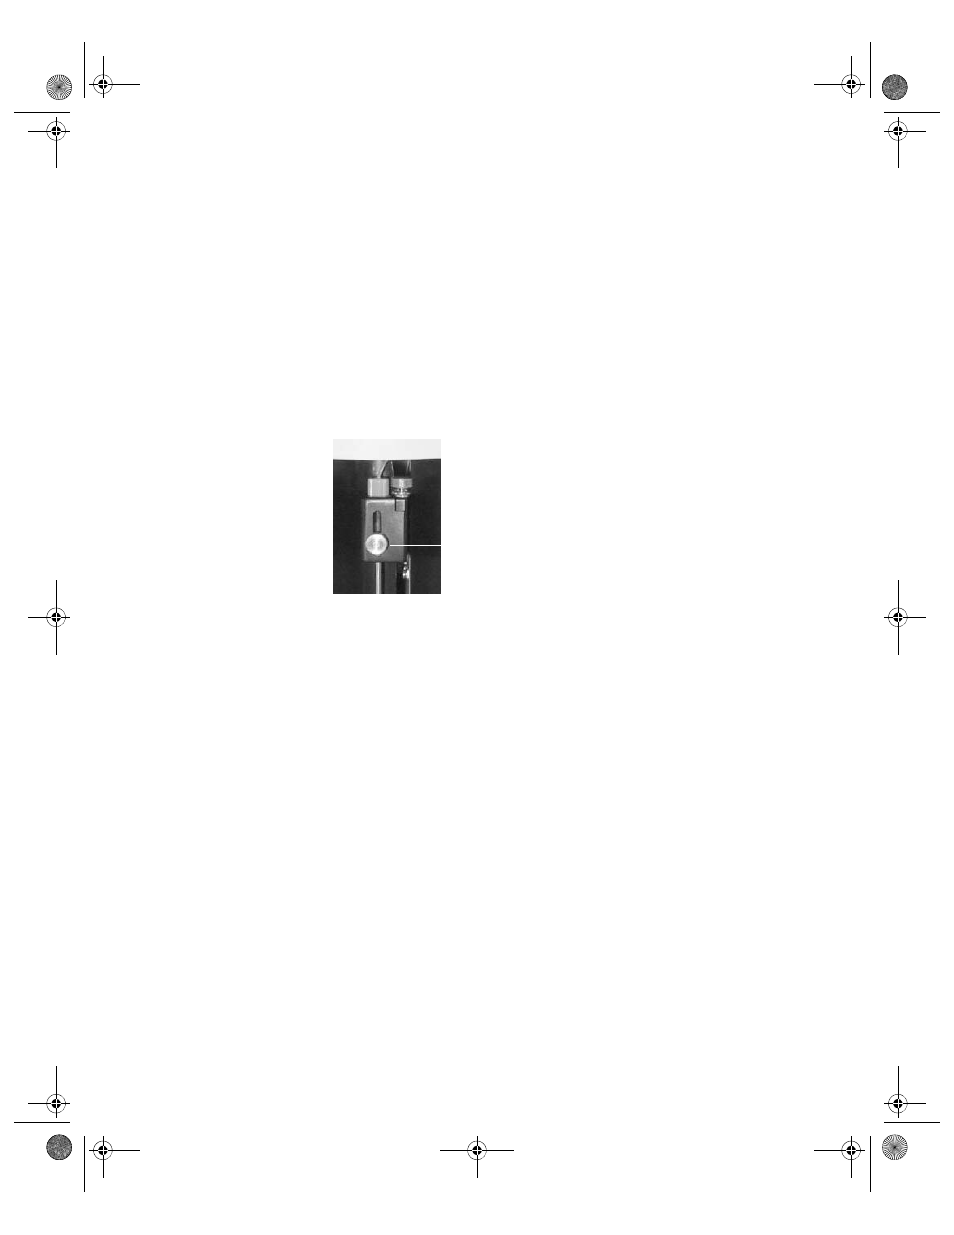
Figure 11. Sample needle assembly
11. By holding onto the needle height adjustment thumbscrew on the
needle arm, manually move the needle so that it just touches the
bottom of the needle adjustment well of the MCV plate. Move the
needle up and down gently a couple of times to verify that the needle is
barely touching the bottom of the well.
12. Tighten the needle height adjustment thumbscrew so that it is no longer
possible to manually move the needle up and down. Take care to
ensure that the needle does not move while you are tightening the
screw. Do not overtighten.
13. In the Adjust Needle window, click on the Up/Down button to move the
needle up and down. Look inside the microplate platform at the MCV
plate. The needle should just touch the MCV plate at the bottom of the
cutout (use flashlight for better viewing). Readjust the needle height if
necessary.
14. Save these settings. This allows Bio-Plex Manager to warn you which
type of plate the system will use, before it starts a run.
15. When the needle is adjusted properly, click the Eject button.
16. Remove the MCV plate from the microplate platform.
Needle height
adjustment thumbscrew
BioPlex_6.book Page 22 Friday, September 23, 2011 11:55 AM