Creating a destination – Apple Compressor 3 User Manual
Page 333
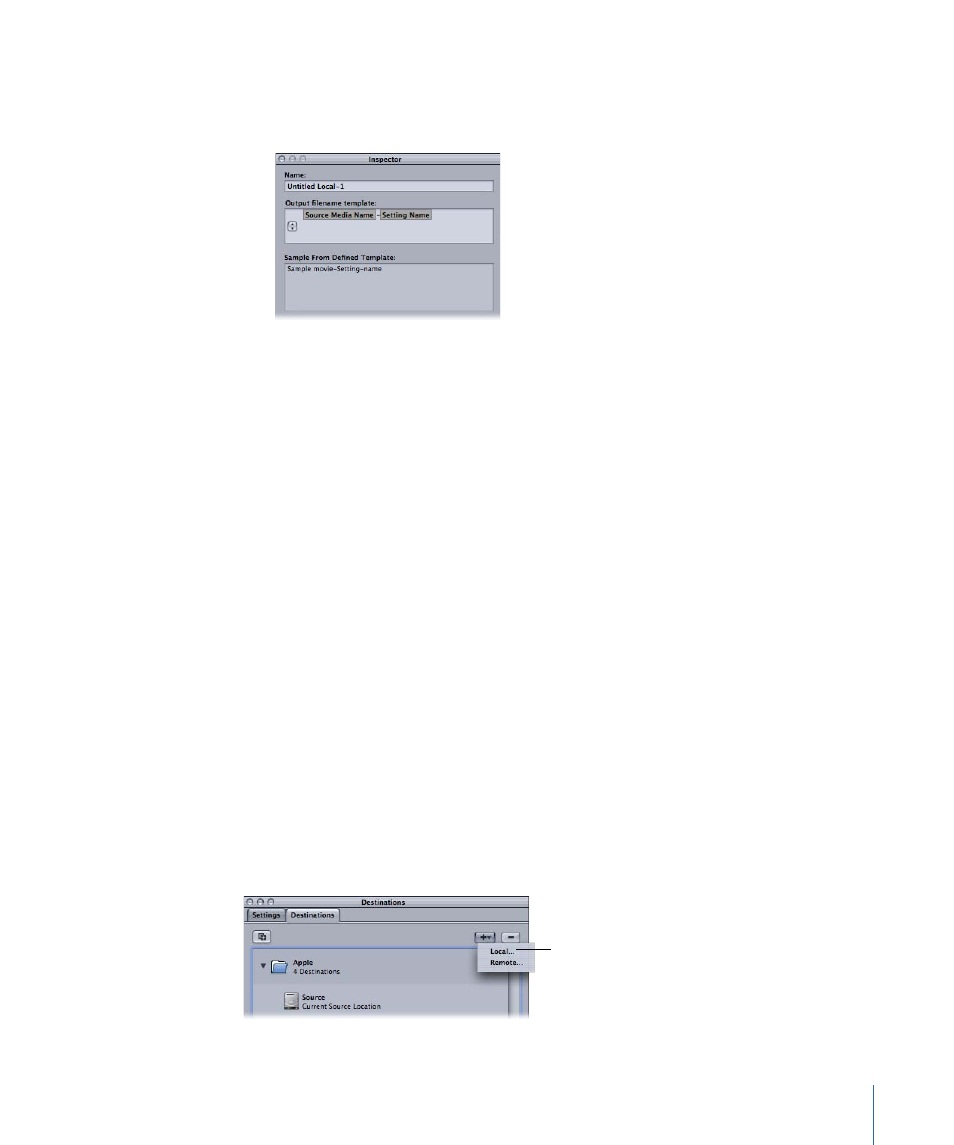
• Sample From Defined Template: Displays a sample of what the output filename will
look like with any file identifiers you have added. You cannot edit the Sample line,
but it changes dynamically based on the file identifiers you add or delete.
• Path: Displays the path to the destination folder.
Creating a Destination
You use the Destinations tab with the Inspector window to create and assign a destination
and to add file identifiers to your output file. If you want to save your output media files
to a remote destination, you need to enter information into the Remote dialog so that
Compressor can successfully access the remote server.
You can create the following destinations.
• Local: Any directory on your own computer
• Open Volume: Any shared volume open on your desktop
• Remote: A directory in the default location of an FTP or iDisk server, if you have suitable
access privileges and permissions
Note: By default, the output media file destination is the same folder from which the
source media files originated. You can change the default destination to any other
Destination preset. Choose Compressor > Preferences and use the Default Destination
pop-menu to choose from the list of Destination presets.
To create a local or open volume destination
1
Open the Destinations tab.
2
Click the Add (+) button and choose Local from the pop-up menu.
Choose Local from the
pop-up menu.
333
Chapter 27
Creating and Changing Destinations