Apple Compressor 3 User Manual
Page 325
• Press M.
A blue compression marker appears in the timeline.
3
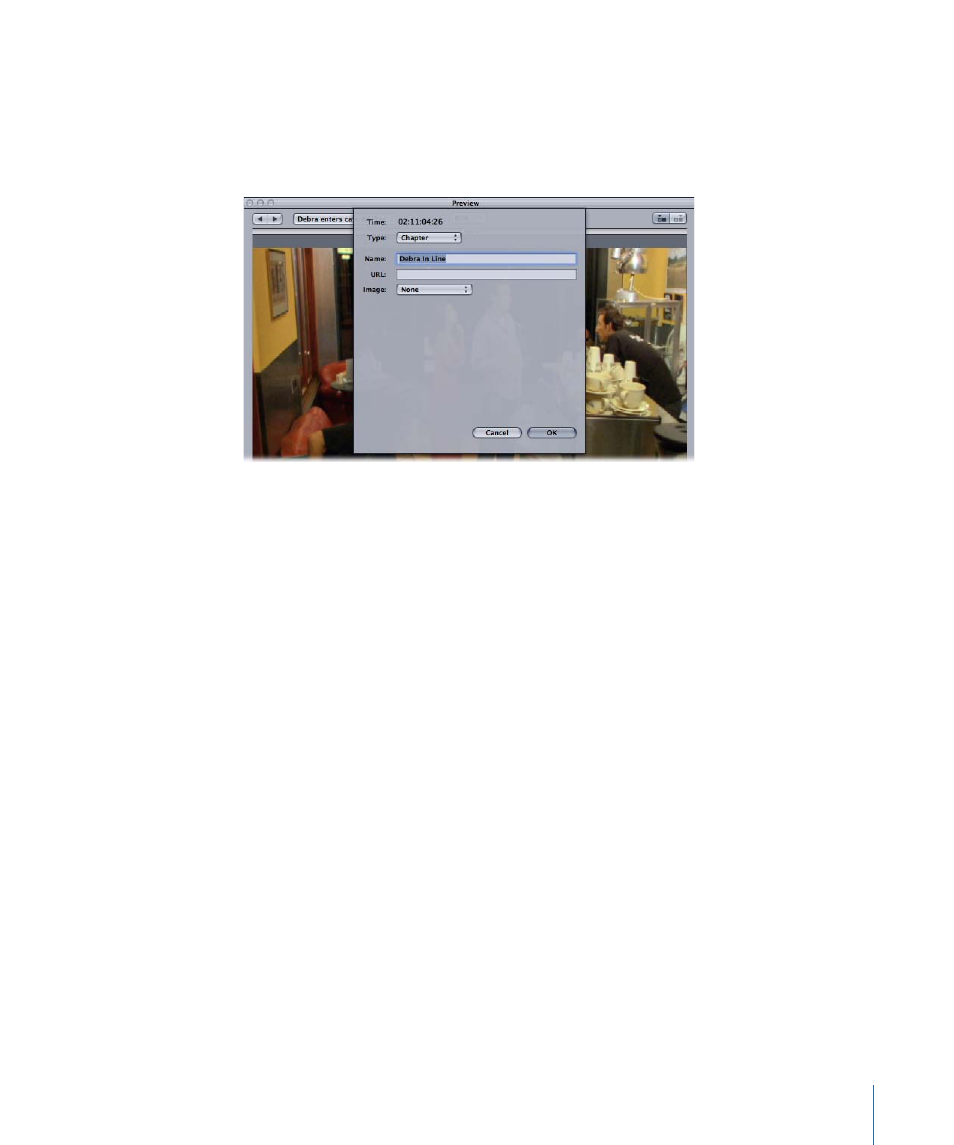
Open the Markers pop-up menu and choose Edit (or press Command-E).
A dialog for editing the marker appears.
4
Choose Chapter or Podcast from the Type pop-up menu.
5
Enter a name for the marker in the Name field.
For chapter markers, this name appears in the output media file where it can be seen
with QuickTime Player, in DVD Studio Pro (where it can be edited), and in playback devices.
For podcast markers, this name does not appear to the viewer.
6
Optionally, enter a URL in the URL field.
This URL applies only to podcasts. The marker’s name appears over the artwork where
the viewer can click it to open a web browser to the URL’s website.
7
Optionally, you can assign an image to the marker by choosing one of the following from
the Image pop-up menu:
• None: No image is associated with the marker.
• “Frame in source”: You choose a frame from the source media file. The default image
is the frame two seconds further than the frame where the marker is.
• From File: This opens a file selection dialog that you use to select a still image file to
assign to the marker.
Note: Images assigned to chapter markers are ignored by DVD Studio Pro.
8
Click OK to close the dialog.
The marker in the timeline changes to purple to indicate it is now a chapter or podcast
marker. You can use the Previous Marker and Next Marker buttons to select other markers
in the timeline to edit.
325
Chapter 26
Using the Preview Window