Stage 2: choosing quality settings – Apple Compressor 3 User Manual
Page 215
• 640x360
• 640x352
• 640x384
• 640x320
4
Choose an aspect ratio from the Aspect Ratio pop-up menu or select its Automatic button.
You must determine whether the intended shape of your source video is 4:3 (normal) or
16:9 (widescreen) before you can choose your aspect ratio.
5
Choose a field dominance setting based on your source media type from the Field
Dominance pop-up menu. For example, for DV choose Bottom First. Or choose the Field
Dominance Automatic button to let Compressor determine the correct setting.
6
If you want to use the timecode from your source video, leave the “Choose start timecode”
checkbox unselected. Otherwise, select this checkbox and enter a new timecode.
7
If you have selected the “Choose start timecode” checkbox, and if your video format is
NTSC, select the “drop frame” checkbox if you want to use drop frame (rather than
non-drop frame) timecode.
See
for more information.
Stage 2:
Choosing Quality Settings
In the Quality tab, you set the MPEG-2 encoding attributes that have the greatest influence
on the resulting quality of your MPEG-2 video output file: encoding mode, average and
maximum bit rate, and type of motion estimation.
To open the Quality tab and choose the Quality settings
1
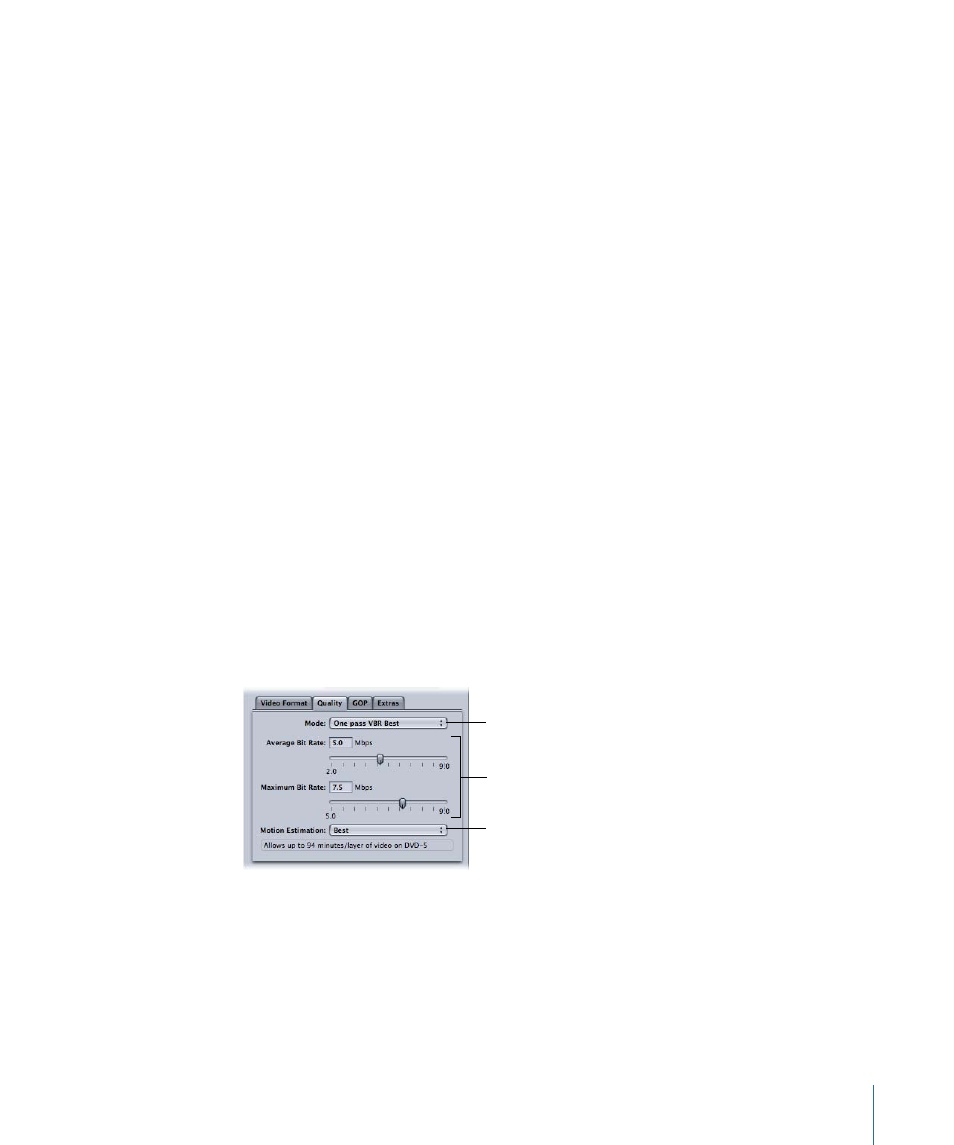
Click the Quality button in the MPEG-2 Encoder pane to open the Quality tab.
Choose a mode that
fits your time and
quality requirements.
Choose a Motion
Estimation setting.
Choose bit rates that
fit your file size and
quality requirements.
2
Make a selection from the Mode pop-up menu.
For best image quality, choose “One pass VBR Best” or “Two pass VBR Best.” For faster
encoding, with excellent image quality, choose “One pass VBR” or “Two pass VBR.” For
HD sources, choose either “One pass VBR Best” or “Two pass VBR Best.”
215
Chapter 18
Creating MPEG-2 Output Files