Manually adding and removing markers – Apple Compressor 3 User Manual
Page 323
Manually Adding and Removing Markers
The Preview window includes comprehensive marker support, including the ability to
manage markers already added to the source media file, manually add or remove markers,
and import chapter marker lists (described in
Adding Chapter or Podcast Markers to a
).
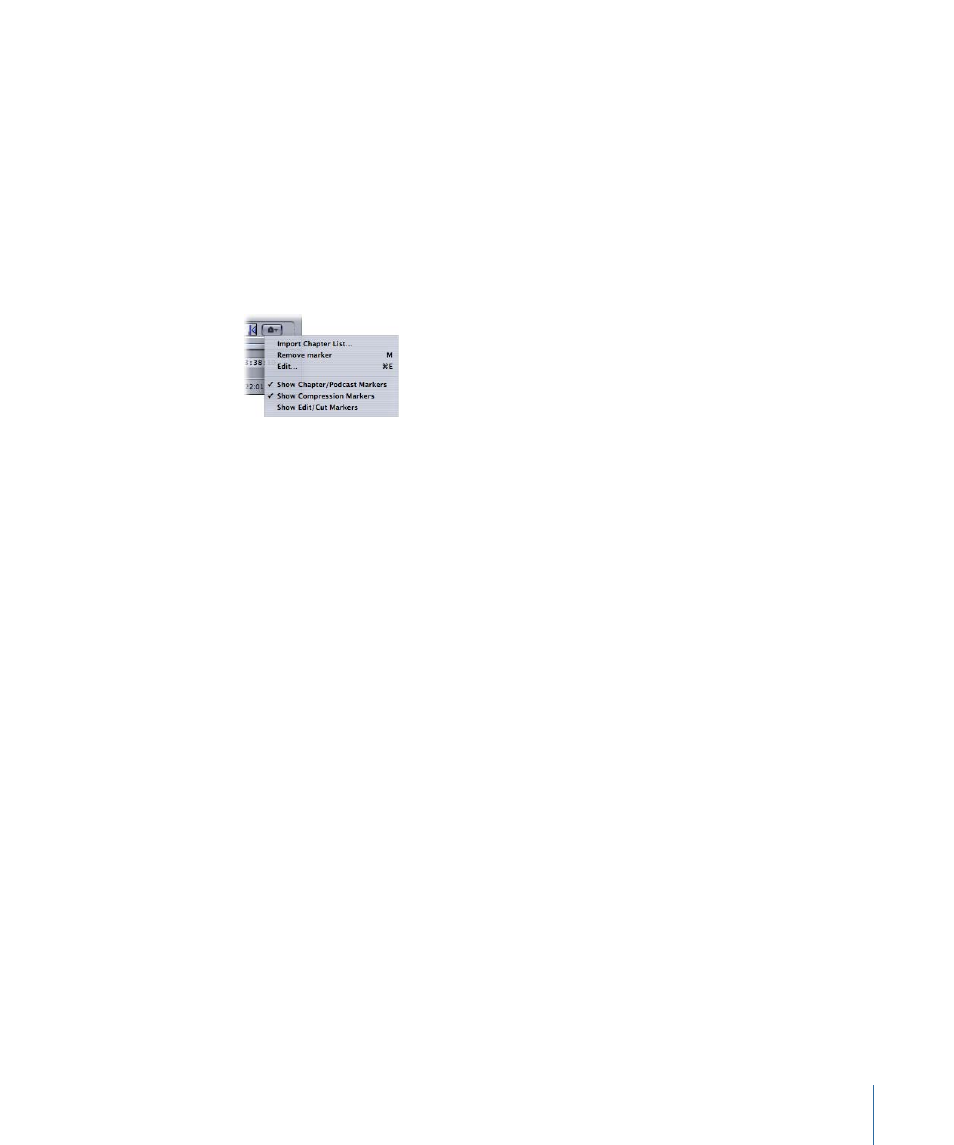
To add a compression marker to your clip
1
Open the Preview window.
2
Choose the Show Chapter/Podcast Markers and Show Compression Markers items from
the Marker pop-up menu, so there is a checkmark by them.
3
Choose a clip from the Batch Item pop-up menu or click the Batch Item selection button
until the clip you want appears in the pop-up menu.
Note: Clips that already contain markers, such as those from Final Cut Pro, will show those
markers in the timeline. You can edit those markers the same way you would if you had
manually entered them.
4
Do one of the following to determine where the marker is to be placed:
• Drag the playhead where you want to add a marker.
• Enter a timecode value in the playhead timecode field.
5
Do one of the following to add a marker:
• Click the Marker button and choose “Add marker” from the pop-up menu.
• Press M.
323
Chapter 26
Using the Preview Window