Adding chapter or podcast markers to a clip, Adding, Chapter or podcast markers to a clip – Apple Compressor 3 User Manual
Page 324: Adding chapter or podcast, Markers to a clip
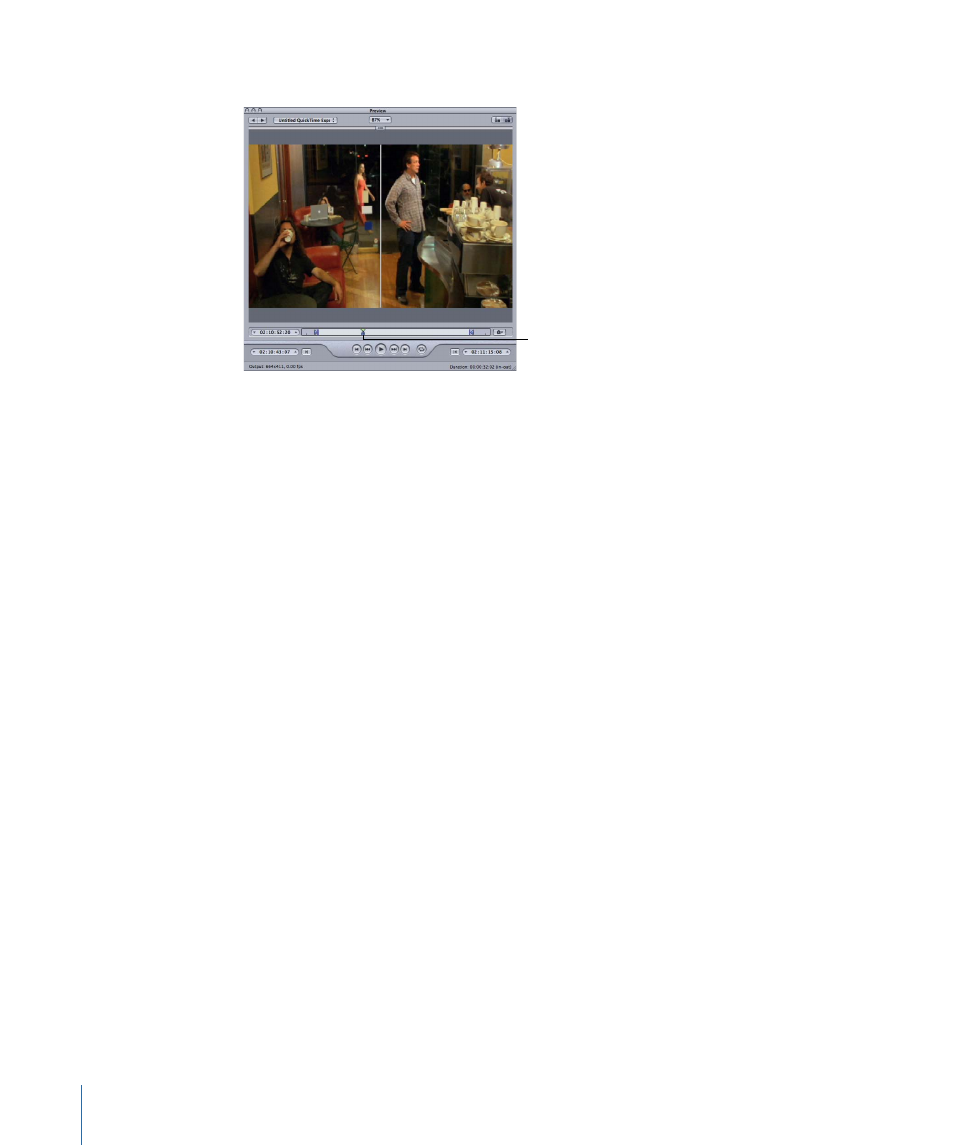
A blue marker appears in the timeline.
A blue marker appears
under the playhead after
the marker is added.
Compression markers can be converted to chapter or podcast markers by using the Edit
option of the Marker pop-up menu. See
Adding Chapter or Podcast Markers to a Clip
for
more information.
To remove a marker from your clip
1
Click either the “Move to Previous Marker” or “Move to Next Marker” control to move the
playhead to the marker you want to remove.
2
Do one of the following to remove the marker:
• Click the Marker button and choose “Remove marker” from the pop-up menu.
• Press M.
The marker disappears.
Adding Chapter or Podcast Markers to a Clip
To manually add a chapter or podcast marker to a clip, you first add a compression marker
(as described in the previous section) and then you edit the marker.
Note: A podcast can have both chapter and podcast markers. The only difference is that
the viewer can navigate directly to a chapter marker but cannot navigate to a podcast
marker. See
for more information.
To manually add a chapter or podcast marker to a clip
1
Do one of the following to determine where the marker is to be placed:
• Drag the playhead where you want to add a marker.
• Enter a timecode value in the playhead timecode field.
2
Do one of the following to add a marker:
• Click the Marker button and choose “Add marker” from the pop-up menu.
324
Chapter 26
Using the Preview Window