Deleting points, Realigning, Deleting points • realigning – Brother PE-DESIGN Ver.432 User Manual
Page 134: Deleting points 1, Realigning 1
124
3
Click the pattern that you want to edit.
The pattern can be a broken line, a curve or a manual punching pattern.
The existing points of the pattern are marked with small empty squares.
4
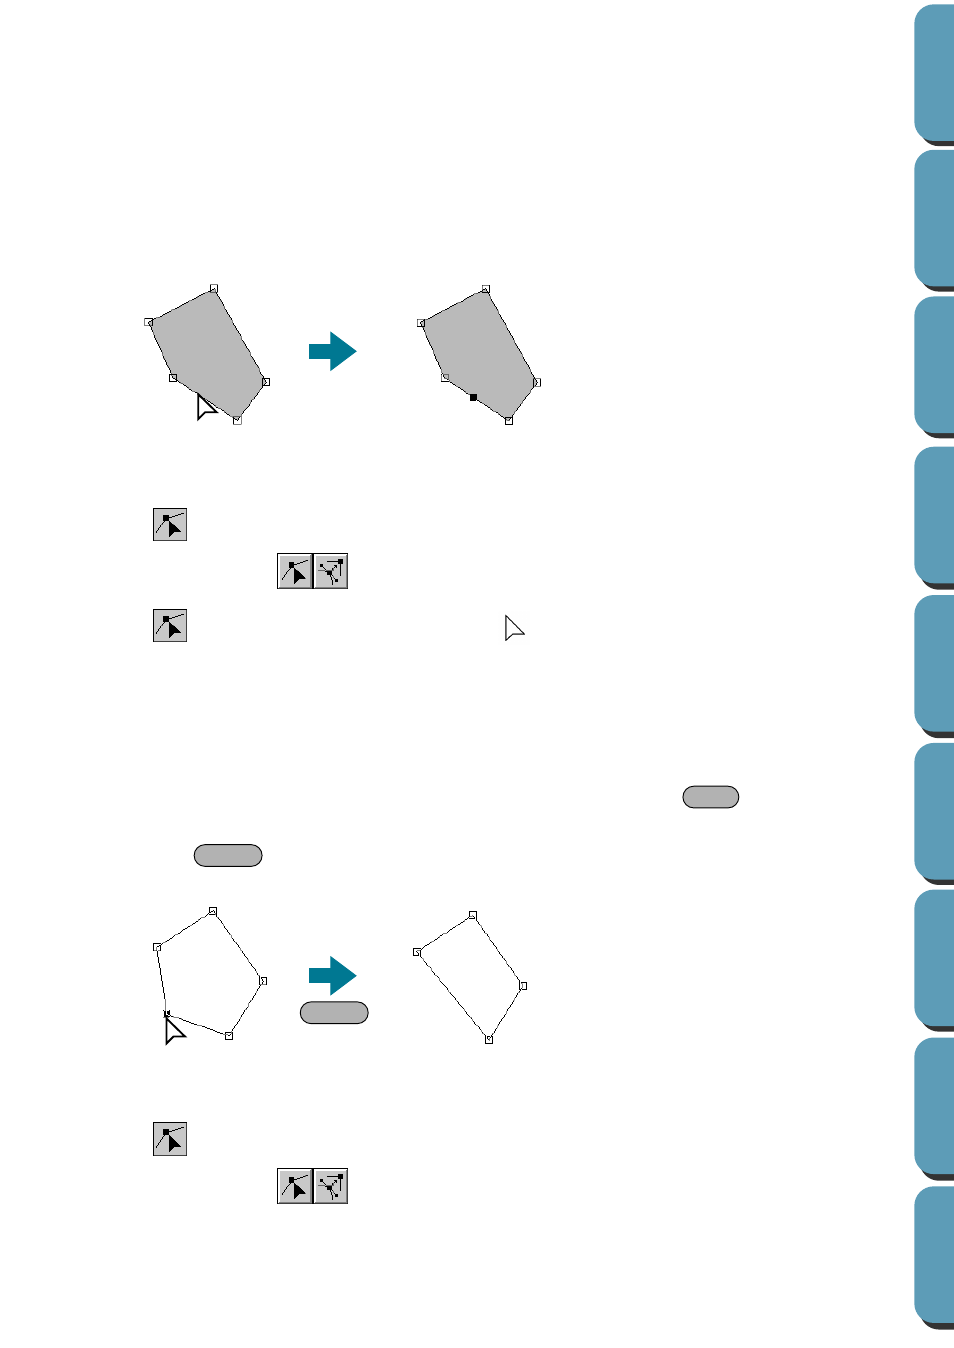
Click at a point of the contour other than an existing point.
A new point appears and is automatically selected (marked with a small black square and in the
case of a curve, with a control handle).
When a manual punching pattern is selected, a pair of new points is inserted.
The new point can be immediately moved. In the case of a new point on a curve, you can also use
the handle to reorient the tangent to the new point.
■
Deleting points
1
Click
on the Tool Box.
Two buttons appear:
.
2
Click
. The shape of the cursor changes to
.
3
Click the pattern that you want to edit.
The pattern can be a broken line, a curve or a manual punching pattern.
The existing points of the pattern are marked with small empty squares.
4
Click the point that you want to delete.
The selected point is now marked with a small black square.
You can select more than one point by clicking them while holding the
key down, or by
dragging the mouse across the area.
5
Press the
key to remove the point from the path. When a manual punching pattern is
selected, a pair of points is deleted.
■
Realigning
1
Click
on the Tool Box.
Two buttons appear:
.
4
Shift
Delete
Delete
4
5