Brother PE-DESIGN Ver.432 User Manual
Page 121
111
3
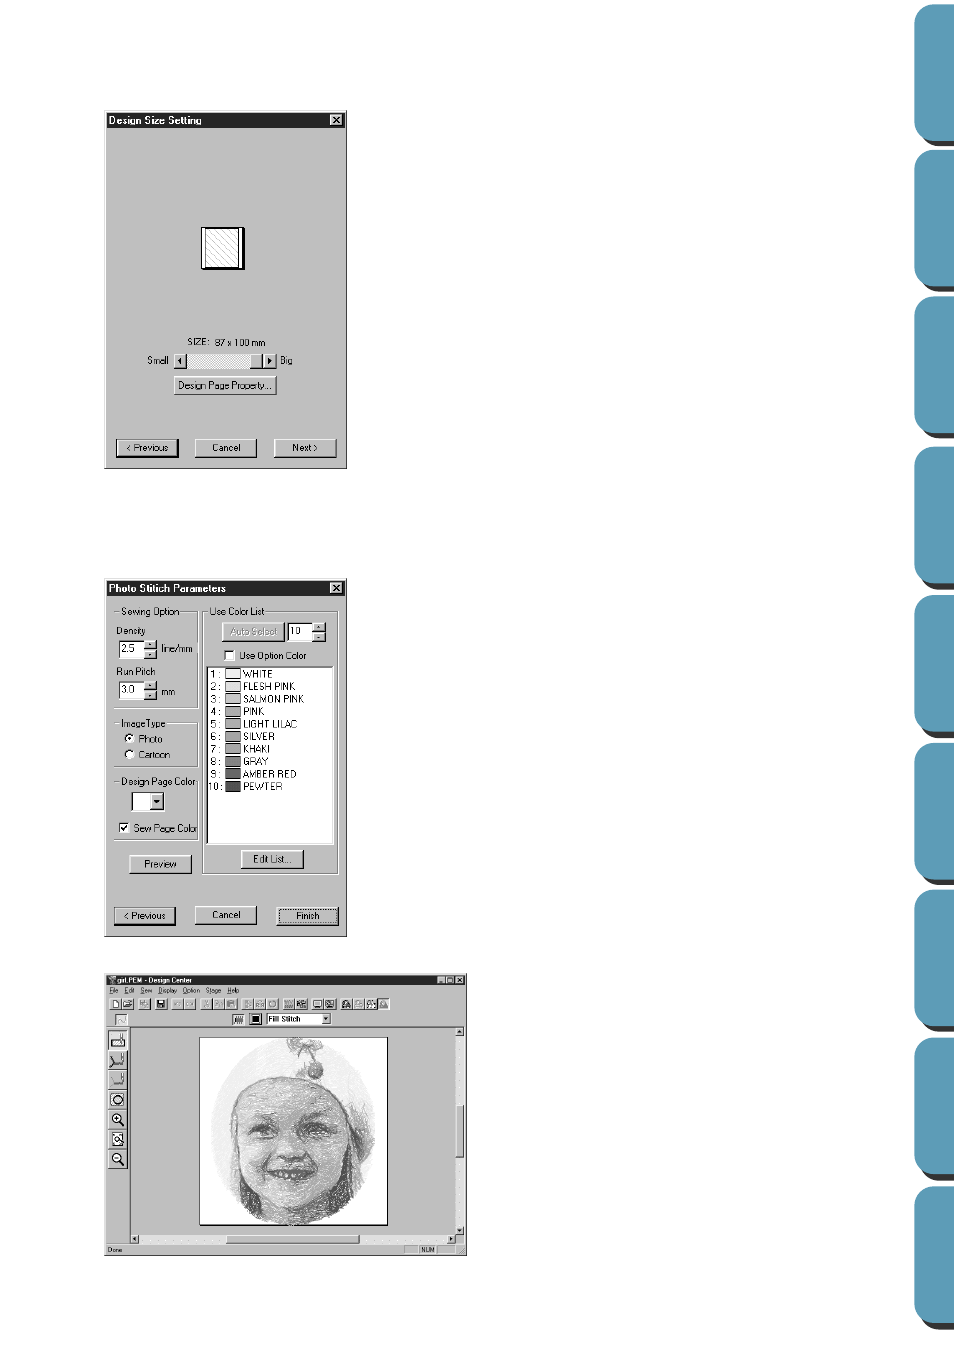
In the Select Mask dialog shown on page 109, click Next to show a Design Size Setting dialog
similar to this.
4
In the Design Size Setting dialog above, click
Next
to display a Photo Stitch Parameters dialog
similar to this.
Set the contents for the creation of the Photo Stitch in this dialog.
(Pattern pasted in Stage4)
◆
Use the
Size
slider to set the output size of
the data. The largest output size you can
choose is the set size of the Design Page.
◆
Click
Design Page Property
to open the
Design Page Property dialog. You can then
set the Design Page size. See Design Page
Property (page 101) for details.
◆
Click
Previous
to close this dialog and return
to the Select Mask dialog.
◆
Click
Cancel
to close this dialog and return to
Stage 1.
◆
Click
Next
to set the contents of the settings
and close this dialog.
The Photo Stitch Parameters dialog, for set-
ting the parameters for making Photo Stitch,
will open.
◆
Click
Previous
to close this dialog and return
to the Design Size Setting dialog display.
◆
Click
Preview
to display of preview of the
Photo Stitch on the design page after finish-
ing the settings.
Also, the expected stitch count of the finished
pattern will be displayed on the status bar.
◆
Click on
Finish
in the Photo Stitch Parame-
ters dialog to set the parameters for the
Photo. The Photo is then pasted into Stage 4
design page. (The photo image has been
converted into stitches.)