Custom output modes, Create a new cvt mode, Eate a custom output mode (see – Extron Electronics VN-Matrix 250 User Guide User Manual
Page 89
Custom Output Modes
The decoder
Format
tab allows you to create custom video output formats for displaying
decoded video data streams.
One of the issues encountered when some graphics sources are used in conjunction with
VN‑Matrix encoder and decoder systems is that the encoder often produces a loop‑through
image and states that it has detected a valid input mode. However, the decoder outputs a
display splash screen that states “No Matching Output Mode.”
The following section describes how to create a custom output mode that will be
automatically selected by the decoder when it “sees” the corresponding input mode from
the encoder.
Creating a CVT output mode
This procedure requires you to access the VN‑Matrix decoder unit over a Telnet connection
and access the VN‑Matrix web GUI using a browser.
To create a coordinated video timing (CVT) mode:
1.
Ensure that the graphics source causing the issues is connected to the VN‑Matrix
encoder and that the encoder has detected the correct mode for that source.
NOTE: Make sure that the source is displaying an image that occupies the entire
desktop, such as a window that has been maximized.
2.
Verify that an image is present on the loop‑through output of the encoder.
3.
Connect a PC to the VN‑Matrix network and start the VN‑Matrix web GUI (see
4.
From the
Device
List
, select the encoder. Click the
videoPort0
link in the
Configuration
panel and then select the
Video Setup
tab.
5.
When the Video Setup page opens, make a note of the horizontal resolution (
digHSize
)
and vertical resolution (
digVSize
) that are displayed in the
Device
Status
panel. These
will be used as the basis for the new output mode.
6.
Return to the device list and select the decoder that is displaying the “No Matching
Output Mode” screen.
7.
Click
display0
in the
Configuration
panel.
8.
Click the
Format
tab.
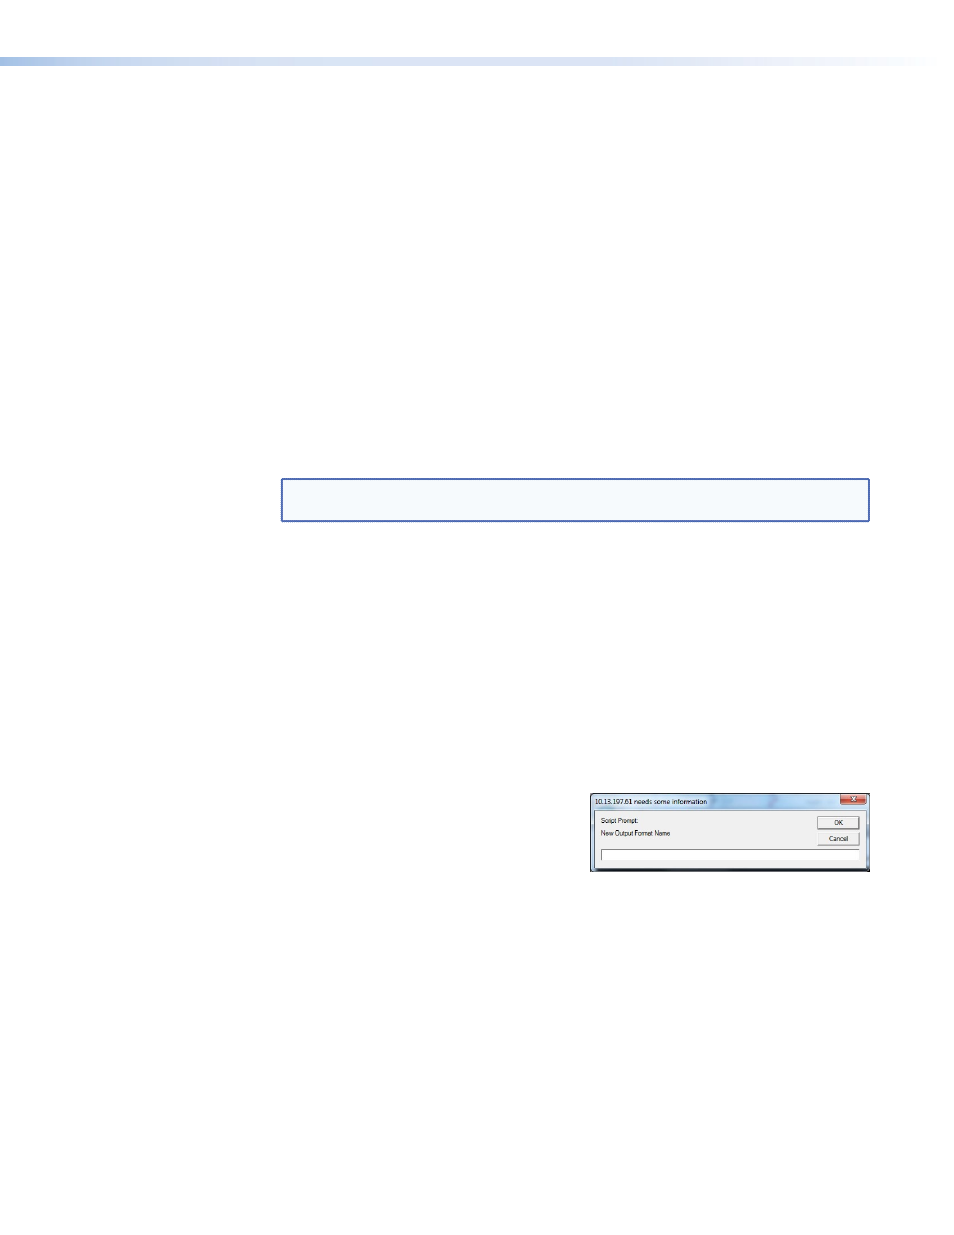
9.
When the Format page opens, click the
New
Format
button. A pop‑up box opens (see
the figure to the right).
10.
In the
New Output Format Name
field in the prompt window, enter a name for the
mode you are building. It is a good idea to use the resolution, refresh rate, and PC type
(such as Mac or Linux) in the title. The name “
1280x960_60Hz_Dell
” is used in the
following example. Click
OK
.
11.
From the
Name
drop‑down list, select the mode (
1280x960_60Hz_Dell
).
12.
In the
Active Pixels
field, enter the horizontal resolution that was noted in step 5.
13.
In the
Active Lines
field, enter the vertical resolution that was noted in step 5.
14.
In the
Frame Rate
field, enter the refresh rate of the source.
15.
Click the
CVT
button. The VN‑Matrix unit now attempts to build a mode using
the standard CVT timing calculator. The remaining values on the screen update
automatically.
16.
Click
Update
and then click
Save Formats
.
VNM 250 • Configuration with the VNM 250 GUI
83