GE Industrial Solutions GE Zenith Series DPB User Manual
Page 57
49
Installation & Operation Manual, GE Series DPB Busway
March 25, 2013, Rev 0
GE Confidential
Series DPB Busway Installation & Operation Manual
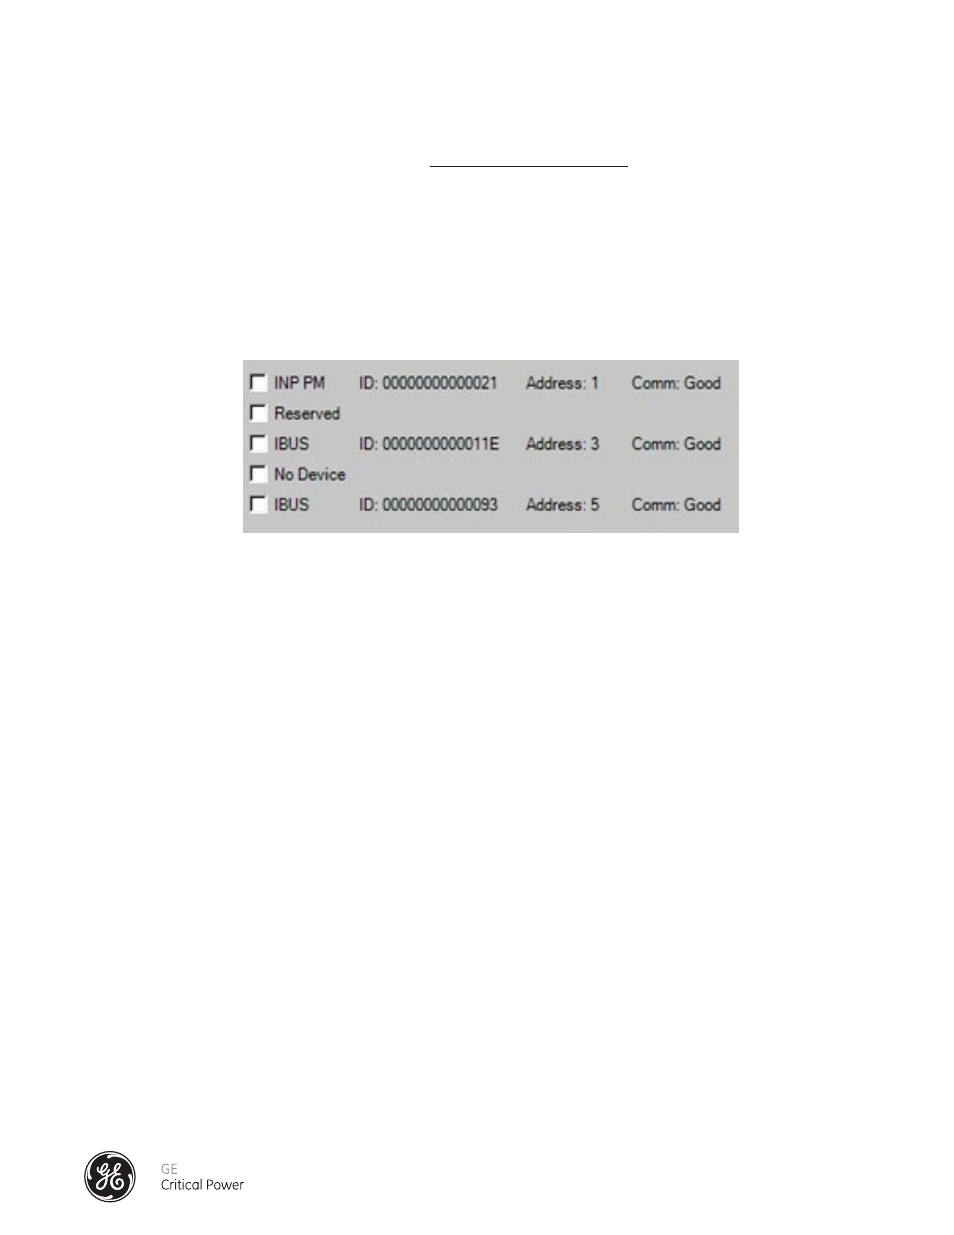
In the main part of the window is where the connected devices are shown� In Figure 40 there is one
“INP PM” and
two
“IBUS” boards� INP PM is short for Input Power Monitor, which is the monitoring for the End Feed Box� IBUS is the
monitoring in the Tap Off boxes� Each device has a Unique Identification Number� This number is shown after the ID tag�
Next is the Modbus address for the device� The
Comm: Good/Bad indicates if the Accumulator board is communicating
with the device�
It is important when you setup up the busway to know which box is which� Since all the devices are on a bus, it is
impossible to know one from another� It is recommended that you plug them in one at a time� This will allow you to put
them in the order you desire� Each device has a unique identification number, so once the devices are known, they will
remain in the order you put them in� When a device is found, it will be placed in the next available address shown by
“No
Device”, not necessarily at the end of the list�
Figure 46 image shows some more options when setting up the devices:
In Figure 41 we added two more devices� The second device is a reserved spot� The fourth device is a “No Device” or free
device� If another device were added it would be placed in the fourth spot, since the second is reserved� If there were
not free devices, it would be added to the end of the list�
Note: You can have a maximum of 32 devices connected to an Accumulator. This includes free or reserved devices.
The following are a list of the buttons on the right which are used to set up the devices in the list�
Update – This button will get the latest update from the Accumulator� There is a check box under it, when if checked, will
automatically update the data every two seconds�
Find Device – This will go out on the bus and search for new devices� The is done automatically every thirty seconds, but
during setup this will find them faster if needed�
Add – This will Add a reserved device� If you know you will be adding more Tap Off Boxes in the future, or want to leave a
gap for another reason, you can add a reserved spot� No new device will be added in this address� If you want to remove
the reserve, you can use the remove feature�
Remove – To use Remove you must use the check boxes beside the device you wish to remove� This will remove the
device from the list, and put a “No Device” in its place� If you remove the last device on the list it will not add a no device�
It will remove the device all together�
Swap – To use Swap you must use the check two boxes beside the devices you wish to swap� It swaps the locations and
addresses of the two devices�
Reserve – To use Reserve you must use the check box beside the device you wish to reserve� Only a “No Device” spot can
be reserved� This will reserve the spot so new devices will not use this spot� It can be un-reserved by using the remove
on the reserved spot�
Insert – To use Insert you must use the check box beside the device you wish to insert� Insert will insert a “No device”
spot before the selected item� Note: this will change the addresses of every device including and after the checked box�
Figure 46 - BCMS Setup Tab Detail